
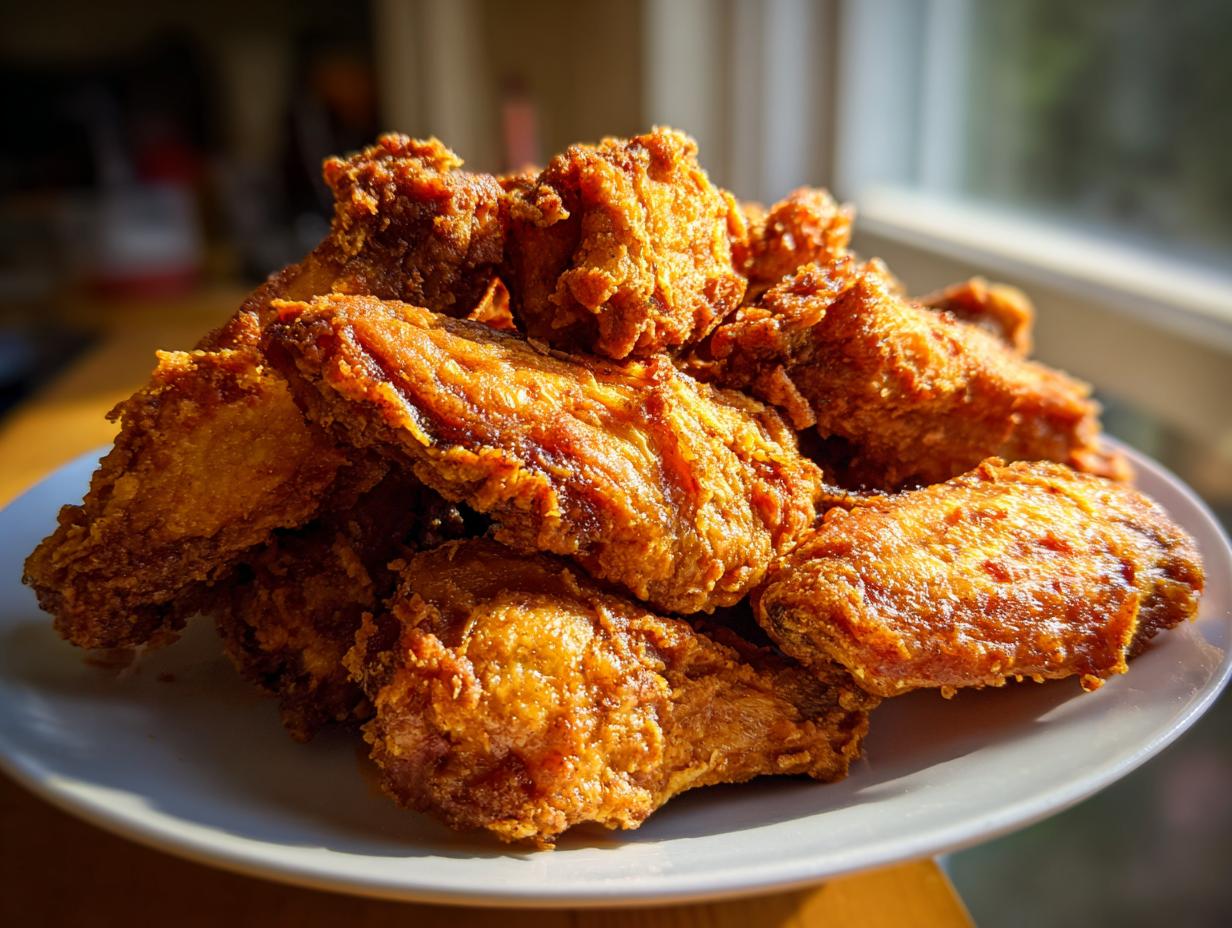
Oh, my friends, let’s talk about the heartbreak of a soggy chicken wing. You look forward to that satisfying crunch, only to be met with chewy, disappointing skin. I won’t stand for it! As Isabella Rossi, I believe that great cooking should be accessible, and that means getting restaurant-quality results without turning on the deep fryer. Trust me, I spent years perfecting this: here is the secret to Ultra Crispy Baked Chicken Wings that are so good, they are labeled No Fry Needed. These are reliable, they are simple, and they will save your next hosting event.
- Why This Baked Chicken Wing Recipe Is Your New Go-To (E-E-A-T Focus)
- Ingredients Needed for the Best Chicken Wing Dry Rub
- How to Prepare Ultra Crispy Baked Chicken Wings Recipe
- Flavor Variations for Your Baked Chicken Wing
- Tips for Success with Your Easy Chicken Wings
- Serving Suggestions for Game Day Chicken Wings
- Storage and Reheating Instructions for Leftover Chicken Wing
- Frequently Asked Questions About Making Crispy Chicken Wings
- Nutritional Estimates for This Chicken Wing Recipe
Why This Baked Chicken Wing Recipe Is Your New Go-To (E-E-A-T Focus)
If you’ve been hunting for that perfect crunch without the mess of frying, you’ve found it! This no fry chicken wings method is what I rely on when I need absolute certainty that my guests will be happy. It delivers on the promise of a juicy inside and a crackling exterior every single time.
- Perfectly tender and juicy chicken wings, even when baked.
- Absolutely no deep frying required—just your standard oven!
- The texture is so reliable, it’s almost shocking how easy it is.
- Great for making ahead or prepping for a big game day spread.
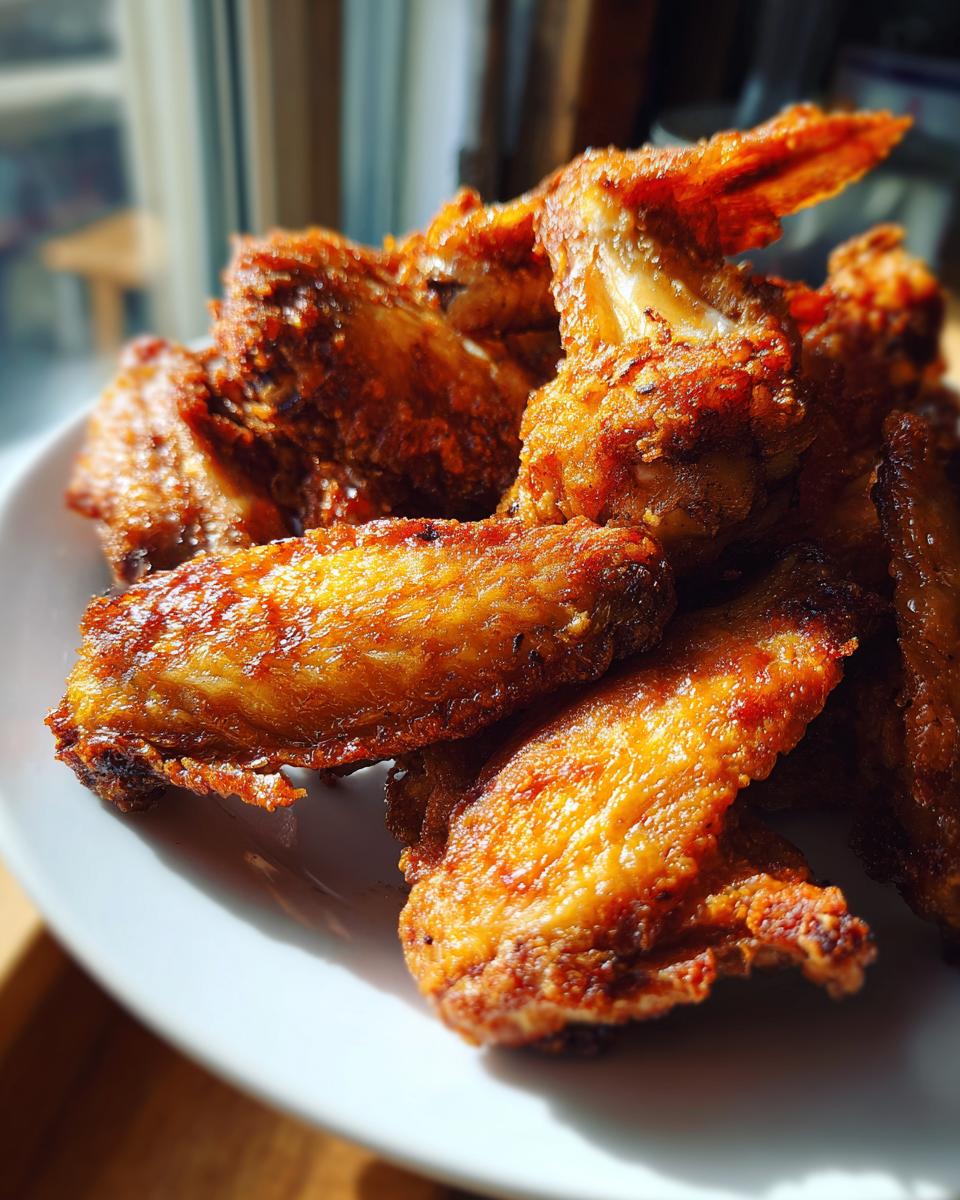
Achieving the Ultimate Crispy Chicken Wings Texture
It all comes down to the power of science, really! Our simple dry rub—especially the baking powder—raises the pH level on the skin while we bake. This encourages faster moisture evaporation, which is the key to amazing crispy chicken wings. It dries the surface way faster than just salt and pepper can, leaving you with that restaurant-quality crunch we all crave.
Ingredients Needed for the Best Chicken Wing Dry Rub
Okay, gathering your goods is half the battle! What makes this dry rub so effective for amazing chicken wing skin isn’t exotic spices—it’s the combination and the baking powder. Precision here is important, as it sets up the coating for success. You probably have most of this tucked away in your pantry already!
Here is exactly what you need:
- 2 lbs chicken wings (flats and drumettes separated)
- 1 tablespoon baking powder (aluminum-free preferred—this is my secret!)
- 1 teaspoon salt
- 1/2 teaspoon black pepper
- 1/2 teaspoon garlic powder
- 1/2 teaspoon onion powder
- 1/4 teaspoon cayenne pepper (only if you like a little kick!)
When you’re buying baking powder, if you can find aluminum-free, grab that one. It truly helps the skin brown beautifully without leaving a funky aftertaste. Trust me, the better your base coating, the better your baked chicken wings recipe turns out!
How to Prepare Ultra Crispy Baked Chicken Wings Recipe
Now for the fun part—turning those seasoned pieces into the crispiest chicken wing you’ve ever made in your own kitchen! This entire process is designed to be straightforward, but pay attention to the little details in the prep work. Those crucial first steps are what separate acceptable wings from absolutely legendary, shatteringly crisp ones. We are going to get that perfect texture without needing a drop of oil!
Prepping the Chicken Wing for Maximum Crispiness
First things first: crank that oven! You need a hot environment, so preheat it to 425°F (220°C). While that warms up, line a sturdy, rimmed baking sheet with foil or parchment paper. Then, place a wire cooling rack on top of that sheet. Why the rack? It lets the heat circulate all around your beautiful oven baked wings. The most important part? Pat every single chicken wing completely dry with paper towels. Excess moisture is the enemy of crispiness, so don’t rush this step!
Coating and Arranging Your Chicken Wing Pieces
Once they are dry as a bone, toss those wings into a bowl with your dry rub mixture—that magical blend of spices and baking powder we just mixed up. Make sure every surface is evenly coated; I like to use my hands to really massage that coating in there. Next, lay them out on that wire rack. This is non-negotiable: make sure every single piece has space around it. They shouldn’t be touching. Air has to flow underneath them for total crispness in this baked chicken wing recipe!
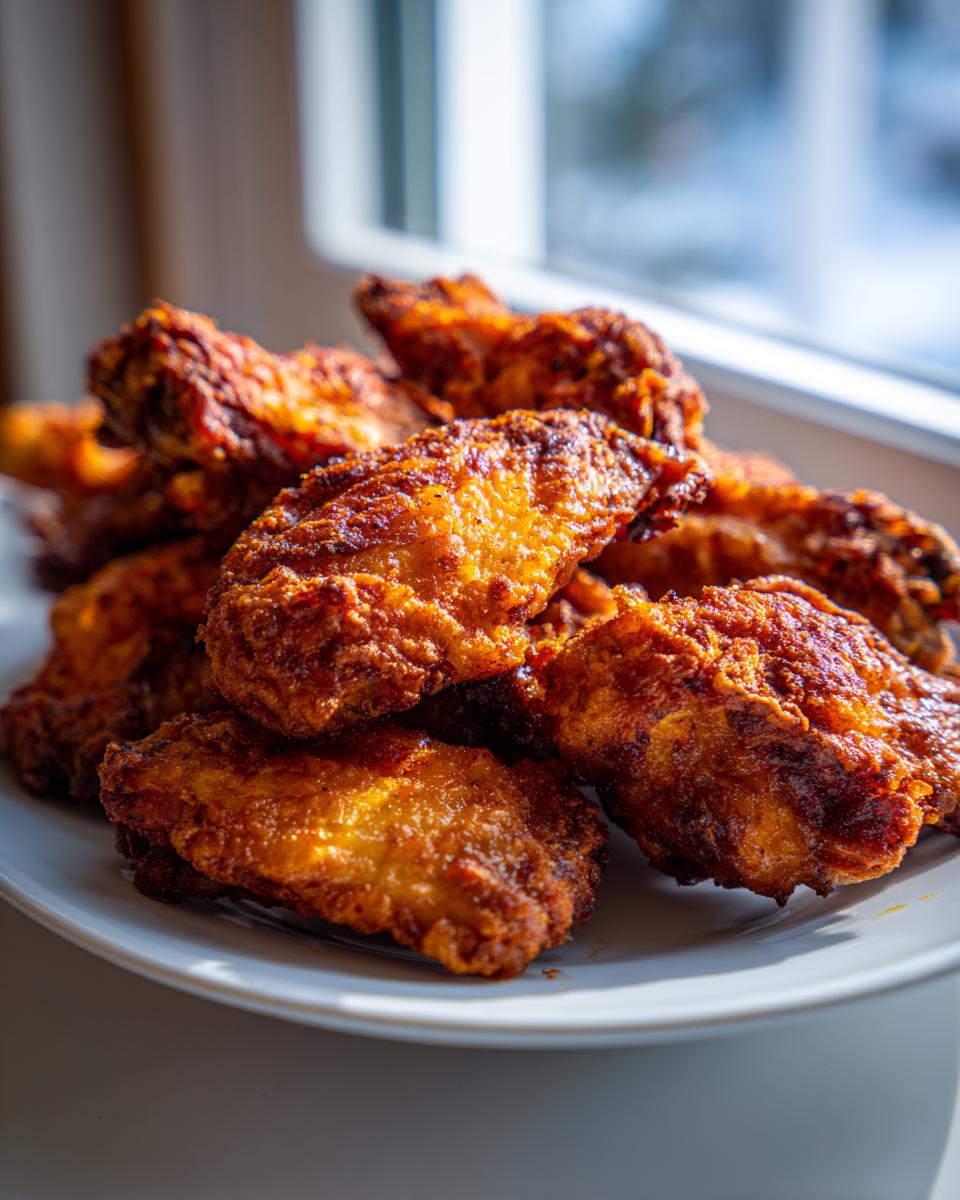
Baking Time and Flipping for Even Cooking
Time for the heat! Pop the pan in the hot oven and bake them for 25 minutes. Don’t peek too much! After that first blast of heat, carefully flip every chicken wing over. Then, slide them back in for another 20 to 25 minutes. You are looking for that deep, gorgeous golden brown color and skin that looks like it will crackle when you touch it. If you want to try making amazing chicken for your next dinner, mastering this two-stage bake is essential.
Flavor Variations for Your Baked Chicken Wing
Honestly, once you master that crispy, crackly skin on your baked chicken wing—thanks to that baking powder magic—you’ve opened up a whole world of flavor! The best part is using the dry rub as a base so the wings come out perfectly cooked, and *then* you make them whatever flavor you want. For game day, I love whipping up a batch of my famous spicy but rich sauces to toss them in right after they exit the oven.
If you are looking for classic tastes, you can’t go wrong with robust honey BBQ wings or a bright burst of flavor with lemon pepper wings. Just remember, the sauce goes on *after* baking, or your beautiful crispiness will melt away!
I remember I tried brushing on a simple balsamic glaze halfway through baking once because I got impatient. Big mistake! They burned just a little around the sticky spots. Since then, I always wait until the very end. That’s how you keep them juicy inside and crisp outside.
Making Sticky Chicken Wings with a Glaze
If you want those gorgeous, glossy, sticky chicken wings that barely stay on the bone, you have to reduce the sauce first! Taking your favorite bottled sauce—say, honey garlic—and simmering it gently on the stove for about 5 to 7 minutes will thicken it up perfectly. This reduction process removes the excess water, so when you toss your piping hot wings in the thickened glaze, it clings beautifully instead of just running off. That little bit of extra effort makes all the difference between a sauced wing and a truly sticky masterpiece!
Tips for Success with Your Easy Chicken Wings
I want this to be the most easy chicken wings recipe you’ve ever tried, so let’s run through a couple of extra tips I’ve picked up over the years. My main goal is always that you stop settling for less than perfect! Remember that the rack placement is not optional—it’s what guarantees hot air gets underneath every piece of your chicken wing.
Also, if you have a choice between flats and drumettes, use both! They cook a little differently, so sometimes the flatter pieces are done first. Just keep an eye on them. If you want to skip the final step of turning the oven to broil for color (which I sometimes do!), make sure your initial baking temperature is right on target. For more ideas on simple weeknight meals, check out my guide to easy chicken enchiladas, but never forget the power of crispy wings!
And hey, if you absolutely must see what other folks are doing, you can check out this great resource on easy baked wings, but remember, our baking powder secret is key!
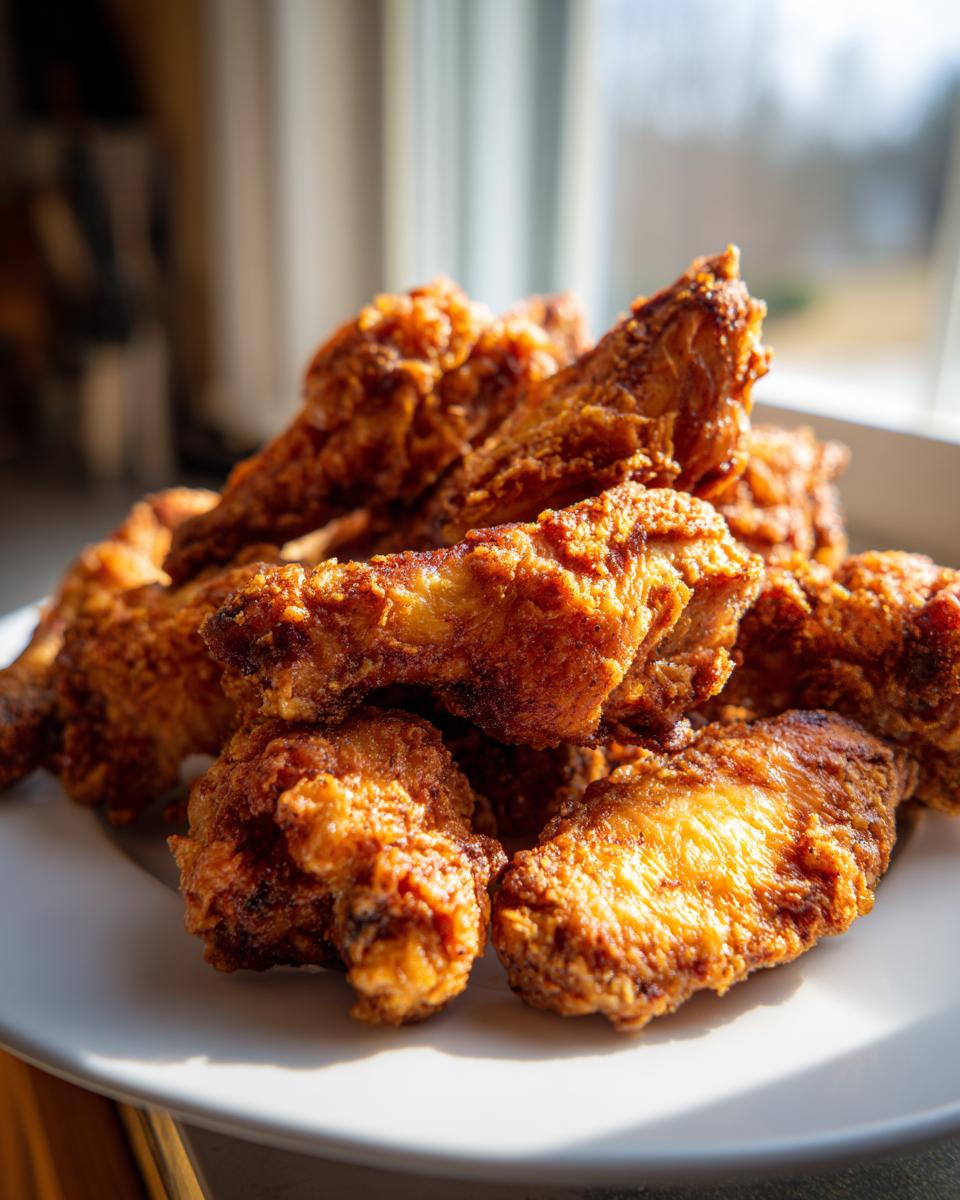
Serving Suggestions for Game Day Chicken Wings
Now that you have these glorious, crispy beauties, what are you going to serve them with? These are the ultimate game day chicken wings, and they deserve great supporting actors on the platter! I always try to balance the richness of the wings with something fresh or creamy.
For a guaranteed big hit as a party chicken wings appetizer, you absolutely must serve them alongside my Ultimate Creamy Baked Elote Dip. It’s cheesy, it’s smoky, and everyone fights over the last scoop!
If you’re heading to a big gathering, some crisp celery and carrots with a side of ranch or blue cheese dressing are mandatory. If you want to see what other folks are making for their party food, check out the tips on crispy baked wing recipes, but I stand by this duo every time!
Storage and Reheating Instructions for Leftover Chicken Wing
Listen, sometimes a whole batch of these incredible crispy chicken wing pieces doesn’t disappear in one sitting, and I support the idea of leftovers! But you absolutely cannot just throw them in a regular container and expect the crunch to save itself. For the best results, let any leftover wings cool completely, then store them in an airtight container in the fridge for up to three days. Don’t let them sweat in that container!
The microwave is your enemy here; it’s just going to steam them into sadness. To bring back that beautiful crispiness, I strongly suggest you reheat them in a toaster oven or a conventional oven set to 375°F (190°C) for about 8 to 10 minutes until they are hot right through. If you feel like trying something different next time, check out my recipe for easy tortilla soup!
Frequently Asked Questions About Making Crispy Chicken Wings
I know you might have a few last-minute worries about your crispy chicken wings, especially if you’re trying this baking powder method for the first time! That’s totally normal when you are trying to achieve that perfect texture without frying. I’ve compiled the questions I always hear when I share this recipe with friends. Don’t worry, we’ve got solutions for all your concerns! If you’re looking for more ideas for quick oven-cooked meals, check out my guide to easy weeknight dinners!
Can I use baking soda instead of baking powder?
That’s a great question about the dry rub! While both are leavening agents, they work differently. For this specific best chicken wing recipe, using baking powder is crucial because it helps raise the pH just enough to create that super-dry, crackly surface when it meets the hot oven air. Baking soda is much stronger; if you substitute it, you risk having a bitter or metallic taste on your otherwise juicy chicken wings. I highly recommend sticking to the aluminum-free baking powder for the best results!
How long does it take for these oven baked wings to cook?
If you follow my two-stage baking method, you’re looking at about 45 to 50 minutes of total cook time, plus the time it takes to preheat the oven. Since these are oven baked wings, they need time to render out the fat and dry the skin. If you are making a larger batch or using jumbo wings, you might need to add an extra 5 or 10 minutes just to be safe. Always check for that deep golden color!
Can I use frozen chicken wings straight from the freezer?
Ugh, no, please don’t try that! Trying to cook frozen wings means you are sealing in moisture, and you will end up with steamed, floppy skin—the exact opposite of what we want in our easy chicken wings recipe. You have to thaw them completely first and then, this is vital, pat them bone-dry with paper towels afterward. For the best experience, especially if you’re making them for a special event, plan ahead and thaw them overnight in the fridge. If you love lemon pepper flavor, you might want to check out these lemon pepper wings after you master the base technique!
Do I have to use a wire rack for these?
Think of the wire rack as the MVP of this whole operation! Yes, you absolutely have to use one. The rack allows hot air to circulate underneath the chicken wing pieces, drying the bottom skin just as effectively as the top. If you skip the rack, the bottom of your no fry chicken wings will sit in the rendered fat and moisture, making them soggy. It’s worth setting up the rack for guaranteed crispiness!
Nutritional Estimates for This Chicken Wing Recipe
Now, I know that when we’re making truly delicious, satisfying finger food chicken wings, we aren’t exactly focused on counting every speck of dust, but it’s good to have a general idea of what you’re eating! These estimates are based on the recipe serving four people, with each serving containing about four wings—before adding any heavy sauce or glaze.
Remember, these numbers can change depending on the exact size of your wings and what sauces you decide to bathe them in later. But for the base dry-rubbed version, here’s what you can generally expect:
- Serving Size: 4 wings
- Calories: 280
- Fat: 18g (That’s the good, necessary fat helping the skin crisp!)
- Protein: 26g (Hello, amazing source of protein!)
- Carbohydrates: 1g
- Sodium: 350mg
This is why I love this method; by skipping the deep-fryer, we keep the saturated and trans fats way lower, which is a huge win for a party appetizer! If you go heavy on a sweet sauce later, the sugar and sodium counts will obviously climb, so aim for a thin coat if you’re tracking things closely. Enjoy these knowing you’ve made a much smarter, yet still incredibly tasty, choice!
PrintUltra Crispy Baked Chicken Wings (No Fry Needed)

You can make shatteringly crispy baked chicken wings in your oven that rival fried versions. This easy recipe uses a simple technique to ensure juicy meat and perfectly crunchy skin every time. These are ideal for game day or your next party appetizer.
- Prep Time: 15 min
- Cook Time: 50 min
- Total Time: 65 min
- Yield: 4 servings 1x
- Category: Appetizer
- Method: Baking
- Cuisine: American
- Diet: Low Fat
Ingredients
- 2 lbs chicken wings (flats and drumettes separated)
- 1 tablespoon baking powder (aluminum-free preferred)
- 1 teaspoon salt
- 1/2 teaspoon black pepper
- 1/2 teaspoon garlic powder
- 1/2 teaspoon onion powder
- 1/4 teaspoon cayenne pepper (optional)
Instructions
- Preheat your oven to 425°F (220°C). Line a large, rimmed baking sheet with parchment paper or aluminum foil. Place a wire cooling rack on top of the baking sheet.
- Pat the chicken wings completely dry using paper towels. This step is crucial for crispiness.
- In a large bowl, combine the baking powder, salt, pepper, garlic powder, onion powder, and cayenne pepper.
- Add the dried chicken wings to the bowl. Toss them thoroughly until every piece is lightly and evenly coated with the dry rub mixture.
- Arrange the coated wings in a single layer on the wire rack, ensuring there is space between each wing for air circulation. Do not let the wings touch.
- Bake for 25 minutes.
- Flip each chicken wing over. Return the pan to the oven and bake for another 20 to 25 minutes, or until the skin is deeply golden brown and very crisp.
- Remove the wings from the oven. You can serve them plain with your favorite dipping sauce or immediately toss them in a glaze, like honey garlic or BBQ sauce, while hot.
Notes
- For the best results, use aluminum-free baking powder; it helps the skin brown without adding a metallic taste.
- Do not skip drying the wings; excess moisture prevents crisping.
- If you want sticky chicken wings, toss them immediately after they come out of the oven with your chosen sauce.
- For a thicker sauce coating, simmer your sauce briefly to reduce it before tossing the hot wings.
Nutrition
- Serving Size: 4 wings
- Calories: 280
- Sugar: 1
- Sodium: 350
- Fat: 18
- Saturated Fat: 5
- Unsaturated Fat: 13
- Trans Fat: 0
- Carbohydrates: 1
- Fiber: 0
- Protein: 26
- Cholesterol: 90