
If I could bottle up the feeling of being tucked into bed on a chilly evening, it would smell exactly like this dessert. For me, the kitchen is where the best memories are made, and nothing screams pure, soul-soothing comfort like a steaming bowl of classic rice pudding. You know, the kind that tastes just like grandma used to make? I’ve spent years perfecting this stove top version to make sure it’s the most reliable and utterly creamy bowl of goodness you’ll ever scoop up. This Ultimate Creamy Old Fashioned Stovetop Rice Pudding recipe is one of those kitchen treasures I’m so excited to share with you. It uses simple ingredients and solid techniques—the kind Isabella Rossi built Chefsily on—to deliver that perfect nostalgic bite every single time. If you love this cozy feel, be sure to check out all our other delicious dessert recipes!
- Why This Old Fashioned Rice Pudding Recipe Works (The Chefsily Difference)
- Ingredients for Ultimate Creamy Rice Pudding
- Step-by-Step Easy Stovetop Pudding Instructions
- Ingredient Notes and Substitutions for Classic Rice Pudding
- Serving Suggestions for Your Warm Comforting Dessert
- Make Ahead Pudding and Storage Instructions
- Troubleshooting Common Rice Pudding Issues
- Frequently Asked Questions About Old Fashioned Rice Pudding
- Nutritional Estimates for Homemade Rice Pudding
Why This Old Fashioned Rice Pudding Recipe Works (The Chefsily Difference)
Listen, I know there are a million recipes out there, but I didn’t want another pudding that baked up dry or ended with a burnt layer stuck to the bottom of the pan! That’s why this stovetop method is my go-to for the best creamy pudding dessert. We’re using simple ingredients, yes, but the technique ensures we get that velvety smooth result we crave from a truly creamy rice pudding recipe. It’s all about controlled heat. I’ve seen so many home cooks get frustrated by scorching, but I promise, keeping things low and slow on the stovetop makes this an incredibly reliable and simple creamy dessert. If you love this cozy feel, you absolutely have to try my pudding cookies next!
Achieving the Best Creamy Rice Pudding Texture
The secret weapon here is the rice itself—we absolutely need short-grain rice! When you cook it low and slow in all that whole milk, the starch releases beautifully, creating a natural, thick glue that makes the whole mixture luxurious. This controlled simmering prevents the liquid from evaporating too quickly, which is what causes that thin, watery outcome you sometimes get. Trust me, this stovetop process is foolproof for achieving that deep, comforting creaminess you see in the heirloom recipes.
Ingredients for Ultimate Creamy Rice Pudding
When you’re making something as pure and nostalgic dessert recipes like this rich rice pudding, you can’t skimp on quality, but you don’t need a cabinet full of specialty stuff either! Clarity is key here, which is why I list exactly what you need. The star ingredient, besides the rice, is the full-fat dairy. We use whole milk because, honestly, using anything less just feels wrong when you are aiming for that supreme richness you associate with the perfect rice pudding with whole milk. These simple items are the foundation. Feel free to check out my easy creamy dill dip if you need something savory later!
- 1 cup short-grain white rice
- 4 cups whole milk
- 1/2 cup granulated sugar
- 1/4 teaspoon salt
- 1 teaspoon vanilla extract
- 1/2 teaspoon ground cinnamon (for topping)
Step-by-Step Easy Stovetop Pudding Instructions
Making this easy stovetop pudding is wonderfully straightforward once you start. It’s more about patience than technique here. First things first: we combine the rice, the whole milk, sugar, and salt in a heavy-bottomed saucepan. This type of pan is your best friend when working with milk on the stove, trust me on that one! Bring that whole mixture up to a gentle simmer over medium heat. You’ll need to stir it frequently at this stage so nothing sticks.
Once it’s gently simmering—not violently bubbling—reduce the heat way down low. Now, this is where the magic happens for a true classic rice pudding: we cook it uncovered for a good 40 to 50 minutes. You must stir every five to seven minutes during this long cook time. When it smells wonderfully rich, and the rice is tender but still swimming in that thick, creamy liquid? That’s the aroma telling you it’s practically done!
Finally, pull it right off the heat and stir in that lovely vanilla extract. We serve it warm first, but I always let mine cool slightly before chilling for that *ultimate* texture. Don’t forget to check out my easy creamy clam dip recipe if you need a savory side to balance all that sweetness!
Tips for Perfect Rice Pudding on the Stovetop
I cannot stress enough the importance of using a heavy-bottomed pot here. That extra metal buffer is what stops your starch from scorching onto the bottom—a tragedy we want to avoid entirely! Also, never let it crash into a rolling boil once it simmers. If it boils too fast, the liquid evaporates too quickly, and you end up with undercooked rice or a thick, hard layer forming on top. Keep it slow, keep it patient, and you build that creamy texture naturally.
Ingredient Notes and Substitutions for Classic Rice Pudding
I always get questions about making tweaks to this old-fashioned recipe, and yes, you absolutely can make small adjustments without losing that signature comfort! Let’s talk about the milk because it makes such a huge difference in our classic rice pudding. If you truly want to hit that ultra-rich standard, you can substitute half of the whole milk with heavy cream. It makes the final texture almost decadent, perfect for a truly indulgent homemade sweet dessert.
Now, I know some folks aren’t fans of the texture, so let me assure you: this recipe is great for those asking about rice pudding no raisins! I leave them out entirely, and you should feel free to skip them too. If you prefer them, remember to soak them first so they don’t steal moisture from your gorgeous pudding! If you need a savory accompaniment, you should check out my recipe for homemade brown gravy from scratch; it contrasts nicely!
Serving Suggestions for Your Warm Comforting Dessert
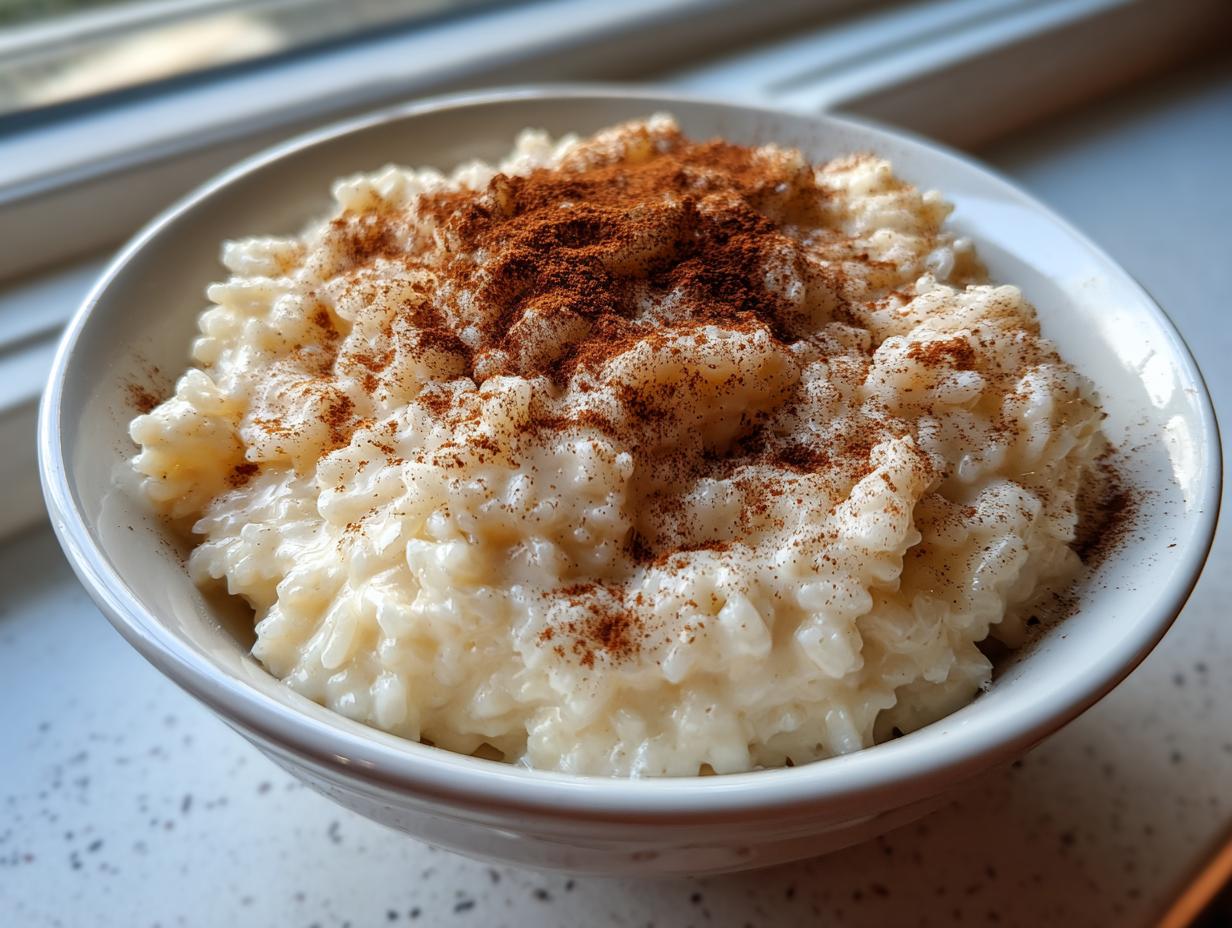
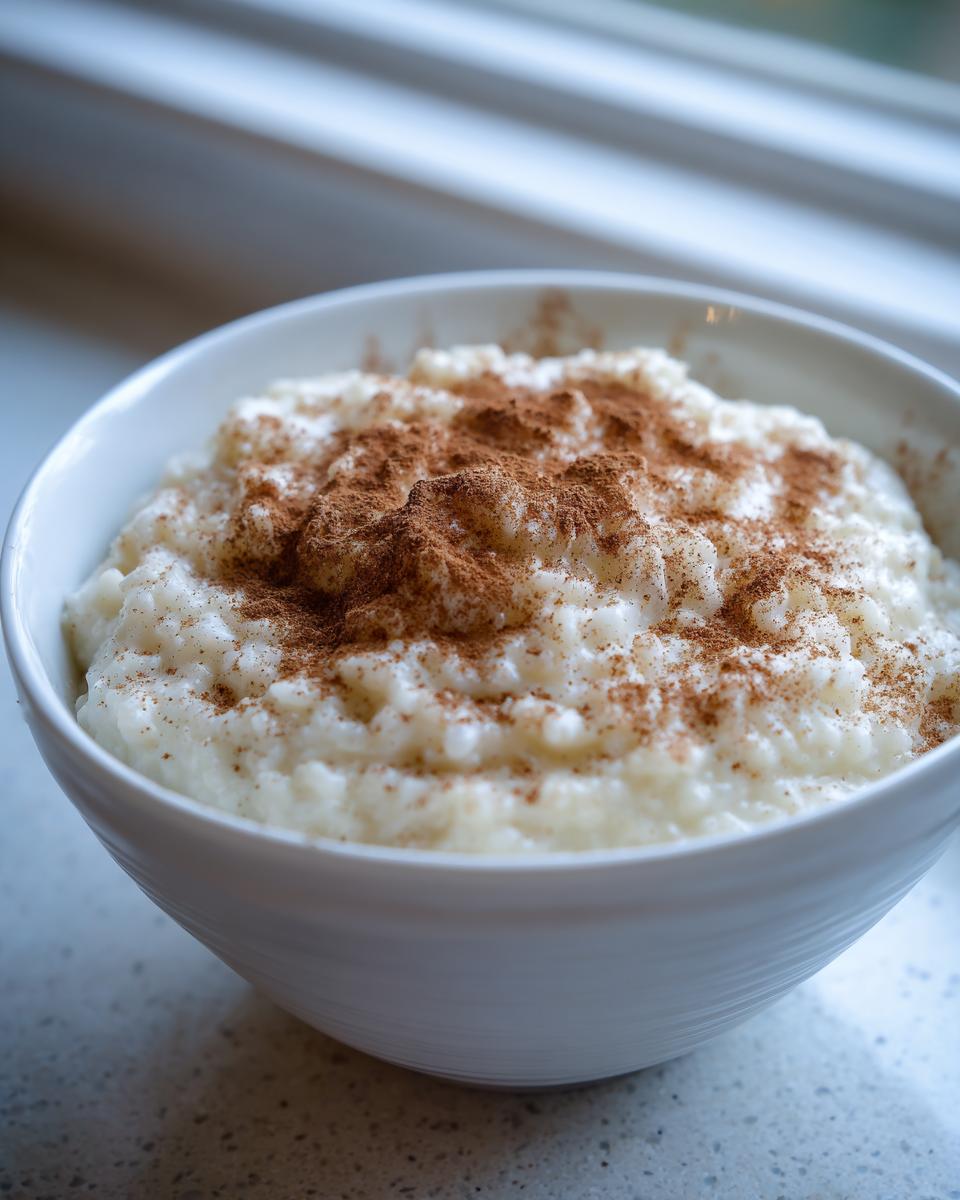
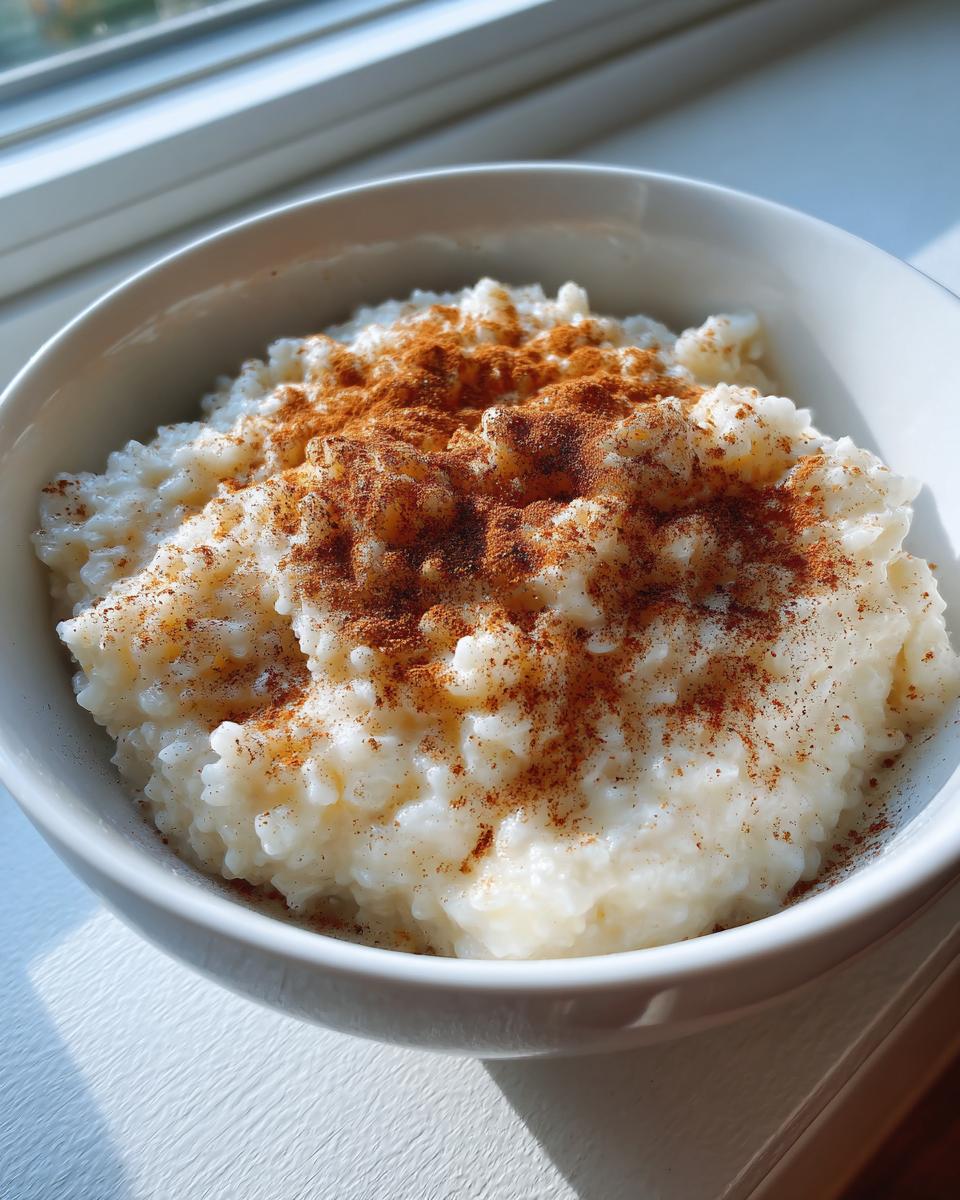
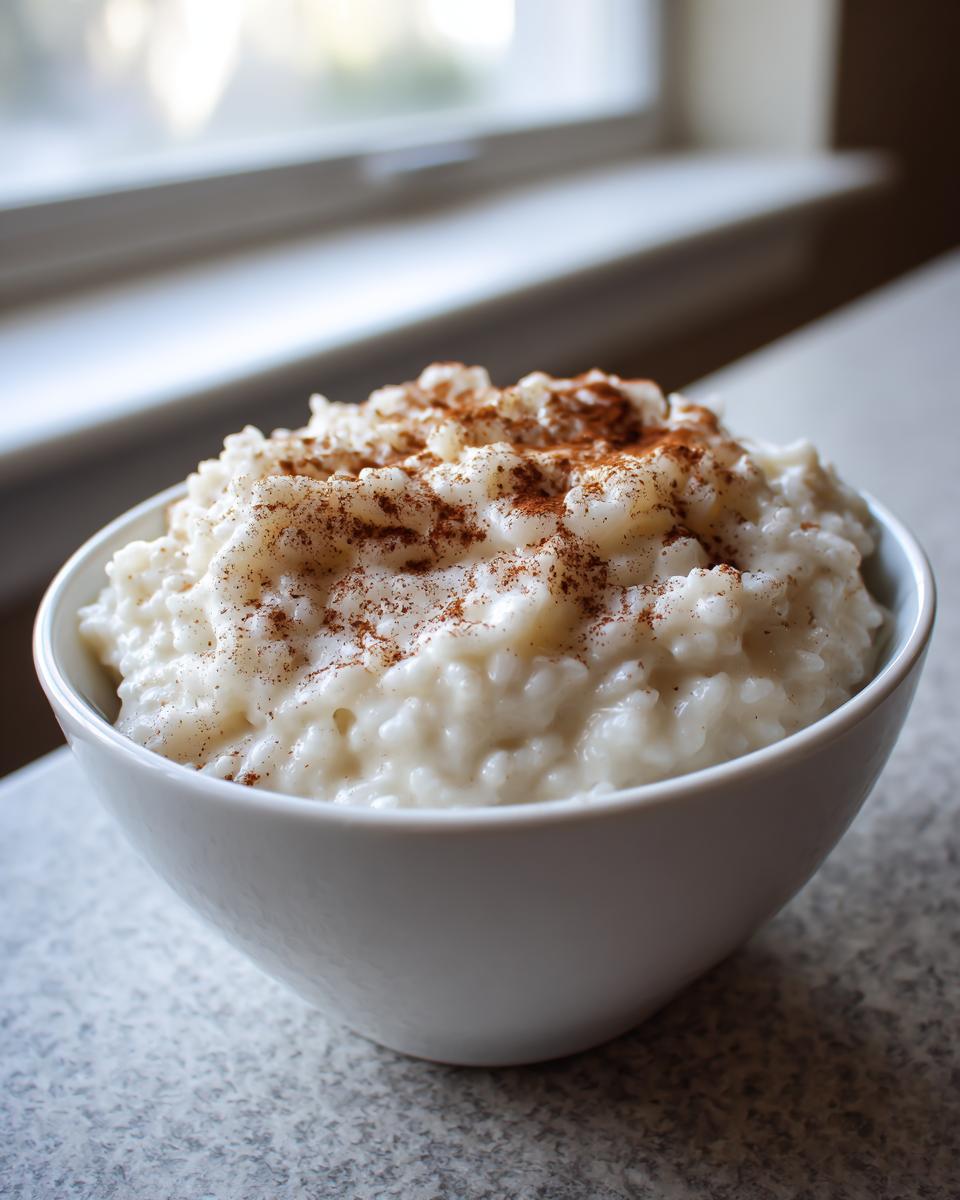
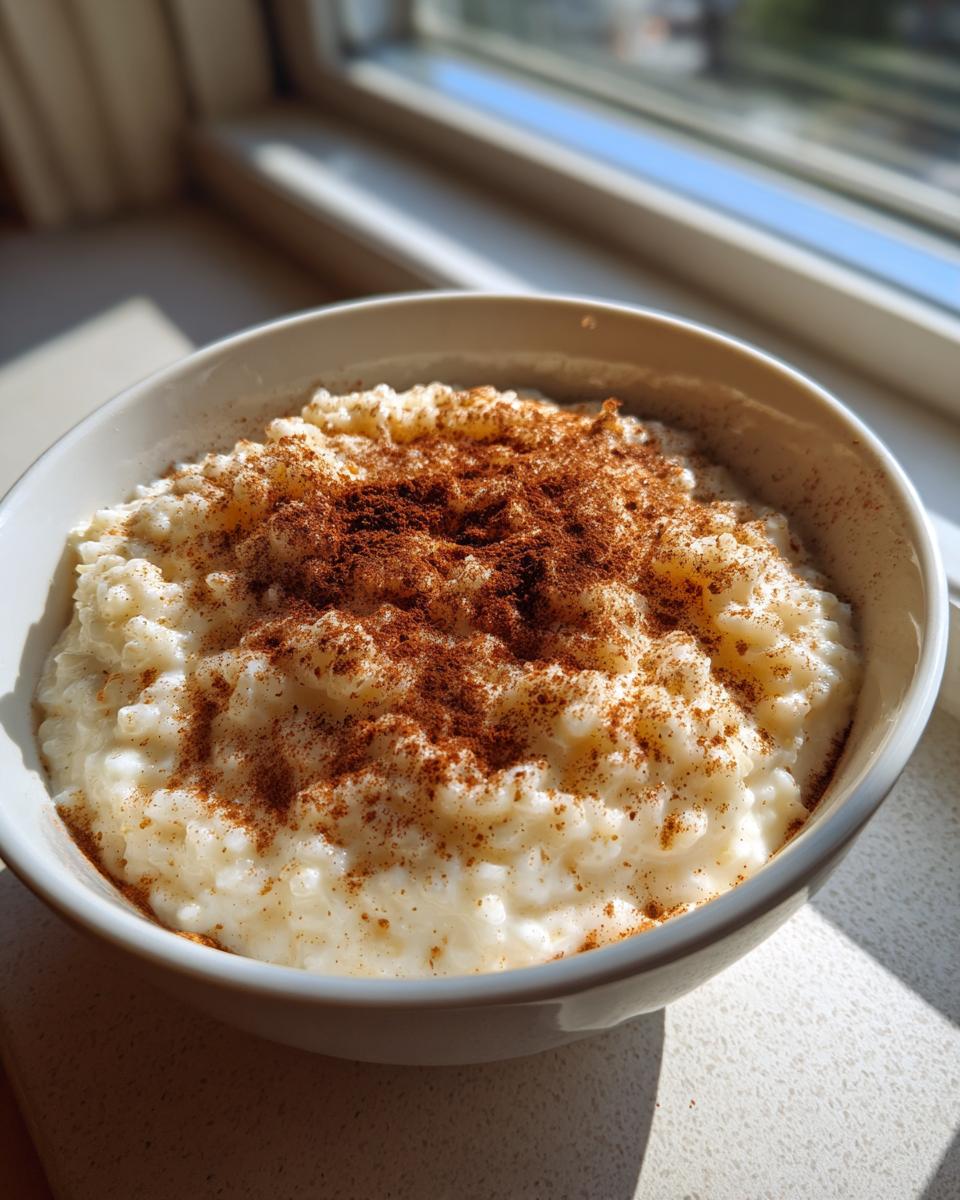
This rice pudding truly shines whether you serve it piping hot as a warm comforting dessert or chilled and thick the next day. When it’s warm, the aroma of vanilla is just incredible, and it pairs perfectly with a strong cup of coffee in the morning or after dinner. If you prefer a colder treat, let it set up in the fridge; it firms up beautifully! For special toppings, I love dusting it with extra cinnamon, of course, or maybe a sprinkle of nutmeg. If you want to get really fancy, try it alongside my baked pears with cinnamon and honey for a seasonal twist!
The Role of Cinnamon in This Vanilla Rice Pudding
Cinnamon is non-negotiable for me in this dessert! It just elevates that pure vanilla rice pudding flavor we are aiming for. The warmth of the ground spice plays so well against the creamy backdrop of the milk and rice. It’s the signature touch that makes this a true rice pudding with cinnamon, giving it that classic, homey finish everyone recognizes.
Make Ahead Pudding and Storage Instructions
This recipe is just perfect for when you need a make ahead pudding for guests or just want a dessert ready when you walk in the door! Good news: this rice pudding keeps wonderfully. You can store it in an airtight container in the refrigerator for up to four days. If you are prepping this for a party, know that it will definitely set up thicker as it cools down; it goes from creamy to almost scoopable, which I personally love! That texture is fantastic for a cold treat.
Now, if you pull it out later and it seems a touch too firm—which happens because the rice keeps absorbing that liquid—don’t panic! Just transfer a serving into a bowl and stir in just a small splash of whole milk or even a little water while gently warming it on the stove or microwave. It revives that creamy texture instantly. Speaking of chewy treats, if you have any room left after this dessert, you must try my snickerdoodle blondies!
Troubleshooting Common Rice Pudding Issues
Even with the best intentions, sometimes things don’t go perfectly when we are cooking. This is normal! Don’t worry if your rice pudding isn’t quite right the first time. If your rice is still hard after 50 minutes, it probably needs more time and maybe just a tiny splash more milk added while it keeps simmering gently. If your pudding is too thin when you take it off the heat, just let it sit off the burner uncovered for 10 minutes; it keeps thickening as it cools! And if you smell burning? Pull it off the heat immediately and quickly scrape the good stuff into a clean bowl—salvage is the key to being a good cook!
Frequently Asked Questions About Old Fashioned Rice Pudding
Kitchen questions pop up all the time, even with the most reliable recipes! Since this is such a familiar, nostalgic dessert recipe for so many of us, I wanted to tackle the most common things people ask me about getting this perfect rice pudding just right on the stovetop.
Can I use long-grain white rice instead of short-grain?
Oh, I strongly advise against long-grain rice for this one! Long grain, like Basmati or Jasmine, is designed to stay separate when cooked. For that irresistible, thick, creamy rice pudding texture we are chasing, you truly need short-grain or Arborio rice. The starch release from the short grains is what creates the wonderful binding effect and thickness. Long grain just leaves you with soupy milk and firm bits of rice, which isn’t the vibe we want!
Can I adapt this for baked rice pudding instructions?
You certainly could switch this to a baked version, though it changes the texture a bit! To adapt, you’d pour the combined mixture into a casserole dish and bake at 325°F (160°C) until set, which usually takes about 1 hour to 1 hour 15 minutes. Baking tends to give you a firmer crust on top, which some folks love! Just know that this specific recipe is designed for the stovetop for maximum, easy creaminess.
What is the ultimate secret to getting such a creamy result?
It comes down to three things working together: the short-grain rice, the use of whole milk (seriously, don’t skimp!), and constant, gentle stirring. That slow movement keeps the rice grains moving against each other, rubbing off just enough starch to create that thick, luxurious sauce coating the rice. It’s the perfect example of simple ingredients making an amazing, easy creamy dessert!
Do people really add raisins to this classic rice pudding?
Some recipes do call for them, but for my old-fashioned version, I leave them out completely unless someone specifically requests them! If you love dried fruit, I highly recommend trying my easy chicken tacos recipe sometime—the contrast is nice, but for pure comfort pudding, I keep it fruit-free.
Nutritional Estimates for Homemade Rice Pudding
Now, I want to be super clear—I’m a cook, not a nutritionist! These numbers are just a guide based on the ingredients listed in this recipe, and they can jump around depending on specifics like exactly how much liquid reduces or the exact sugar measurement you use. But this gives you a general idea of what you’re diving into with this wonderful rice pudding. If you want to compare that to something savory, check out my tips for easy creamy dill dip!
- Serving Size: 1 cup
- Calories: 320
- Fat: 8g
- Saturated Fat: 4g
- Carbohydrates: 55g
- Sugar: 22g
- Protein: 10g
Remember, this is a nostalgic dessert made with whole milk, so it carries that rich, creamy goodness we love! Enjoy every spoonful!
PrintUltimate Creamy Old Fashioned Stovetop Rice Pudding

Make this classic, creamy rice pudding on the stovetop. This old fashioned recipe uses simple ingredients to create a warm, comforting dessert perfect for any night.
- Prep Time: 5 min
- Cook Time: 50 min
- Total Time: 55 min
- Yield: 4 servings 1x
- Category: Dessert
- Method: Stovetop
- Cuisine: American
- Diet: Vegetarian
Ingredients
- 1 cup short-grain white rice
- 4 cups whole milk
- 1/2 cup granulated sugar
- 1/4 teaspoon salt
- 1 teaspoon vanilla extract
- 1/2 teaspoon ground cinnamon (for topping)
Instructions
- Combine the rice, whole milk, sugar, and salt in a heavy-bottomed saucepan.
- Place the saucepan over medium heat. Stir the mixture frequently to prevent the rice from sticking to the bottom.
- Bring the mixture to a gentle simmer. Reduce the heat to low once simmering begins.
- Cook uncovered for 40 to 50 minutes, stirring every 5 to 7 minutes. The pudding is done when the rice is tender and the mixture has thickened to a creamy consistency. Do not allow it to boil rapidly.
- Remove the saucepan from the heat. Stir in the vanilla extract.
- Serve the rice pudding warm, or chill it in the refrigerator for at least 2 hours for a thicker, cold dessert.
- Before serving, sprinkle the top with ground cinnamon.
Notes
- For a thicker pudding, let it cool slightly before refrigerating; it will set up more as it cools.
- You can substitute half the whole milk with heavy cream for an even richer texture.
- This is a great make ahead pudding; it keeps well in the refrigerator for up to four days.
Nutrition
- Serving Size: 1 cup
- Calories: 320
- Sugar: 22
- Sodium: 150
- Fat: 8
- Saturated Fat: 4
- Unsaturated Fat: 4
- Trans Fat: 0
- Carbohydrates: 55
- Fiber: 1
- Protein: 10
- Cholesterol: 25