
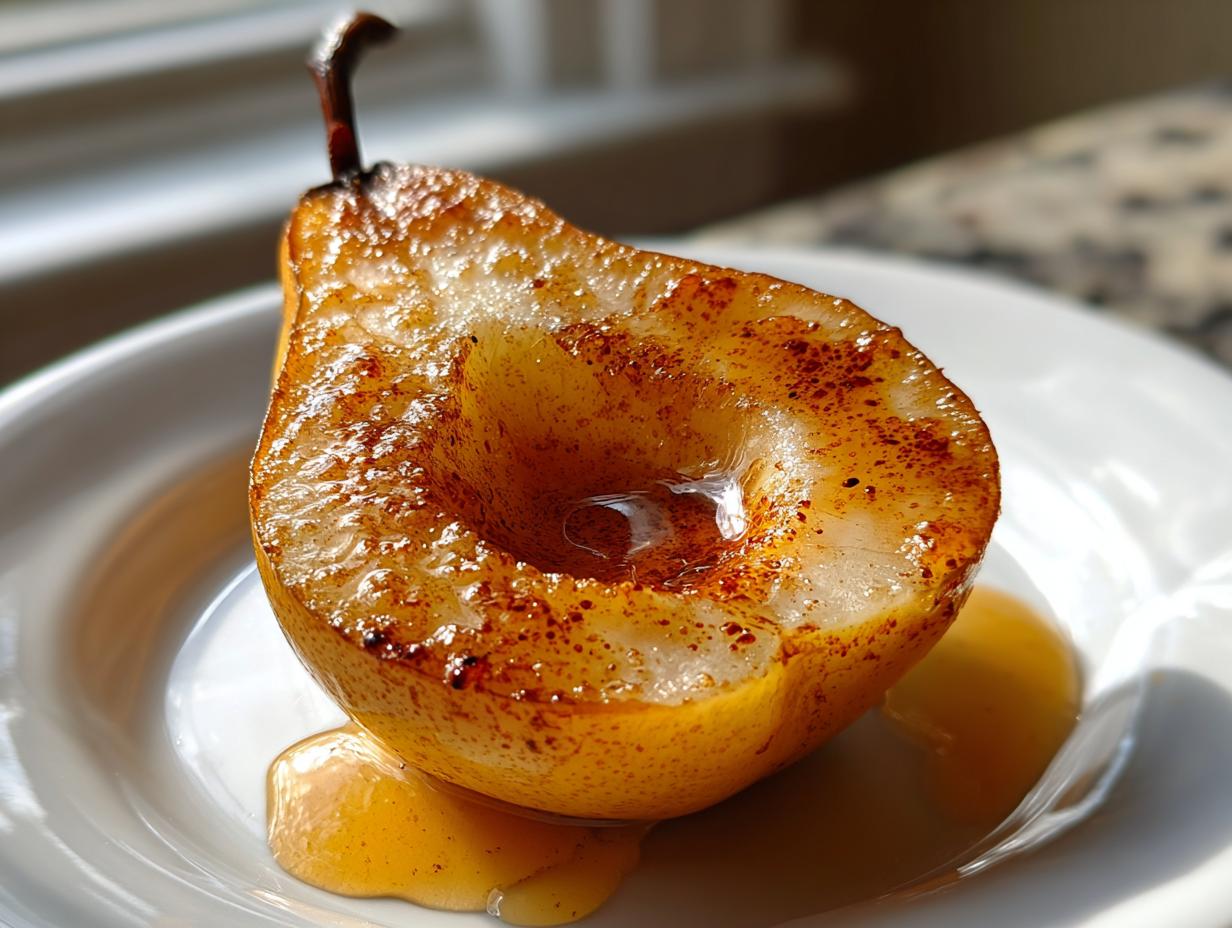
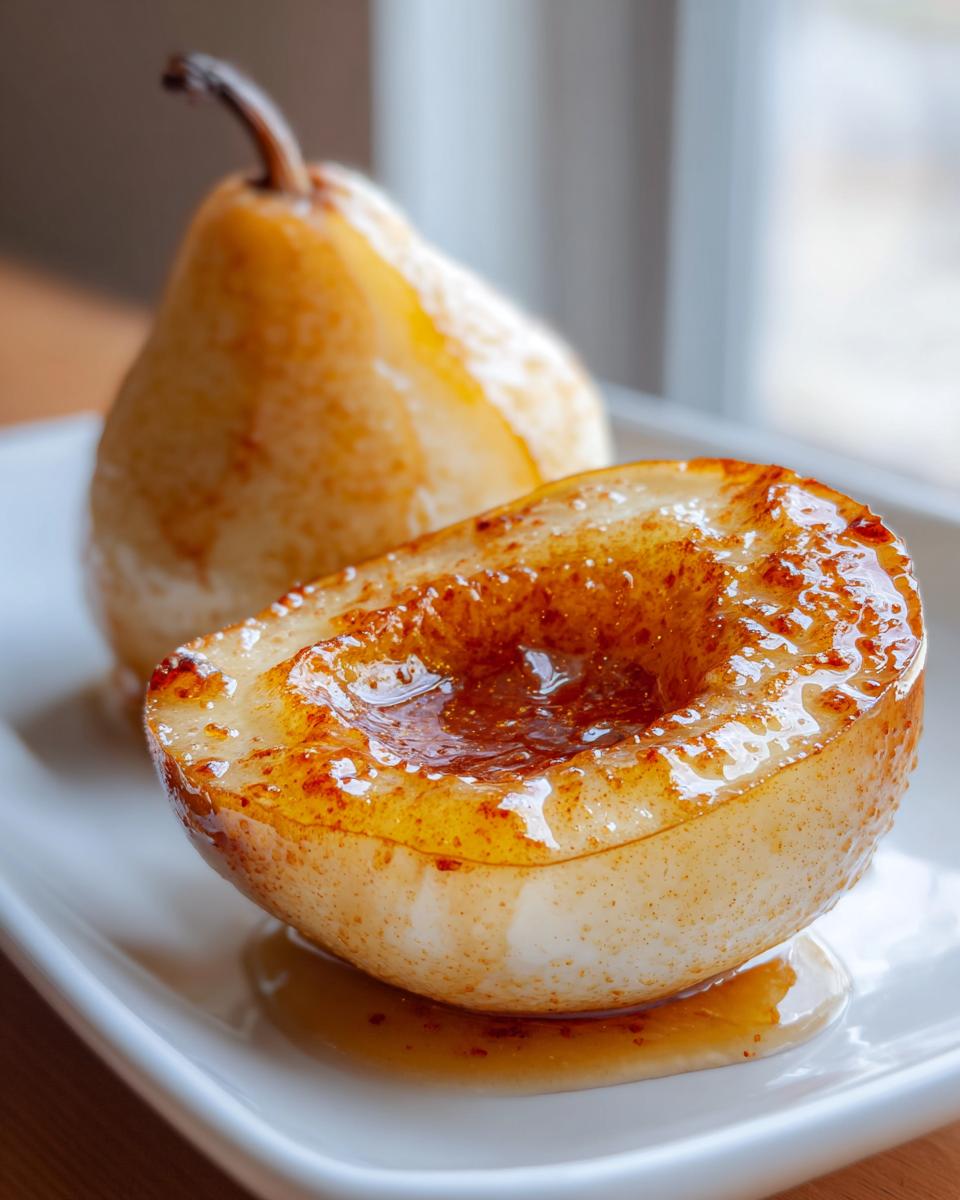
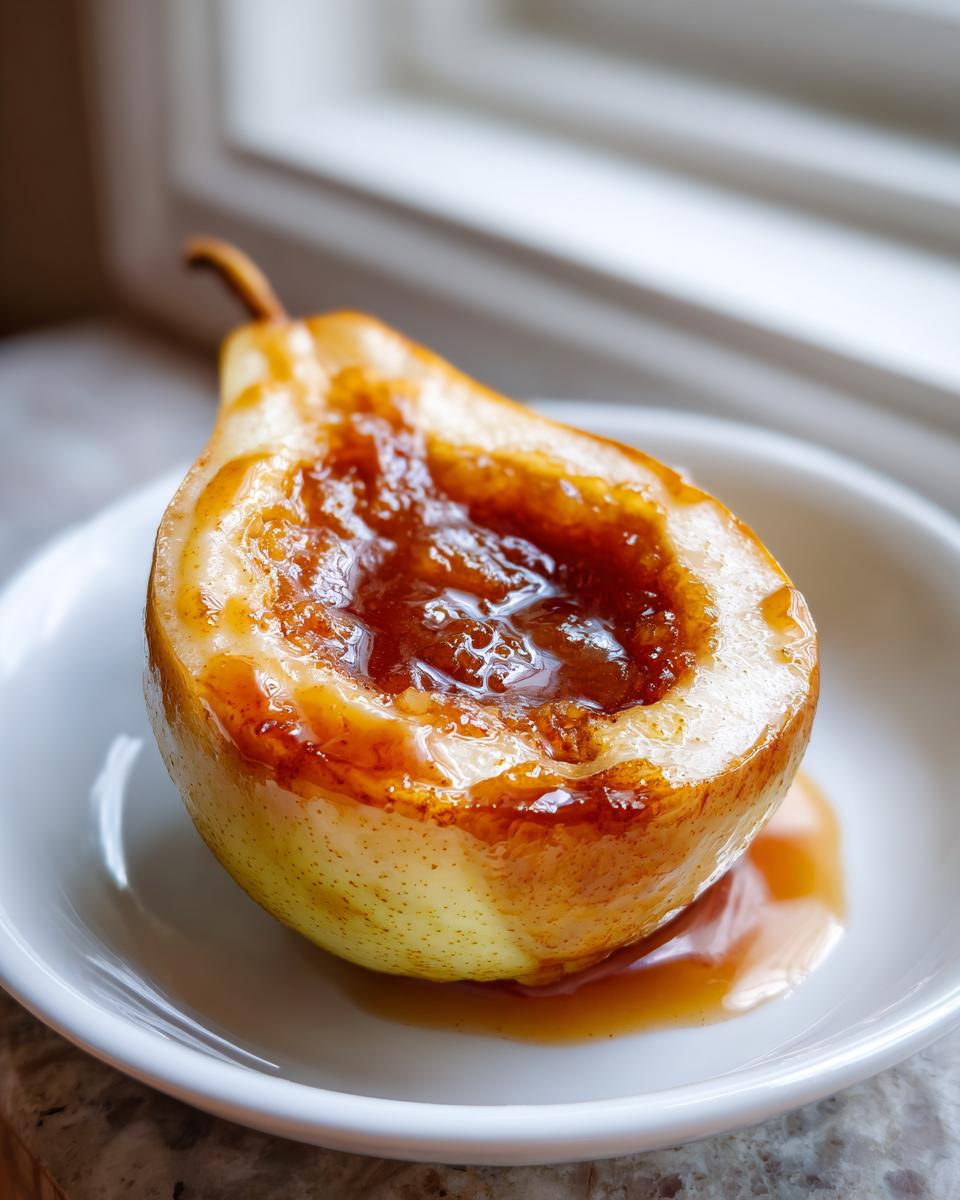
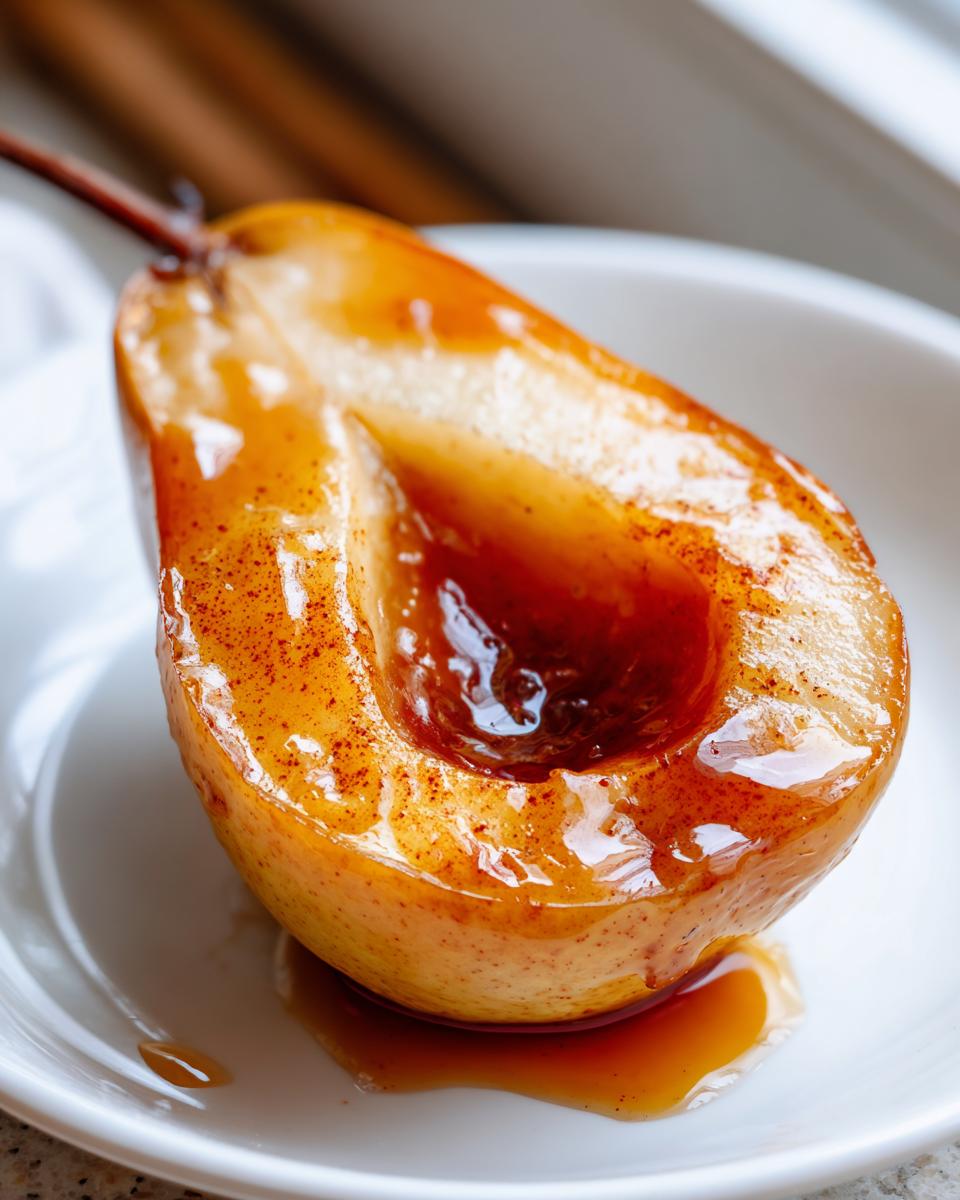
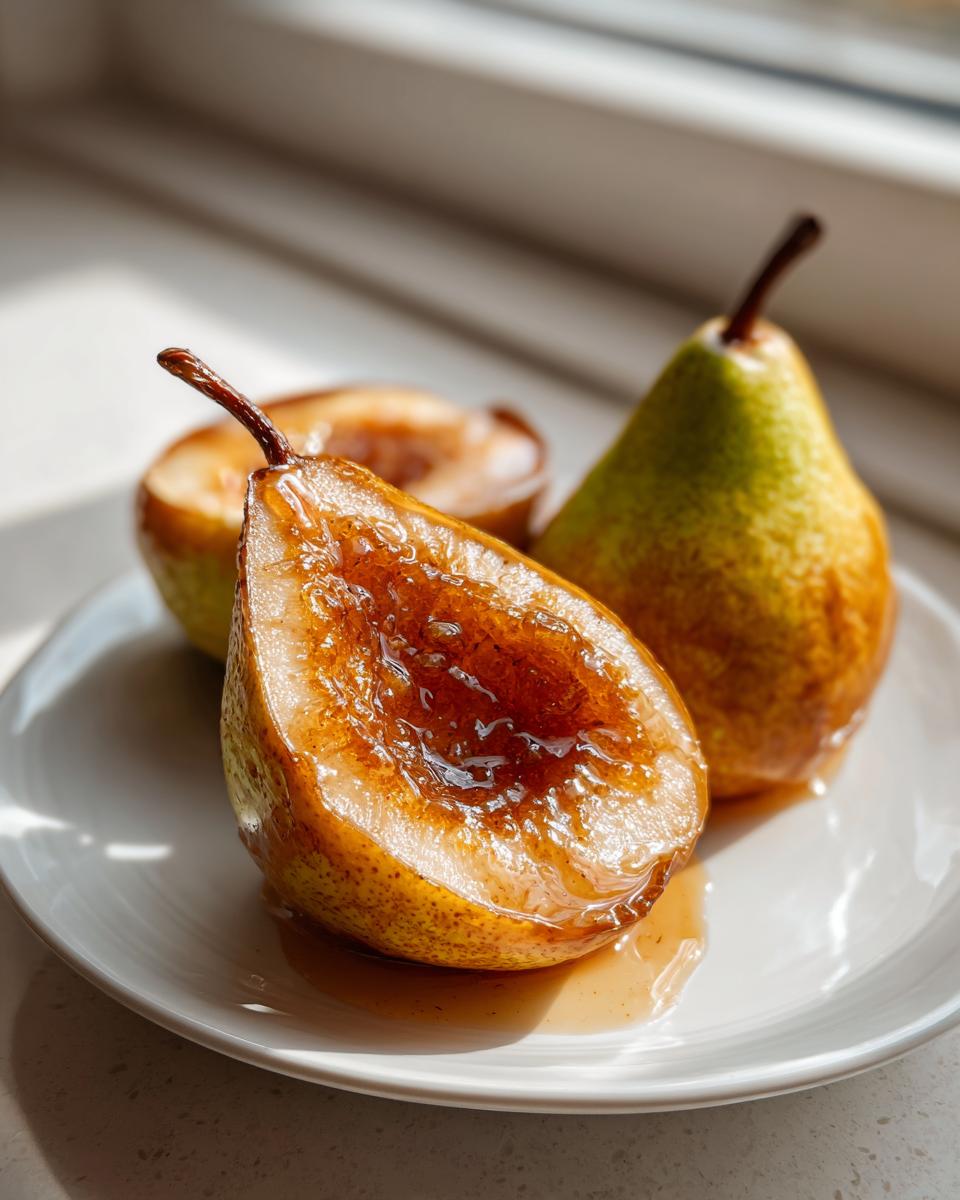
When the air gets crisp and you just crave something warm, sweet, and incredibly comforting, you don’t need a complicated recipe. You need magic that’s easy to whip up, and that’s exactly what these **baked pears** are! Growing up, my grandmother taught me that joy in the kitchen often comes from the simplest ingredients transformed with love. This recipe for Cinnamon Honey Baked Pears is the perfect example—it’s elegant enough for company but naturally sweet enough for a quiet Tuesday night. Forget fussy steps; we’re focusing on pure, wholesome flavor that everyone adores. If you’re looking for a wonderful, warm pear dessert, trust me, this is the one. It proves that the most special meals are often the most straightforward ones. Find more simple delights over at our dessert collection.
- Why You Will Love These Classic Cinnamon Honey Baked Pears
- Gathering Ingredients for Your Cinnamon Honey Baked Pears Recipe
- Step-by-Step Instructions for Perfect Baked Pears
- Tips for Success When Making Baked Pears
- Serving Suggestions for Your Elegant Autumn Desserts
- Storage and Reheating Instructions for Baked Pears
- Frequently Asked Questions About Baked Pears
- Nutritional Estimation for Cinnamon Honey Pears
- Share Your Experience with These Baked Pears
Why You Will Love These Classic Cinnamon Honey Baked Pears
Honestly, who needs complicated when you have this? These baked pears tick all the boxes for a perfect cozy treat. They are ridiculously easy and feel so fancy without trying too hard. Plus, they hit that sweet spot we all look for in a better-for-us dessert. Here’s why they are going into heavy rotation at my house:
- They are the definition of an Easy Baked Fruit Dessert—prep takes maybe ten minutes!
- The natural sugars from the honey make these one of my favorite Naturally Sweet Desserts.
- The scent of cinnamon and warm fruit is pure comfort food baking perfection.
- It’s an elegant autumn dessert that requires virtually no stress.
Gathering Ingredients for Your Cinnamon Honey Baked Pears Recipe
The beauty of this recipe is that you likely have most of this on hand already! It’s all about simple, quality components coming together. We aren’t using any complicated processed things here; just pure, cozy flavors. When you shop, look for pears that are firm but give just a little when pressed—we need them to hold their shape while they soften up in the oven. Don’t worry too much about exact measurements; we’re baking with love, not engineering a spaceship!
Essential Components for Baked Pears
- You’ll need 4 firm ripe pears. I always grab Bosc or Anjou because they bake up beautifully without turning to mush.
- 4 tablespoons of pure honey—it really makes the glaze shine.
- 2 teaspoons of ground cinnamon. This is where that cozy aroma comes from!
- 1/4 cup of water. This keeps things from drying out around the edges.
- 1 tablespoon of unsalted butter, which needs to be cut into tiny little pieces.
Optional Toppings and Flavor Boosts
Now, while the basic pears are amazing all on their own, you absolutely have the option to bump up the flavor or texture if you’re feeling extra. If you want that lovely crunch, keep the optional walnuts nearby. And if you’re feeling adventurous and want to lean savory-sweet, crumbling a bit of goat cheese in there is heaven.
- Optional: 1/4 cup chopped walnuts for texture.
- For contrast: A little bit of crumbled goat cheese is wonderful added during the last few minutes.
Step-by-Step Instructions for Perfect Baked Pears
Okay, this is the easy part where the real transformation happens! Don’t let the elegant final result fool you; this process is so straightforward. I always tell people that if you can mix two things in a bowl, you can nail these baked pears. We are aiming for tender, golden sweetness, and the timings are just a guideline since every oven and every pear is slightly different. For more simple fruit ideas, check out my recipe for easy brown sugar cinnamon pear crisp!
Preparation and Preheating for Baked Pears
First things first, get your oven ready! You need to preheat it to 375°F (190°C). Next, lightly grease a small baking dish that can hold your pear halves snugly. Now, grab those lovely pears, wash them up, and slice them right down the middle lengthwise. You need to scoop out the core and all those seeds from the center. I usually use a melon baller for this because it cleans out the middle perfectly without scraping up too much fruit flesh.
Creating the Cinnamon Honey Glaze and Baking
In a tiny bowl, go ahead and mix your honey and cinnamon until it looks like a lovely, thick spice paste. Then, use a spoon to gently spread that honey cinnamon mixture right over the cut side of every pear half. After that, tuck one little piece of cold butter right into that clean center cavity of each pear. Pour the 1/4 cup of water into the bottom of the baking dish—this creates steam, which keeps things moist! Pop the whole dish into the preheated oven.
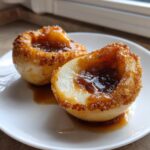
Finishing Touches for Warm Pear Dessert
You’re looking at about 30 to 40 minutes of baking time. You’ll know they’re done when you can easily pierce the thickest part of the pear with a fork—it should be tender! If you decided to use those crunchy walnuts, sprinkle them over the top during the final five minutes of baking so they toast up nicely. Once they come out, be careful, they’ll be piping hot! I always finish by spooning that gorgeous, reduced syrup from the bottom of the dish right over the top of the pears before serving them warm.
Tips for Success When Making Baked Pears
You know, even the simplest recipes can sometimes have little hidden pitfalls, and I want to make sure your experience making these baked pears is absolutely perfect. This isn’t rocket science, but a couple of little things I learned the hard way can save you frustration. Getting the right pear is probably the biggest hurdle, but once you nail that, the rest is smooth sailing. If you’re ever looking for savory ideas that are just as comforting, my recipe for easy creamy white chicken chili is another must-try!
First, let’s talk about choosing your fruit. You must use a firm pear! If you pick one that’s too soft—like one that’s perfect for eating raw that minute—it’s going to turn into pear soup when you bake it. I stick religiously to Bosc or firm Anjou pears because they have that great structure. They soften nicely but they don’t collapse under the heat, which keeps that elegant half-shape we want.
Ripeness totally dictates your timeline, so pay attention! If your pears are just barely firm, they might be done chilling around the 30-minute mark. But if you grab pears that are a little greener and sturdier, they might need that full 40 minutes, or even five minutes longer, to get fork-tender. My tip is to start checking at 30 minutes. Poke gently right near where the core was removed; if your fork slides in with almost no resistance, you’re good to go!
For the honey glaze to really coat nicely and not just run straight off into the water you put in the bottom of the pan, make sure your honey isn’t crystallized or rock hard when you mix it with the cinnamon. If it’s too stiff, just warm the honey itself for about 10 seconds in the microwave before you mix it with the spice. It flows better that way, and trust me, a smooth coating means maximum flavor infusion.
Serving Suggestions for Your Elegant Autumn Desserts
Now that you have these perfectly tender, fragrant **Cinnamon Honey Pears**, the final step is figuring out what stunning accompaniment to serve them with! That honey-cinnamon syrup at the bottom of the pan is liquid gold, so you definitely don’t want to waste it. This dessert is so flexible; it can be a cozy nightcap or the beautiful finale to a dinner party.
The classic approach, and one I absolutely adore when I want to treat the family, is pairing that warmth with something cold and creamy. A big scoop of high-quality vanilla ice cream sets up a wonderful hot-and-cold contrast. I have my favorite vanilla buttercream frosting recipe, but for just serving alongside, a simpler, good vanilla bean ice cream melts beautifully into that syrup.
If you’re leaning a little healthier or want something that cuts the richness just right, plain Greek yogurt is amazing. It brings a lovely, subtle tartness that balances the deep sweetness of the caramelized honey. Just a dollop on the side lets you scoop up the syrup with every bite of pear.
But listen, don’t forget those savory notes we talked about! If you’re serving these as a more sophisticated appetizer or an adult dessert, you have to try the goat cheese trick. Just crumble a tiny bit of soft, tangy goat cheese over the top right when they come out of the oven. The cheese melts just enough to mix with the honey, and wow, it’s a fantastic flavor combination. It takes your Elegant Autumn Desserts to a whole new level of complex flavor!
Storage and Reheating Instructions for Baked Pears
One of the best things about making baked pears is that you almost *always* have leftovers because they are just that delicious! Keeping them good for a few days is super easy, but you want to make sure that beautiful honey glaze stays intact and the pears don’t get weird in the fridge. I always encourage people to save them because they make a fantastic quick option for breakfast or a light snack the next day.
When you store your leftover baked pears, the secret is keeping that tasty syrup with them! Don’t drain it off. Place the pear halves and all the syrup into an airtight container. You can usually keep these beauties refrigerated safely for about three to four days, maybe five if your pears were super fresh to start with. The cold kind of mutes the cinnamon spice a bit, so they taste brand new once they warm up.
Now, for reheating—this is important! You want to warm them through without turning them into mush. Microwaving is fast, I know, but honestly, it can make the fruit a little spongy quickly, especially if they are very ripe. If you’re only reheating one pear half, 15 to 20 seconds in the microwave is probably fine.
However, if you’re reheating a couple of servings, I strongly suggest you use the oven or even a toaster oven. Cover the pears loosely with foil right in their baking dish or a small oven-safe container. Pop them into a preheated oven at about 300°F (150°C) for about 10 minutes. This gently re-warms the fruit and the syrup, bringing back that lovely tender texture and aroma without overcooking them. They come out tasting almost as amazing as they did fresh!
Frequently Asked Questions About Baked Pears
I get so many questions whenever my family makes this simple dessert! That’s a sure sign that you all love easy, comforting food just as much as I do. I’ve gathered up a few of the most common things people ask me about when they’re making these baked pears. If I haven’t covered your specific worry, please jump down to the comment section!
Can I make these baked pears ahead of time?
Oh yes, you absolutely can! These are one of those fantastic dishes that hold up really well. I usually don’t bake them more than a day ahead of time, but if you store the cooled pears and the extra syrup together in an airtight container in the fridge, they are perfectly delicious the next day. When you’re ready to serve, just reheat gently using the oven method I mentioned earlier. It’s great for dinner parties when you want your dessert already dealt with!
What is the best type of pear for this quick pear recipe?
When it comes to a quick pear recipe that involves baking, texture stability is everything. You want a pear that won’t just melt into a puddle before it’s finished caramelizing! My top picks are always Bosc or Anjou. They are sturdy, sweet enough, and they soften beautifully without losing their overall structural integrity. A Bartlett might work if it’s still very firm, but honestly, stick to Bosc or Anjou for the best guaranteed results every time.
Is this a gluten free pear dessert?
That’s a great question, especially for those of us trying to keep things lighter! The good news is that the core recipe using just pears, honey, cinnamon, butter, and water is naturally 100% Gluten Free Pear Dessert. Zero worries there! The only time you need to double-check is what you serve it with. If you toss walnuts on top, you’re still safe. But if you decide to serve it over a crumb topping or with a side of regular cake, you’d need to ensure those accompaniments are certified gluten-free. For the base recipe itself, though? Completely safe!
If you ever want another naturally comforting, simple recipe, my moist, easy vegan banana bread is another staple that just happens to be naturally allergy-friendly!
Nutritional Estimation for Cinnamon Honey Pears
I always like to give a little note on the nutrition, even though when something tastes this good, I usually try not to think about it too hard! Remember, this is just an estimation, because how much honey actually sticks to the pear, or how big your pears are, can change things slightly. This is just to give you a general idea of what you’re enjoying. Since we’re using natural fruit sugars and honey mostly, it’s a lovely way to satisfy that sweet tooth responsibly!
These values are based on serving one pear half, without any optional toppings like walnuts or ice cream added in. I think you’ll agree it looks pretty good for a real dessert!
- Serving Size: 1 pear half
- Calories: Around 210
- Sugar: Roughly 35g (Mostly natural fruit and honey sugar)
- Fat: About 5g
- Protein: Low, around 1g
- Fiber: A bonus 7g of fiber from that beautiful fruit!
Just a quick reminder—because transparency is really important here at the kitchen table—these numbers are educated guesses based on standard ingredient databases. If you use a lot more butter or add a cup of ice cream on top, those counts are going to jump up! But as a naturally sweet baked fruit treat, they really hold their own.
Share Your Experience with These Baked Pears
That’s it! You’ve made these gorgeous, warm, **baked pears**, and now I’m already dreaming about how you’re going to serve them. Please don’t be shy! This is where the community aspect of cooking comes in. I absolutely love seeing your twists on my family-style recipes. Did you stick with the classic honey and cinnamon, or did you dare to try that savory goat cheese variation we talked about? I’m so curious to know!
If you followed along and made this **simple baked dessert**, do me a huge favor and leave a star rating right below the recipe card. It helps other home cooks out there trust that this recipe works its magic, and I read every single comment to make sure everything is clear!
If you shared a picture of your beautifully caramelized **Cinnamon Honey Pears** on Instagram or anywhere else, link it or tag me so I can see! I always feature my favorite reader creations in my stories. If you have any questions at all while trying this out—maybe about choosing the perfect pear or the best way to reheat—don’t hesitate to reach out directly through my contact page. I’m here to help you make every meal a joy!
PrintClassic Cinnamon Honey Baked Pears
Make this simple yet elegant dessert. Ripe pears bake until tender with a warm cinnamon honey glaze, creating a comforting treat perfect for any evening.
- Prep Time: 10 min
- Cook Time: 40 min
- Total Time: 50 min
- Yield: 4 servings 1x
- Category: Dessert
- Method: Baking
- Cuisine: American
- Diet: Vegetarian
Ingredients
- 4 firm ripe pears (Bosc or Anjou work well)
- 4 tablespoons honey
- 2 teaspoons ground cinnamon
- 1/4 cup water
- 1 tablespoon unsalted butter, cut into small pieces
- Optional: 1/4 cup chopped walnuts for topping
Instructions
- Preheat your oven to 375°F (190°C). Lightly grease a small baking dish that fits the pears snugly.
- Wash the pears. Cut each pear in half lengthwise and use a melon baller or small spoon to carefully remove the core and seeds.
- Place the pear halves cut-side up in the prepared baking dish.
- In a small bowl, mix the honey and cinnamon together until combined.
- Spoon the honey cinnamon mixture evenly over the cut surface of each pear half.
- Place a small piece of butter into the center cavity of each pear half.
- Pour the 1/4 cup of water into the bottom of the baking dish around the pears.
- Bake for 30 to 40 minutes, or until the pears are tender when pierced with a fork. Baking time depends on the ripeness of your pears.
- If using walnuts, sprinkle them over the pears during the last 5 minutes of baking.
- Carefully remove the dish from the oven. Spoon any accumulated syrup over the pears before serving warm.
Notes
- For an elegant presentation, serve each pear half with a scoop of vanilla ice cream or a dollop of Greek yogurt.
- If you prefer a savory contrast, substitute the walnuts with a small amount of crumbled goat cheese added during the last 5 minutes of baking.
- This recipe works well with other spices like a pinch of nutmeg or allspice mixed with the cinnamon.
Nutrition
- Serving Size: 1 pear half
- Calories: 210
- Sugar: 35g
- Sodium: 5mg
- Fat: 5g
- Saturated Fat: 2g
- Unsaturated Fat: 3g
- Trans Fat: 0g
- Carbohydrates: 42g
- Fiber: 7g
- Protein: 1g
- Cholesterol: 8mg