
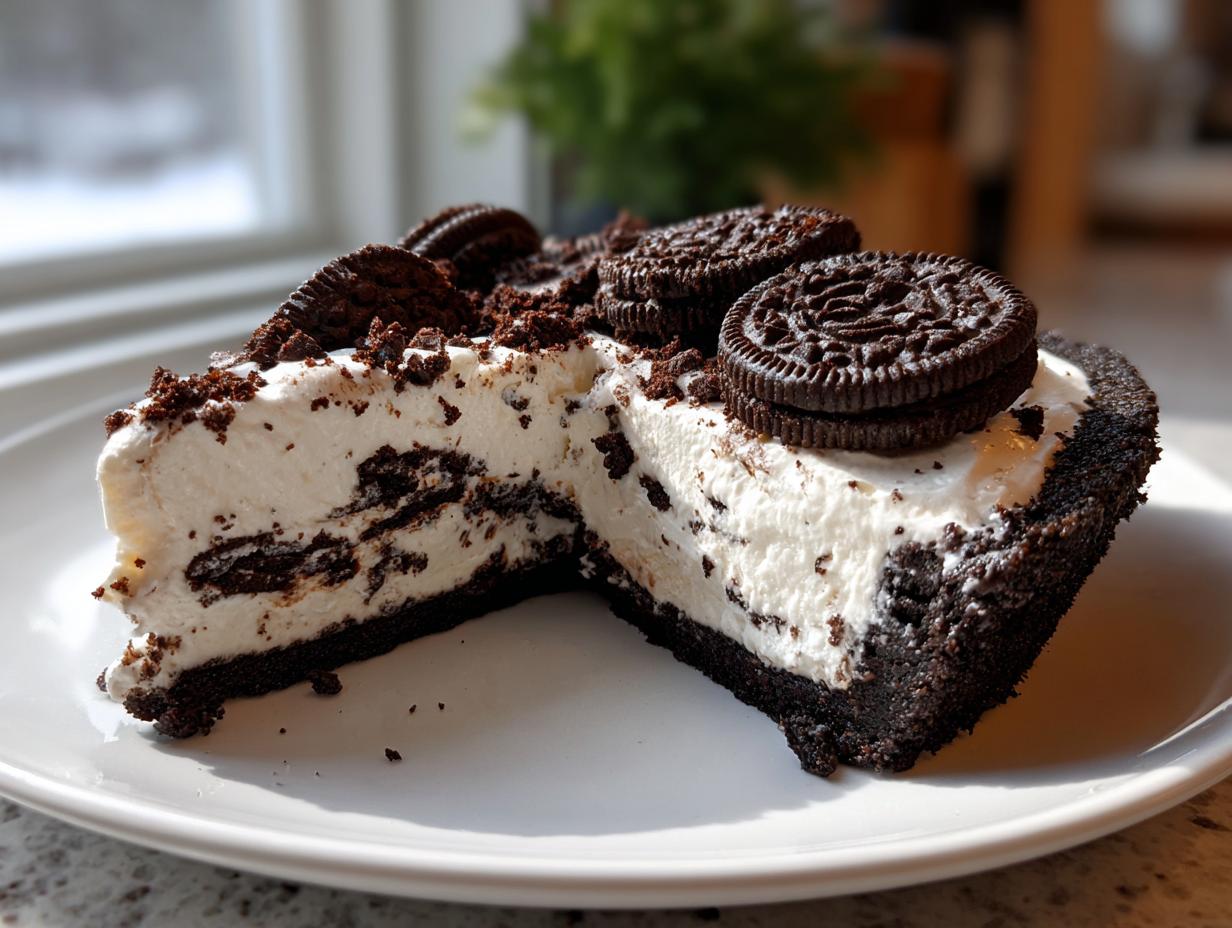
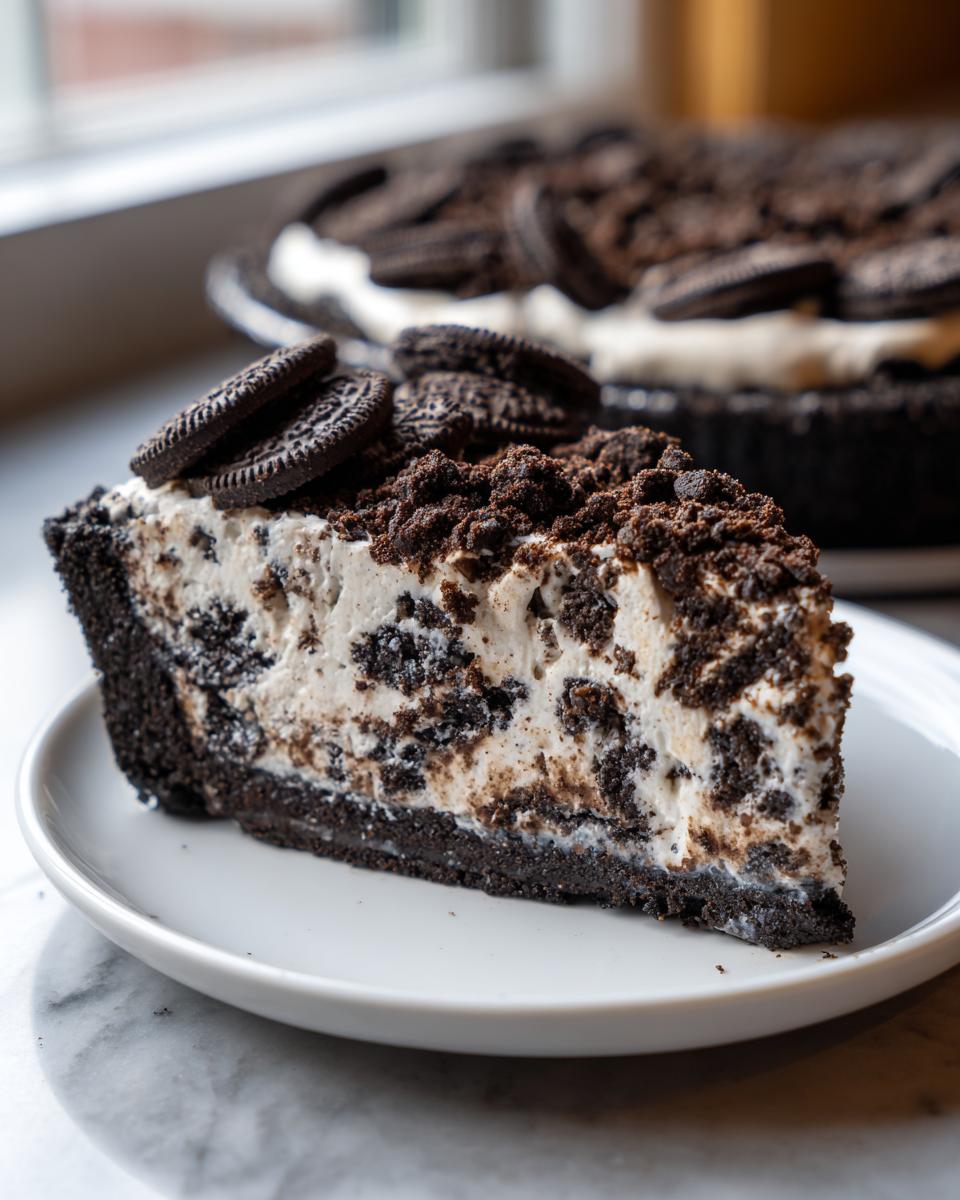
Oh, my friends, I have to tell you about the dessert that saved me last weekend! When you need something outrageously delicious but the thought of turning on the oven makes you sweat, you need rescue. And this, this is the ultimate No Bake oreo pie recipe you’ve been waiting for. Seriously, we are talking about a dessert that comes together in about 20 minutes of prep time, and the texture? It’s so incredibly light and creamy, it practically floats right off the plate. Here at Chefsily, Isabella Rossi always pushes us toward recipes that are simple yet deeply satisfying, and this chilled pie fits that philosophy perfectly. Forget complicated steps; this is pure, easy joy.
- Why This No Bake Oreo Pie is Your New Favorite Easy Oreo Dessert
- Gathering Ingredients for Your Creamy Oreo Dessert
- Step-by-Step Instructions for the Perfect oreo pie
- Tips for Success with Your No Bake Oreo Pie
- Variations on the Classic Cookies and Cream Pie
- Serving Suggestions for Your Party Desserts oreo pie
- Storage and Reheating Instructions for Leftover oreo pie
- Frequently Asked Questions About This Simple Cookie Pie
- Nutritional Estimates for This Decadent Oreo Treat
Why This No Bake Oreo Pie is Your New Favorite Easy Oreo Dessert
Listen, when you need a showstopper dessert in a hurry, nothing beats pulling this beauty straight from the fridge. It just makes life easier, you know? I barely break a sweat, and everyone thinks I spent hours slaving away. It’s my little secret weapon for impromptu gatherings, which is why I call it my go-to Easy Oreo Dessert.
- Zero Ovens Required: It’s a true no-bake wonder, which means it’s ideal for those scorching summer days or when your oven is already jammed with dinner.
- Lightning Fast Prep: Seriously, you can have this beauty mixed up in about 20 minutes of active time. It truly is a Quick Pie Recipe!
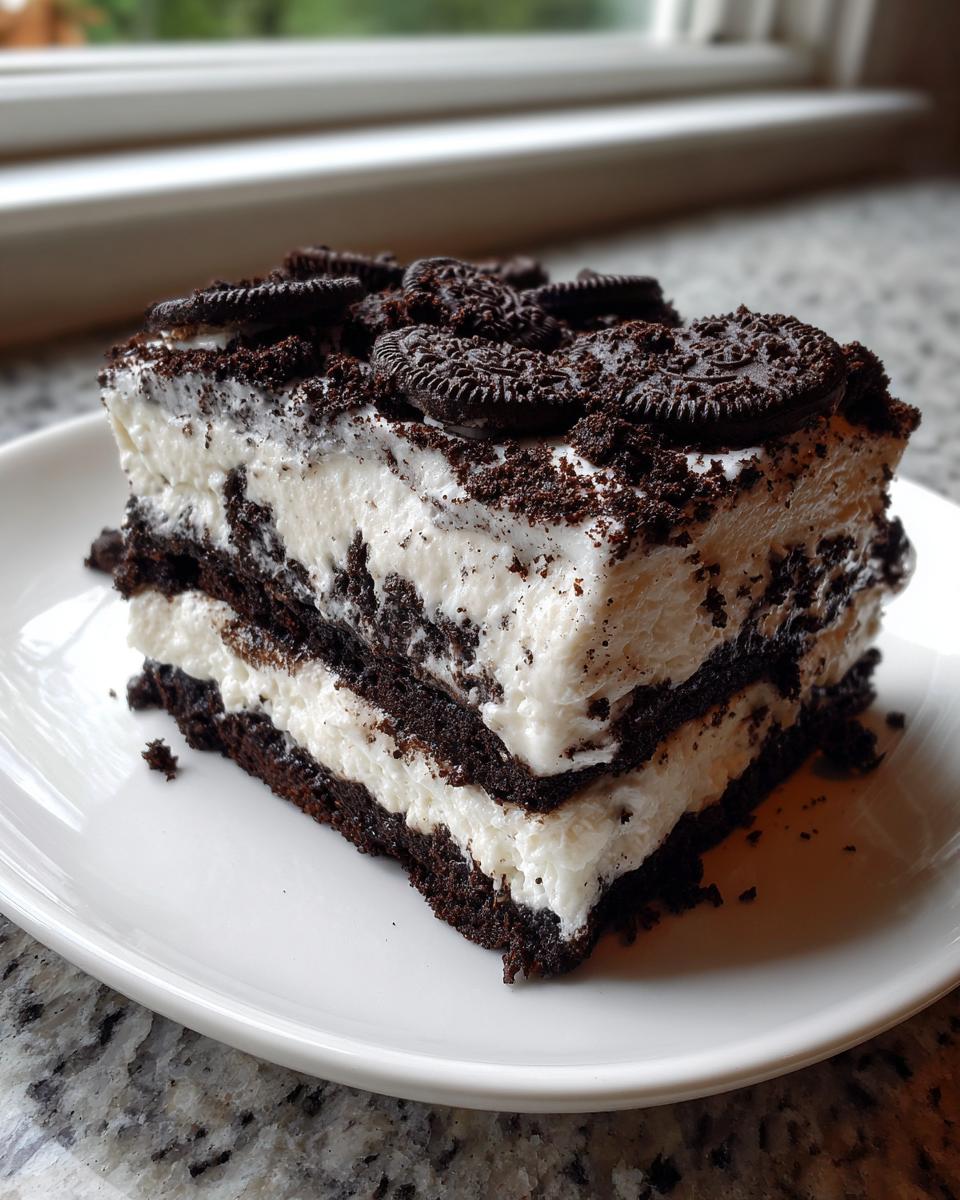
- That Texture, Though: I’m talking light, fluffy, and so incredibly creamy. It’s melt-in-your-mouth deliciousness, not heavy or dense.
- Guaranteed Crowd-Pleaser: Ask anyone, nothing beats Oreos. This pie disappears the second I set it down at a party or family dinner.
Gathering Ingredients for Your Creamy Oreo Dessert
Okay, let’s get down to business! Getting the ingredients right is the first step toward making this glorious, Creamy Oreo Dessert. I love that the list is short and sweet, which keeps the prep moving fast. Just pay close attention to the state of your dairy ingredients—that’s key for a smooth, lump-free filling.
For the Oreo Crust
- One package (about 14.3 ounces) of Oreo cookies, make sure they are the original, not the thin ones! We need 20 cookies for the crust and the rest for the topping.
- 6 tablespoons of unsalted butter, and this definitely needs to be completely melted down before you mix it in.
For the Fluffy Pie Filling
- One 8-ounce package of cream cheese—and I mean completely softened to room temperature! No cold blocks allowed, or you’ll get lumps, trust me.
- 1 cup of powdered sugar, sifted if you want to be extra careful, but I usually just whisk it well.
- 1 teaspoon of vanilla extract.
- One 8-ounce container of frozen whipped topping (like Cool Whip), and it must be fully thawed before you even think about mixing.
- 1 cup of heavy cream, it needs to be ice cold if you plan on whipping it nicely.
- 2 tablespoons of granulated sugar—just a touch to sweeten the heavy cream.
- 1 more teaspoon of vanilla extract for the creamy layer.
Step-by-Step Instructions for the Perfect oreo pie
This is where the magic happens, and trust me, it’s fast! Since this is a No Bake Oreo Pie, we are focusing entirely on texture and temperature. Follow these steps closely, and you’ll have the best, creamiest ore_o pie ever.
Creating the Chocolate Cookie Crust
First up, the foundation! Take about 20 of those Oreos and pulse them in your food processor until they look like fine sand. If you don’t have a processor, a sturdy Ziploc bag and a rolling pin work wonders—just don’t let the kids catch you smashing them unless they promise to keep quiet about it!
Mix those fine crumbs with the melted butter. It should feel like wet sand. Press this mixture firmly and evenly into the bottom and up the sides of your 9-inch pie dish. Really pack it down well, folks! Then, pop that crust into the freezer while we move onto the creamy part. About 10 minutes in the freezer is plenty to set it up.
Mixing the Creamy Base
Grab a nice big bowl. We need that softened cream cheese, powdered sugar, and one teaspoon of vanilla extract. Beat this mixture until it is truly, completely smooth. I mean it—you want zero lumps here because that cream cheese can be stubborn. Keep beating until it looks light and perfectly blendable. That smoothness guarantees your final pie is a true Creamy Oreo Dessert.
Making the Light and Fluffy Topping
Time to build that beautiful fluff! In a separate, clean, chilled bowl, whip your cold heavy cream and the 2 tablespoons of granulated sugar. You are whipping this until you get those stiff peaks—you know, when you lift the whisk and the cream stands straight up like a little snowy mountain. Gently fold in your thawed whipped topping. Be tender here! We are creating air!
Assembling and Chilling the oreo pie
Now, toss about a cup of the broken-up Oreos into your cream cheese mixture. Then, take that lovely whipped topping mixture and gently fold *that* in, too. Fold, don’t stir! We want to keep all that lovely air we just incorporated. Once it’s just combined, carefully pour the filling into your frozen crust and smooth the top.
Cover it loosely so it doesn’t absorb fridge smells, and into the refrigerator it goes. You must chill this for at least 4 hours, but honestly, overnight is even better for the easiest slicing. Don’t rush this final step; patience makes the pie!
Tips for Success with Your No Bake Oreo Pie
I’ve made this No Bake Oreo Pie so many times that I practically dream in cream cheese and Oreo crumbs. If you want that perfectly smooth, fluffy texture, a couple of little tricks make a huge difference! Pay attention to your folding technique, because it’s everything here.
First, if you’re skipping the food processor for the cookie crumbs—which I totally understand, who wants more dishes?—just toss those cookies in a heavy-duty zip-top bag. Put the bag on a sturdy surface, and go at it with a rolling pin or even the bottom of a heavy saucepan. You want fine crumbs for the crust, but slightly bigger chunks for the filling, remember?
The biggest word of warning for this pie has to be about the folding. When you combine the whipped cream with the cream cheese mixture, stop mixing the second you see no more white streaks. Overmixing will deflate all that lovely air we beat into the cream, leaving you with a heavy block instead of a decadent, fluffy center. We want light and airy!
Variations on the Classic Cookies and Cream Pie
While the basic recipe for this gorgeous Cookies and Cream Pie is practically flawless, sometimes a cook just needs to tinker! Don’t feel limited by the basic ingredients; this base recipe handles flavor additions beautifully. I always love trying a small twist when I make this for book club because everyone shows up with the same thing!
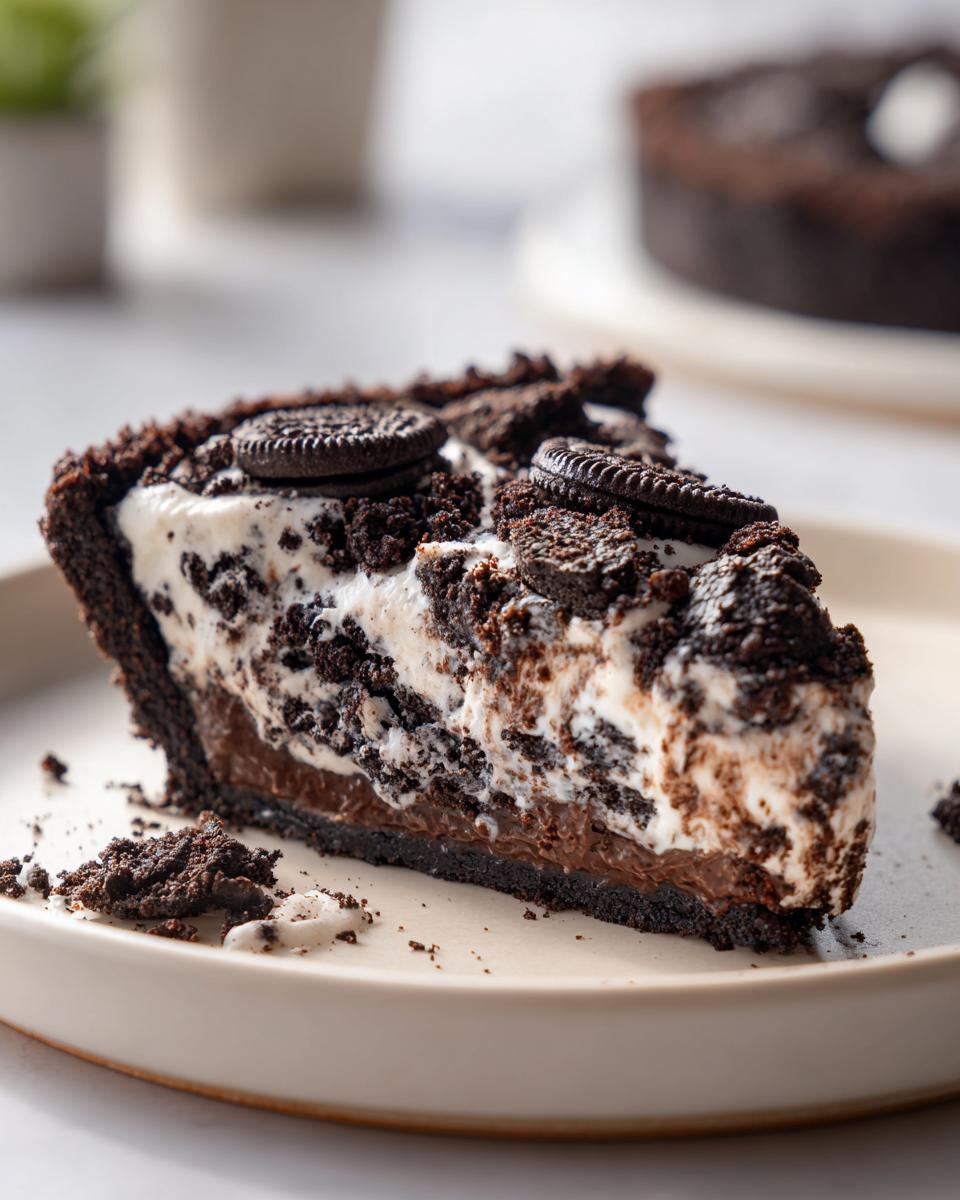
If you are craving something much richer—almost chocolate mousse-like—try making a substitution in the filling. Instead of just using heavy cream and granulated sugar, you can swap that out for a package of instant chocolate pudding mix, mixing that directly into the cream cheese base before you fold in the whipped topping. Talk about decadent! It firms up beautifully and gives you an intense chocolate punch.
Or, if you’re aiming for something a little brighter, especially around the holidays, swap your Oreos for Mint Oreos! That hint of mint cuts through the richness of the cream cheese just perfectly. It transforms your simple, easy dessert into something truly unexpected. You can even drizzle a little melted dark chocolate on top before the final chilling for a gorgeous finish.
Serving Suggestions for Your Party Desserts oreo pie
Because this oreo pie is so rich and chocolatey, it pairs wonderfully with sharp, bright flavors. When you’re setting this out as one of your main Party Desserts, presentation is half the battle, right?
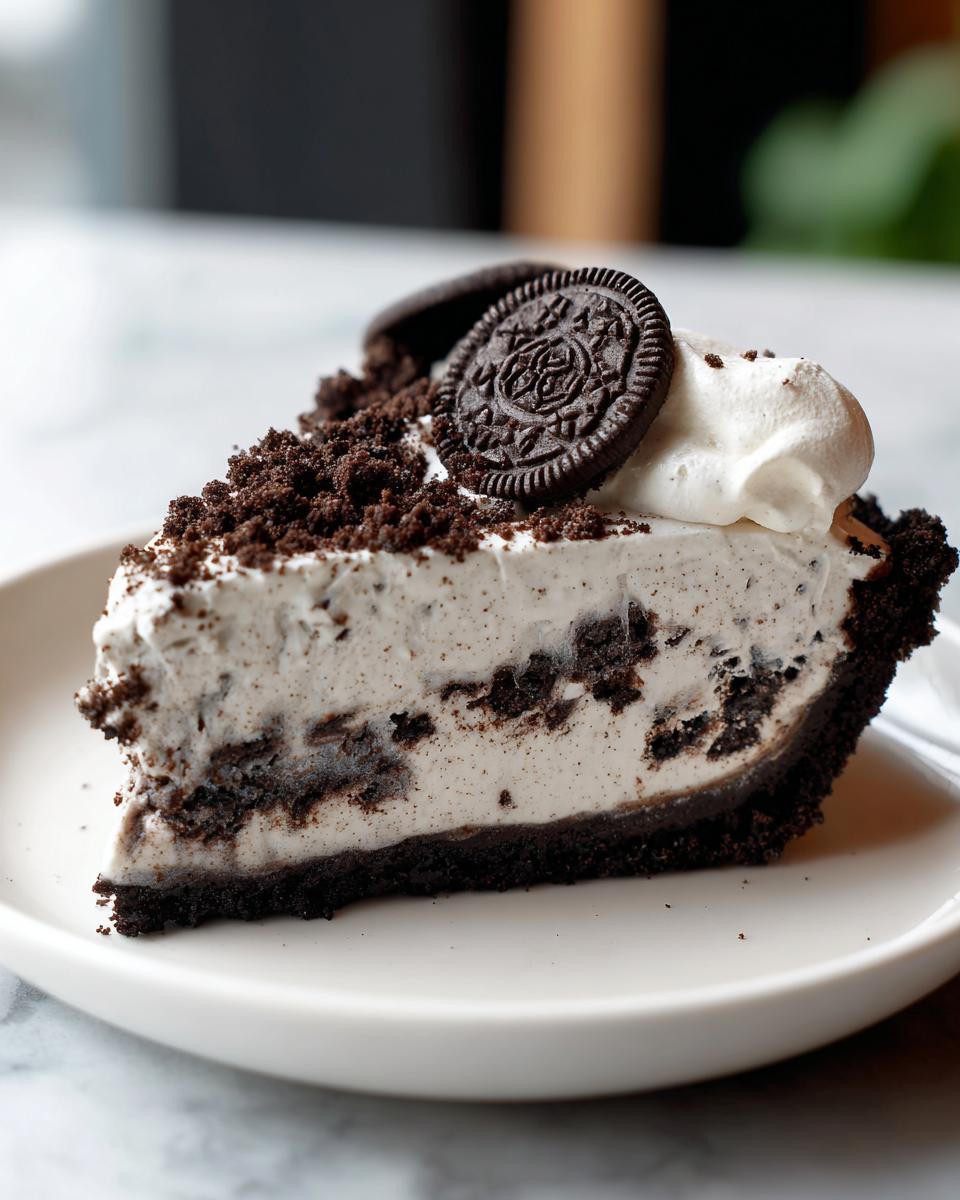
First off, I always dust the top generously with those reserved cookie crumbs when I pull it out to serve—it just looks so much better than bare white topping! I also love having a small bowl of fresh raspberries or thinly sliced strawberries nearby. The tartness of the berries cuts right through the sweetness of the filling in the best way.
If you are serving this after a big dinner, skip the heavy accompaniments. A strong, hot cup of black coffee or a perfectly brewed espresso is the absolute best partner for this chilled pie. The slight bitterness really elevates the cookies and cream flavor. You want that clean finish after such a decadent treat!
Storage and Reheating Instructions for Leftover oreo pie
Now, the hard part: saving some for later! The good news is this oreo pie is fantastic as a make-ahead situation, which is a lifesaver when you are hosting. Since it’s a no-bake situation relying on cream cheese and whipped topping, it absolutely must stay chilled the whole time.
Once you’ve served a slice or two, cover the rest of the pie quite tightly with plastic wrap. I try to make a little tent so the wrap doesn’t stick directly into that beautiful topping. Keep it tucked away in the refrigerator—that’s its happy place.
You can honestly make this up to a full day ahead, and it’s often even better the next day because the crust gets a little softer and the flavors really meld together. I’ve found it stays fantastic for about three days total in the fridge, provided you keep it covered tightly.
One thing I have to be very clear about: since this is loaded with whipped topping and cream cheese, it is a strictly chilled dessert. Absolutely no reheating! If you try to warm it up, you’ll end up with a melted, soupy mess, and we definitely don’t want that sadness. Just pull a slice out about 10 minutes before you plan to eat it so it softens up just slightly, but keep it cold!
Frequently Asked Questions About This Simple Cookie Pie
I know you might have some lingering questions about making the ultimate Simple Cookie Pie—it happens when you’re making something so decadent! I’ve collected the questions I get most often when I bring this to family gatherings. It’s all about making sure your first try comes out perfectly creamy and delicious!
Can I use a different cookie instead of Oreos for the crust?
Yes, you absolutely *can*, but it won’t be the classic flavor profile everyone expects from an oreo pie! If you absolutely must substitute, chocolate wafer cookies work surprisingly well—they grind up nicely and have that rich chocolate flavor. Regular graham crackers will also work if you mix them with a little extra cocoa powder and butter to try and mimic the dark chocolate taste. Just know that anything other than Oreos changes the entire vibe of this Cookies and Cream Pie!
How long before serving should I take the oreo pie out of the fridge?
This is a great question for anyone worried about that perfect slice! Since this filling is airy and relies on being cold to set up properly, you want it chilled solid. I recommend taking the pie out of the refrigerator about 10 to 15 minutes before you plan to slice and serve it. This tiny bit of warming time takes the hard chill off the cream cheese and whipped topping so the filling slices beautifully and tastes softer on your tongue. If you leave it out much longer than that, especially in a warm room, it might start to get a little too soft and lose that gorgeous structure!
Nutritional Estimates for This Decadent Oreo Treat
Alright, let’s talk numbers for a second. I know some of you are tracking everything, and honestly, when you make something this delicious—this truly Decadent Oreo Treat—it’s nice to know what you’re enjoying! I pulled the estimated nutritional information straight from the recipe details for a single slice of this easy oreo pie.
Just keep in mind, these figures are just an approximation, okay? If you use a different brand of Oreos or choose low-fat cream cheese (which I don’t recommend, but you do you!), these numbers will definitely shift a bit. This is just a starting point for those of you counting macros or avoiding certain things!
- Serving Size: 1 glorious slice
- Calories: Right around 420 (Worth every single one, I promise!)
- Total Fat: About 28 grams
- Saturated Fat: Roughly 15 grams (That’s where the richness comes from!)
- Carbohydrates: Around 42 grams
- Sugar: Approximately 35 grams
- Protein: About 4 grams
- Cholesterol: Roughly 45 milligrams
I always say, life is too short to worry too much about dessert sometimes. Enjoying a slice of this creamy, no-bake perfection is an act of self-care, so don’t stress too much over the details! Just make sure you save room for your serving!
PrintEasy No Bake Oreo Pie

You can make this simple, creamy Oreo pie without turning on your oven. It features a chocolate cookie crust and a light, fluffy cookies and cream filling, making it a perfect chilled dessert for any gathering.
- Prep Time: 20 min
- Cook Time: 0 min
- Total Time: 4 hr 20 min
- Yield: 8 servings 1x
- Category: Dessert
- Method: No Bake
- Cuisine: American
- Diet: Vegetarian
Ingredients
- 1 package (14.3 ounces) Oreo cookies, divided
- 6 tablespoons unsalted butter, melted
- 1 package (8 ounces) cream cheese, softened
- 1 cup powdered sugar
- 1 teaspoon vanilla extract
- 1 container (8 ounces) frozen whipped topping, thawed
- 1 cup heavy cream
- 2 tablespoons granulated sugar
- 1 teaspoon vanilla extract
Instructions
- Prepare the crust: Place 20 Oreo cookies in a food processor and pulse until you have fine crumbs. Set aside about 1/2 cup of the crumbs for topping.
- Mix the crust: Combine the remaining Oreo crumbs with the melted butter until the mixture resembles wet sand. Press the mixture firmly and evenly into the bottom and up the sides of a 9-inch pie dish. Place the crust in the freezer while you prepare the filling.
- Make the cream cheese base: In a large bowl, beat the softened cream cheese, powdered sugar, and 1 teaspoon vanilla extract until smooth and creamy.
- Prepare the whipped cream: In a separate, chilled bowl, beat the heavy cream and 2 tablespoons granulated sugar until stiff peaks form. Gently fold in the thawed whipped topping.
- Combine the filling: Fold about 1 cup of crushed Oreo cookies (broken into small pieces, not fine crumbs) into the cream cheese mixture. Then, gently fold the whipped cream mixture into the cream cheese and Oreo mixture until just combined, creating a fluffy, cookies and cream filling. Do not overmix.
- Assemble the pie: Pour the filling into the chilled Oreo crust and spread it evenly.
- Chill: Cover the pie loosely with plastic wrap and refrigerate for at least 4 hours, or until firm.
- Serve: Before serving, sprinkle the reserved 1/2 cup of Oreo crumbs over the top of the pie. Slice and serve cold.
Notes
- For an even richer chocolate flavor, use chocolate pudding mix instead of heavy cream and granulated sugar for a variation on the filling.
- This is a great make-ahead dessert; it tastes excellent the next day.
- If you do not have a food processor, place the cookies in a large zip-top bag and crush them using a rolling pin.
Nutrition
- Serving Size: 1 slice
- Calories: 420
- Sugar: 35
- Sodium: 310
- Fat: 28
- Saturated Fat: 15
- Unsaturated Fat: 13
- Trans Fat: 0.5
- Carbohydrates: 42
- Fiber: 1
- Protein: 4
- Cholesterol: 45