
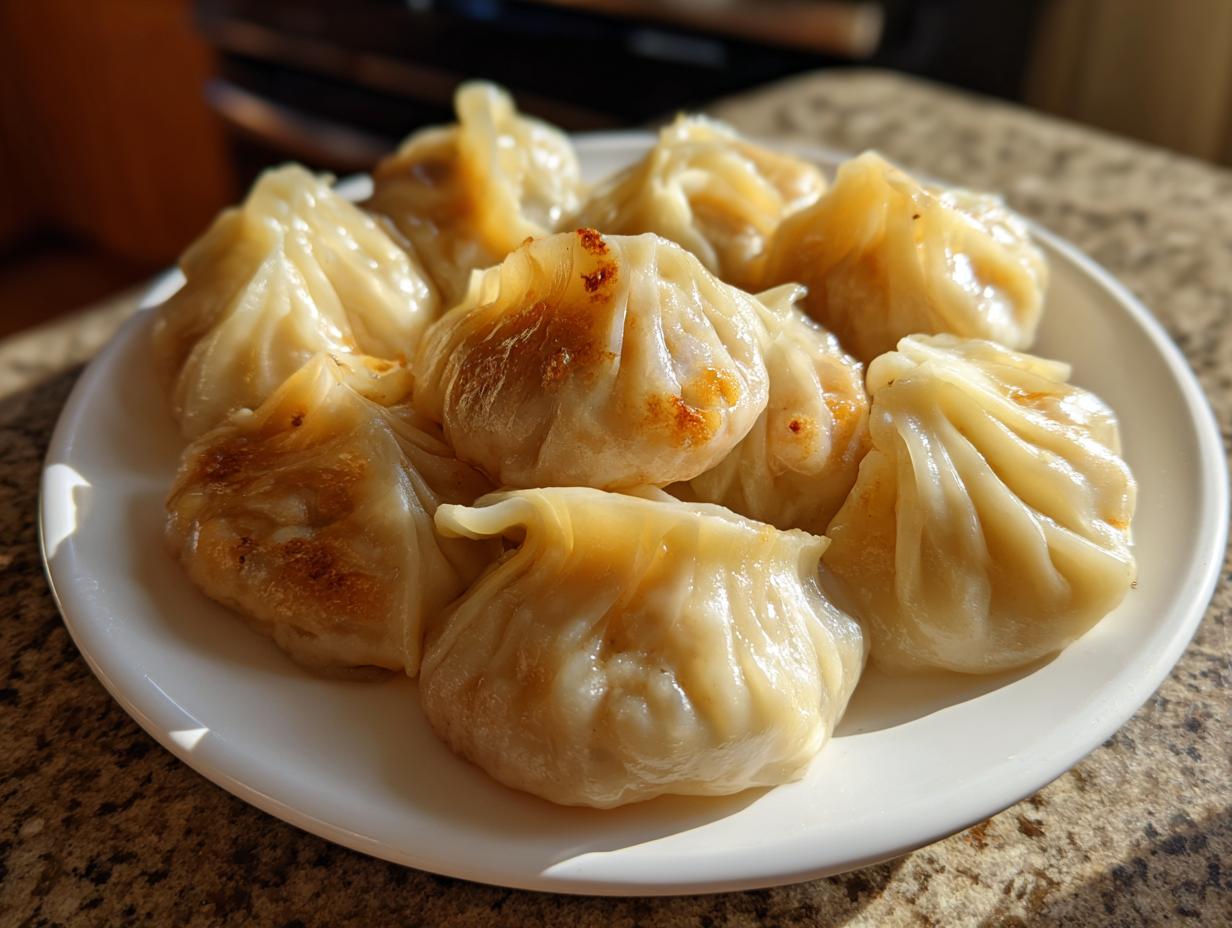
There’s just something about handmade food that hits different, isn’t there? It carries weight—it’s a language of love made tangible. That’s exactly why I’m so thrilled to share this guide on making Traditional Chinese Dumplings from scratch. Forget those sad, store-bought bags; we’re rolling our own perfect, tender wrappers and loading them up with a classic, savory pork and cabbage filling.
Making authentic jiaozi connects us directly to tradition, and it’s something I put immense care into perfecting for you. Isabella Rossi built Chefsily on the belief that cooking should be joyful, and that means giving you clear, trustworthy steps. Trust me, once you master this dough, you’ll feel unstoppable!
- Why You Will Love These Traditional Chinese Dumplings
- Ingredients for Authentic Jiaozi: Wrappers and Pork Cabbage Dumplings Filling
- Mastering Homemade Dumpling Wrappers for Traditional Chinese Dumplings
- Preparing the Flavorful Pork Cabbage Dumplings Filling
- Step-by-Step Assembly: Rolling and Pleating Your Authentic Jiaozi
- Cooking Methods: How to Make Perfect Boiled Chinese Dumplings
- Making These Traditional Chinese Dumplings Freezer Friendly
- Frequently Asked Questions About Pork Cabbage Dumplings
- Storage and Reheating Instructions
Why You Will Love These Traditional Chinese Dumplings
We aren’t kidding when we say this recipe is the whole package. I know you love things that are versatile, and these dumplings fit the bill perfectly, whether you’re making a feast or just trying to get dinner on the table fast.
- They’re surprisingly fast once you get into the rhythm, making them great for a satisfying weeknight meal.
- You absolutely have to make these for the holidays—they are the cornerstone of lunar new year dumplings!
- The best part? They are deeply freezer friendly dumplings! Make a huge batch and enjoy them anytime.
Ingredients for Authentic Jiaozi: Wrappers and Pork Cabbage Dumplings Filling
Okay, let’s get down to brass tacks. To make truly authentic jiaozi, we need the right building blocks. I’ve broken this down into two parts because you can’t mix the dough into the filling, obviously! Don’t sweat the measurements; precision here really pays off when you start wrapping.
We are going all out with fresh ingredients here because that’s what makes a real difference in taste. Once you see how few things you need for the wrapper, you’ll realize how easy it is to dive into making your own.
For the Homemade Dumpling Wrappers
This simple combo is all you need to start your journey toward amazing homemade dumpling wrappers. Just flour and water—it’s almost magic how strong this dough becomes!
- 2 cups all-purpose flour
- 2/3 cup warm water (make sure it’s warm, not scalding hot!)
For the Pork Cabbage Dumplings Filling
This is where all the flavor lives! That Napa cabbage gives us just the right amount of crunch against the rich pork. When you mix this up, keep going until everything looks uniform and feels a tiny bit sticky to the touch. That stickiness means the proteins are bonding, which is perfect!
- 1 pound ground pork
- 2 cups finely chopped Napa cabbage
- 1/4 cup chopped scallions
- 2 tablespoons soy sauce
- 1 tablespoon sesame oil
- 1 teaspoon grated fresh ginger
- 1/2 teaspoon salt
- 1/4 teaspoon white pepper
When you’re done mixing, grab a tiny bit, wrap it in plastic, and pan-fry it just to taste-test the seasoning! It’s the best way to check your salt before you wrap 40 of them. If you need a dipping sauce inspiration later, check out my guide to the best dumpling sauce recipes.
Mastering Homemade Dumpling Wrappers for Traditional Chinese Dumplings
Okay, let’s tackle the dough first because if the wrapper isn’t happy, the whole dumpling falls apart! This is Step 1, and it’s so crucial for making those beautiful traditional Chinese dumplings.
Mix your flour and warm water together until it looks like a shaggy mess. Don’t overthink it at this stage. Now comes the real work: you’ve got to knead this dough on a lightly floured surface for a solid 8 to 10 minutes. You want it to feel smooth and elastic when you’re done. Seriously, put on some music and get those arms moving!
Once it’s smooth, cover it up tightly with plastic wrap. It needs a minimum of 30 minutes to rest. Why the rest? Ah, that’s the secret sauce! Resting allows the gluten to relax. If you try to roll it immediately, it’ll snap back on you every single time. Patience here prevents tearing later on, I promise!
Preparing the Flavorful Pork Cabbage Dumplings Filling
Now that our dough is getting happy and relaxed, we turn our attention to the star of the show: the filling! This is where the flavor of your pork cabbage dumplings really shines through.
Grab a big bowl—the bigger the better so you can really mix without making a mess—and toss in your ground pork, all that beautifully chopped Napa cabbage, your scallions, soy sauce, sesame oil, fresh ginger, salt, and white pepper. Honestly, the ginger is just non-negotiable for that authentic warmth!
When you start combining everything, you need to mix it thoroughly. I mean thoroughly. You’re looking for a filling that is completely uniform, where you can’t really see the individual pieces of meat and cabbage anymore. Keep mixing until it starts to look almost sticky. That texture means the ingredients are properly bound together, and they won’t just fall apart when you boil them.
Here’s a little trick I picked up from watching my favorite home cooks: before you commit to rolling all 40 dumplings, take a teaspoon of your mixture and fry it up quickly in a tiny pan. Taste it! This is Isabella Rossi’s insistence on clear guidance—it lets you check your salt and pepper balance *before* you wrap everything. If it needs a touch more soy sauce, add it now! It saves so much heartache later. For other flavor boosters you might have on hand, check out my thoughts on great marinades for pork while you’re here.
Step-by-Step Assembly: Rolling and Pleating Your Authentic Jiaozi
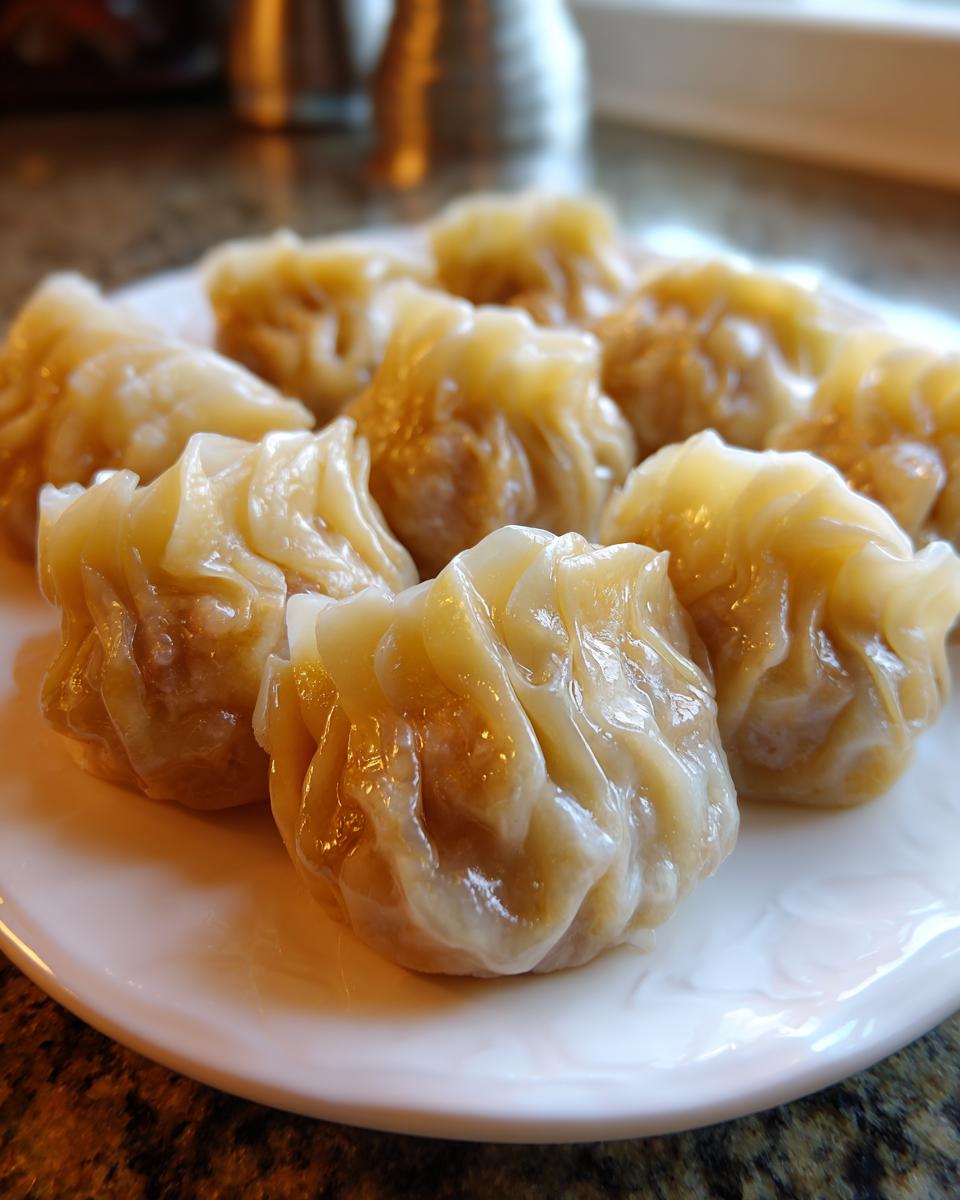
Alright, we have our relaxed dough and our perfectly seasoned filling. It’s assembly time! This is where the magic happens, turning simple ingredients into stacks of beautiful authentic jiaozi. Don’t worry if your first few look a little wonky; pleating is all about practice, and I promise, even the ugliest ones taste amazing.
First, take your rested dough and divide it into four equal chunks. Roll each chunk into a long, even rope—aim for consistency here—and then slice that rope into little 1-inch pieces. You’re aiming for little dough balls that are easy to handle. Now, flatten one ball with your palm, and use a small rolling pin to roll it out into a thin, 3-inch circle. Keep the center a little thicker than the edges; that extra dough helps you seal everything up tight later on.
Place just about a teaspoon of that pork mixture right in the center of your wrapper. Don’t overfill it, or sealing becomes a nightmare! Dip your finger in some water and brush it lightly around the outer edge of the wrapper. Then, fold the whole thing over into a half-moon shape and pinch the center closed. That center pinch is structural, so really press that seam together.
Tips for Perfect Pleating on Your Traditional Chinese Dumplings
The sealing is the most important part, especially if you plan on making these freezer friendly dumplings! If you don’t seal them completely, they will absolutely burst open the second they hit the boiling water. So, focus here!
Once that center is pinched, you work outward. Take the edge of the top wrapper layer in your thumb and index finger and create a small fold, pressing it against the bottom, flat edge. You’re basically tucking little ruffles into the main seam. Do this all the way down one side until you meet the center pinch on the other side. Don’t be shy—press firmly! You want those crimps to be solid against the flat side of the wrapper.
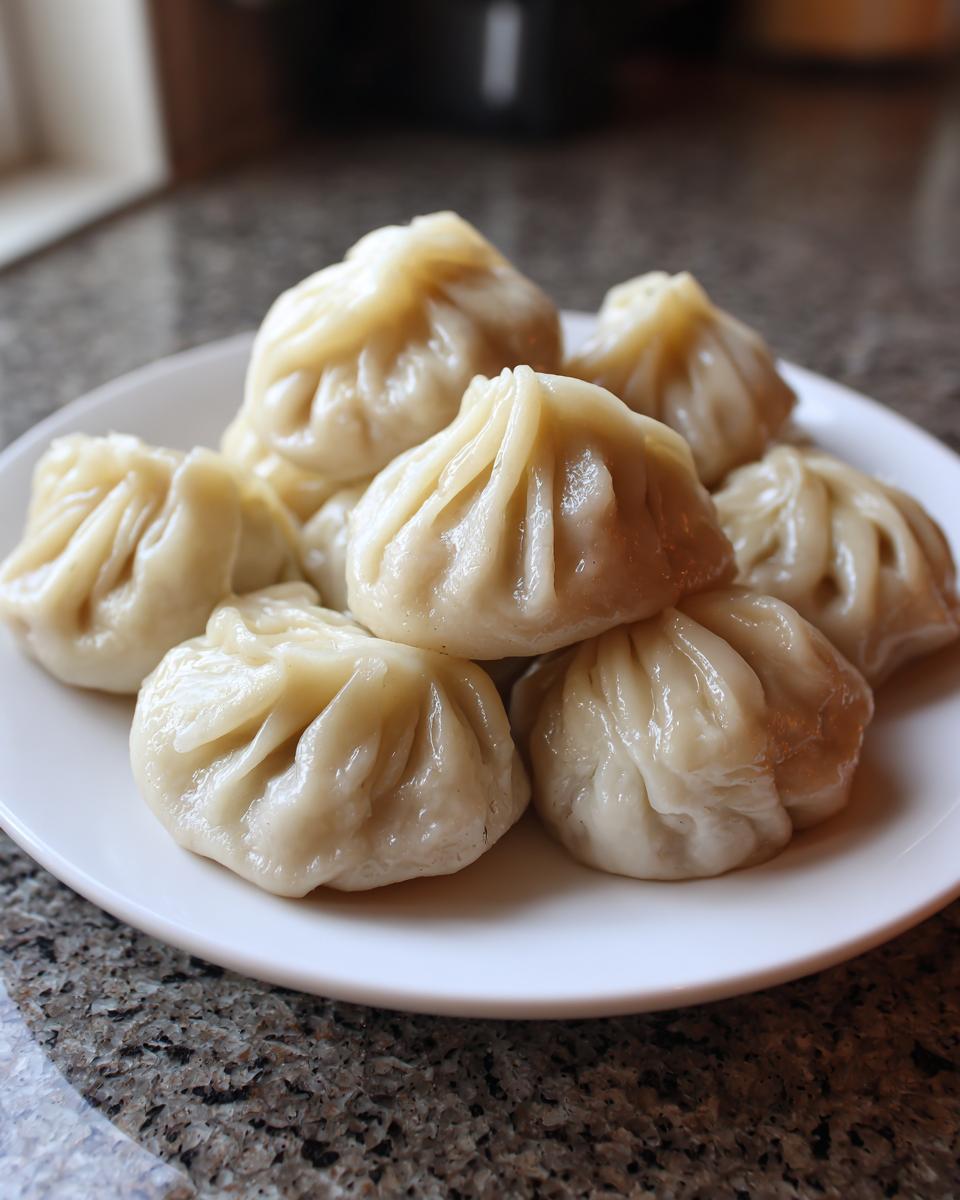
When you’re done, you should have a beautiful, sturdy half-moon shape that won’t leak a single drop of precious pork juice during cooking. If some of yours look a little plumper than others, that’s totally fine. My grandmother always said the lopsided ones were the ones made with the most love!

Cooking Methods: How to Make Perfect Boiled Chinese Dumplings
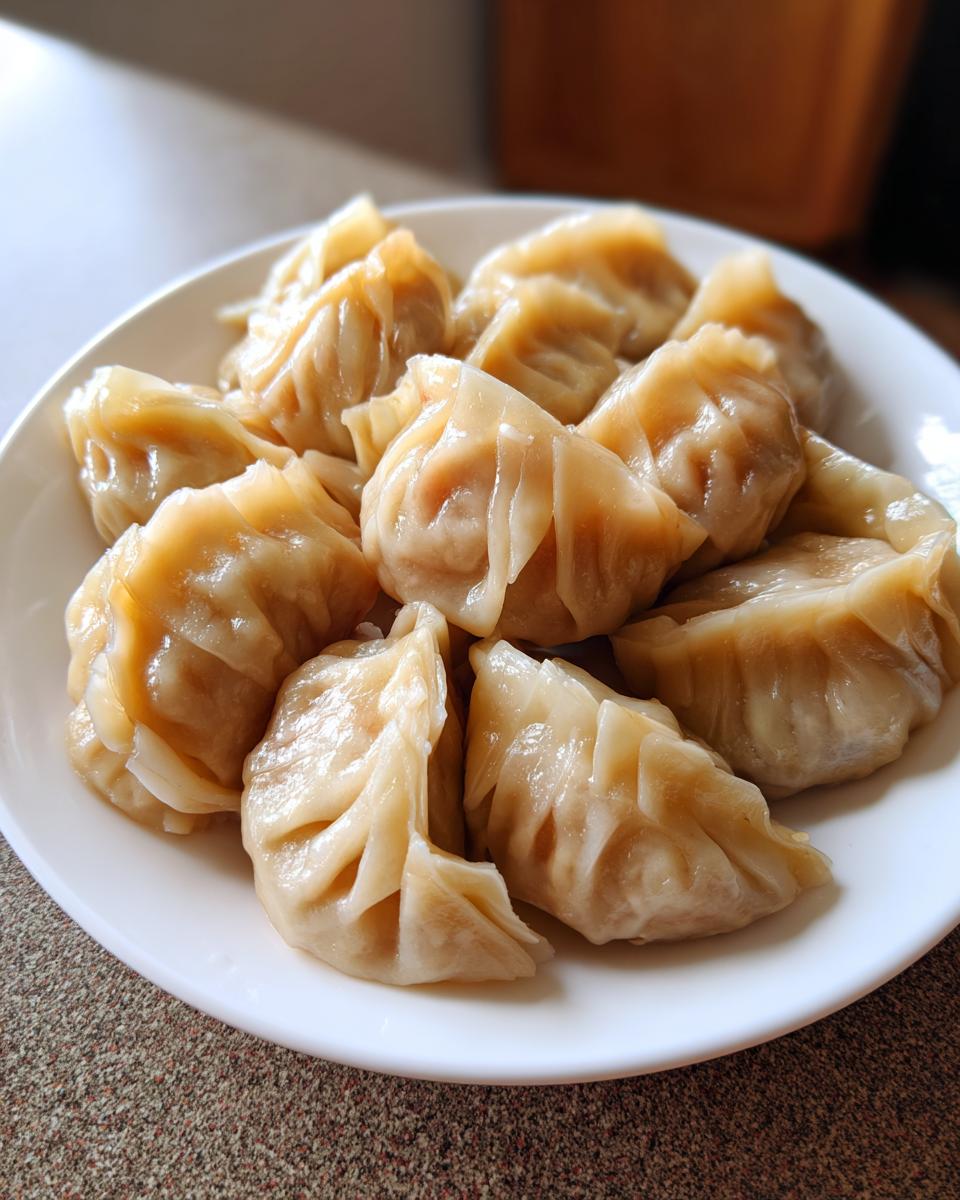
Now that every single one of those authentic jiaozi is sealed tight, it’s time for the grand finale: cooking them! Since we’re making classic, fresh dumplings, the best method is boiling. It’s simple, fast, and gives you that perfectly tender wrapper.
First things first: you need a big pot of water, and I mean big. You don’t want to crowd the dumplings or the water temperature will plummet. Get that water going until it hits a hard, rolling boil. This is important—if the water is just simmering, your dumplings will soak up water and get gummy instead of cooking properly.
When it’s really boiling, gently drop your dumplings in, one by one. Don’t dump the whole batch in at once, or you risk them sticking to the bottom or to each other right away. Use a big spoon or a spider strainer to give them a very gentle stir right after you drop them in, just to make sure they aren’t hugging the bottom of the pot.
Watch them closely! It takes about 5 to 7 minutes for them to cook through, depending on how thick your wrappers ended up being. You’ll know they are ready when they all float up to the surface. But don’t stop there! Give them another minute or two after floating to ensure that pork filling inside is totally safe and cooked through. When they’re done, quickly scoop them out with a slotted spoon, drain off the excess water, and serve them immediately. They are absolutely divine straight from the pot!
Making These Traditional Chinese Dumplings Freezer Friendly
Because who has time to wrap 40 dumplings every single time they want them? Nobody! That’s why I love that these traditional Chinese dumplings are built to be amazing leftovers. Step 6 basically comes down to: either eat them now (highly recommended!) or get them ready for the deep freeze.
To make them truly freezer friendly dumplings, don’t just throw them straight into a bag. If you do that, they’ll fuse together into one giant dumpling brick, and that’s tragic. Instead, line a baking sheet—any standard sheet pan works—with parchment paper. Lay your cooked (or uncooked, they both work!) dumplings onto the sheet in a single layer so they aren’t touching at all. Pop that sheet into the freezer for an hour or two until they are rock solid.
Once they are frozen solid, you can quickly transfer all those individual beauties into a heavy-duty freezer bag. When you’re ready to enjoy them later, you can absolutely boil them straight from frozen! You just add them directly to the boiling water, but you’ll need to add an extra two or three minutes to the cooking time. Easy peasy, right? If you ever have questions about the site or recipes, please don’t hesitate to reach out via my contact page!
Frequently Asked Questions About Pork Cabbage Dumplings
I totally get it; sometimes you have questions pop up right when you’re standing there with flour on your hands. That’s why I pulled together some of the things I hear most often about making this Chinese dumplings recipe—especially around the holidays when everyone wants perfect lunar new year dumplings!
What can I substitute for ground pork in these Chinese dumplings recipe?
That’s a common question! While the ground pork gives you that classic richness, you absolutely can swap it out if you need to. I generally suggest using ground chicken or ground turkey instead. They work beautifully, and honestly, the flavor from the Napa cabbage, ginger, and soy sauce really carries them beautifully. Just make sure whatever meat you choose is fresh. You want that same uniform and slightly sticky texture we talked about for the best seal!
What is the best way to serve these lunar new year dumplings?
You should serve these right out of the pot! Seriously, they are best enjoyed immediately when the wrapper is tender and steaming hot. For the ultimate experience, you need a killer dipping sauce. A simple mix of soy sauce, a splash of black vinegar, and a drop of sesame oil is classic, but I have a whole breakdown of amazing flavor combinations if you want to check out my sauce guide!
Why are my homemade dumpling wrappers tearing when I try to fold them?
This is almost always an issue with the dough not being relaxed enough, or maybe rolling the edges too thin! If you skip the 30-minute rest time after kneading, the gluten is too tight and it fights back, which leads to tearing. If you *did* rest the dough, check your rolling technique: make sure you leave the very center slightly thicker than the edges so you have strong dough on the seam to pinch closed. A gentle brush of water always helps everything stick together beautifully! I know breakfast seems miles away when we are making dumplings, but if you ever need healthy breakfast ideas inspiration for the morning after, stop by!
Are these truly freezer friendly dumplings if I’m making them ahead of time?
Yes, they really are! That’s what I love about making massive batches of these pork cabbage dumplings. The key, as I mentioned earlier, is the flash freeze. You must freeze them individually on a parchment-lined sheet until they are totally hard before you bag them up. If you skip that step, they become one big, frozen slab. Once they are individually frozen, they keep great right in the freezer for months!
Storage and Reheating Instructions
So, you made too many—which, honestly, is the goal when making Traditional Chinese Dumplings! That’s a win, my friend. We have a couple of ways to handle the leftovers, depending on if you want them tomorrow or next month.
If you just have a few extras that you want to eat within three or four days, keep them refrigerated. Make sure they are in an airtight container, but don’t stack them directly on top of each other unless they are completely cooled down first. You want to keep all that beautiful moisture trapped inside, not let them dry out on the counter!
For longer storage, remember what we talked about with the flash freezing—that’s the way to go. But what about reheating? Boiling is how we cooked them, and it’s actually a great way to bring them back to life, even if they were refrigerated!
The Best Way to Reheat Boiled Chinese Dumplings
If you have refrigerated leftovers, you can toss them right back into some gently boiling water for about two or three minutes, just until they heat all the way through. They plump right back up! This keeps the texture nice and soft, just like they were freshly made.
However, if you’re using the frozen ones, we already covered dropping them straight into the boil, which adds a few extra minutes! If you’re looking for a different texture—maybe something crispy for a mid-week treat or a great quick lunch—pan-frying is your new best friend for leftovers. Set just a little oil in a non-stick skillet over medium heat. Place the thawed or cooled dumplings in a single layer and cook for about 3 to 4 minutes until the bottom gets that gorgeous golden-brown crisp.
If you’re steaming them (which is great for any leftover dumpling), about 6 to 8 minutes usually does the trick! No matter how you reheat them, they taste just as good every single time.
PrintTraditional Chinese Pork and Cabbage Dumplings (Jiaozi)
Make authentic Chinese dumplings from scratch, including homemade wrappers and simple pleating instructions. These pork and cabbage dumplings are perfect for freezing and enjoying any time.
- Prep Time: 45 min
- Cook Time: 10 min
- Total Time: 55 min
- Yield: About 40 dumplings 1x
- Category: Main Course
- Method: Boiling
- Cuisine: Chinese
- Diet: Low Fat
Ingredients
- 2 cups all-purpose flour
- 2/3 cup warm water
- 1 pound ground pork
- 2 cups finely chopped Napa cabbage
- 1/4 cup chopped scallions
- 2 tablespoons soy sauce
- 1 tablespoon sesame oil
- 1 teaspoon grated fresh ginger
- 1/2 teaspoon salt
- 1/4 teaspoon white pepper
Instructions
- Prepare the wrappers: Mix the flour and warm water in a bowl until a shaggy dough forms. Knead on a lightly floured surface for 8 to 10 minutes until smooth. Cover the dough with plastic wrap and let it rest for 30 minutes.
- Prepare the filling: In a large bowl, combine the ground pork, chopped Napa cabbage, scallions, soy sauce, sesame oil, ginger, salt, and white pepper. Mix thoroughly until the filling is uniform and slightly sticky.
- Roll the wrappers: Divide the rested dough into four equal pieces. Roll each piece into a long rope and cut into 1-inch pieces. Roll each piece into a thin, round wrapper, about 3 inches in diameter.
- Assemble the dumplings: Place about 1 teaspoon of filling in the center of a wrapper. Moisten the edges with water. Fold the wrapper in half to form a half-moon shape and pinch the center closed. Create small pleats along one edge, pressing firmly to seal the dumpling completely.
- Cook the dumplings: Bring a large pot of water to a rolling boil. Gently drop the dumplings into the water, ensuring they do not stick together. Cook for 5 to 7 minutes, or until the dumplings float and the filling is cooked through.
- Serve immediately, or cool completely before freezing for later use.
Notes
- For best results when freezing, place uncooked dumplings in a single layer on a baking sheet lined with parchment paper. Freeze until solid, then transfer to an airtight freezer bag.
- To boil frozen dumplings, add them directly to boiling water without thawing; cook for 2 to 3 minutes longer than fresh ones.
- You can substitute ground chicken or turkey for the ground pork if desired.
Nutrition
- Serving Size: 5 dumplings
- Calories: 250
- Sugar: 1
- Sodium: 450
- Fat: 12
- Saturated Fat: 4
- Unsaturated Fat: 8
- Trans Fat: 0
- Carbohydrates: 22
- Fiber: 1
- Protein: 15
- Cholesterol: 50