
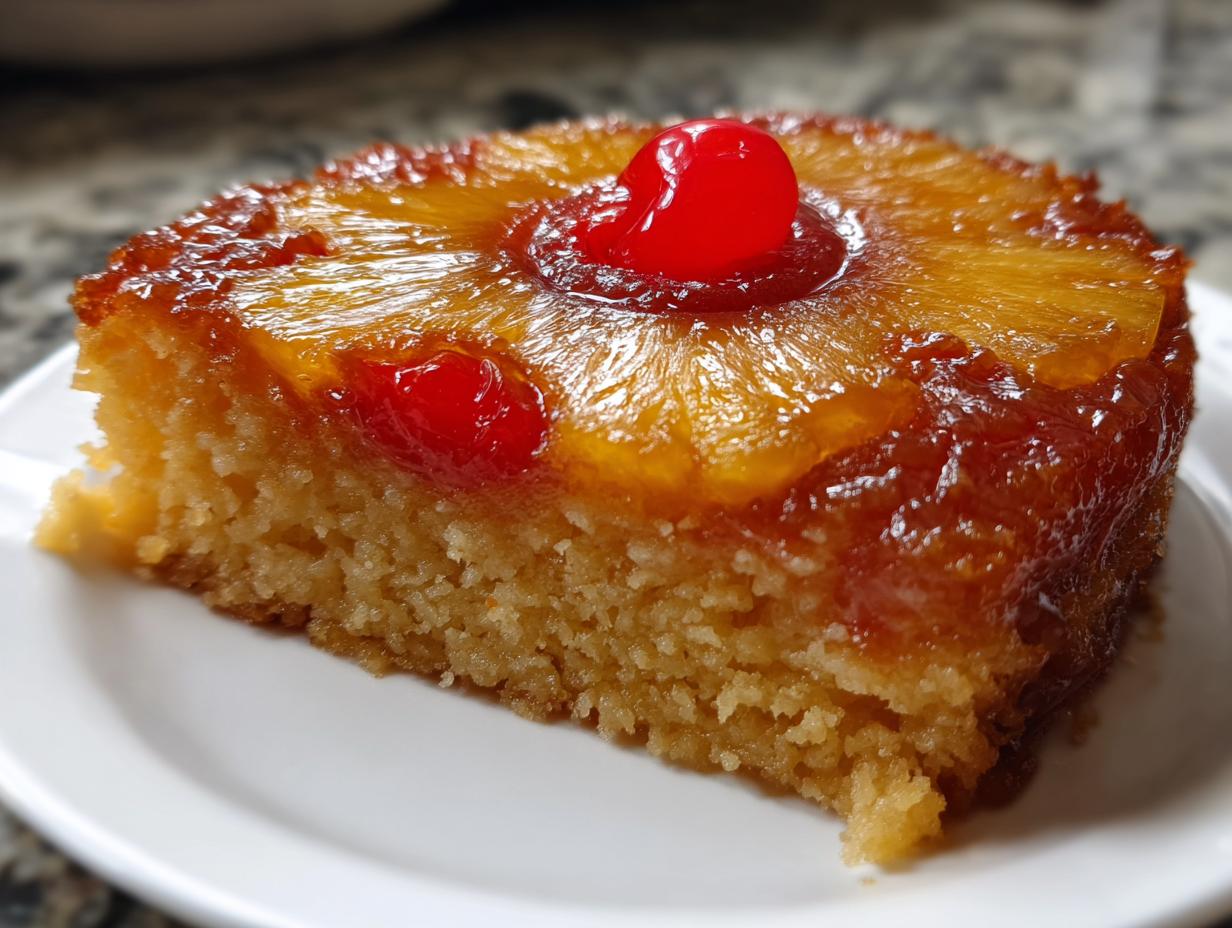
When I think about those big, happy family gatherings—the kind where the laughter is loud and everyone brings their best stories—my mind always drifts to dessert. And right at the top of that nostalgic list has got to be the pineapple upside down cake. It’s pure retro charm, but honestly, it’s so much more than just a throwback! This recipe is one of Chefisly’s true testaments to simple joy. We’ve taken this classic and made it incredibly straightforward, ensuring you get that gorgeous, gooey, caramelized topping every single time. If you are looking for more sweet treats, be sure to check out all of our delicious dessert recipes. Trust me, making a showstopper cake doesn’t need to be complicated; it just needs a little love and the right technique.
- Why This is the Best pineapple upside down cake Recipe You Will Make
- Gathering Ingredients for Your pineapple upside down cake
- Step-by-Step Instructions for the Easiest pineapple upside down cake
- Tips for Success with Your Homemade pineapple upside down cake
- Serving Suggestions for This Retro Dessert Recipes Star
- Storage and Reheating Instructions for Leftover pineapple upside down cake
- Frequently Asked Questions About This Classic Pineapple Cake
- Nutritional Estimate for this Simple Tropical Dessert
- Share Your Best pineapple upside down cake Creations
Why This is the Best pineapple upside down cake Recipe You Will Make
People search for this cake because they want that sticky, glistening top, but they often end up with a dry cake layer or topping stuck to the pan! Not here. This recipe cuts through the fuss while nailing the essentials. It’s what I turn to when I need a guaranteed crowd-pleaser. For inspiration on other quick meals, take a peek at my easy weeknight dinners collection.
Here’s what makes this recipe the one you’ll save:
- It bakes up beautifully in under an hour—seriously fast for such a gorgeous presentation.
- The cake part is unbelievably light and buttery, preventing that dreaded dense texture.
- That caramel layer? It sets up perfectly every single time you flip it out.
Achieving the Perfect Buttery Pineapple Rings
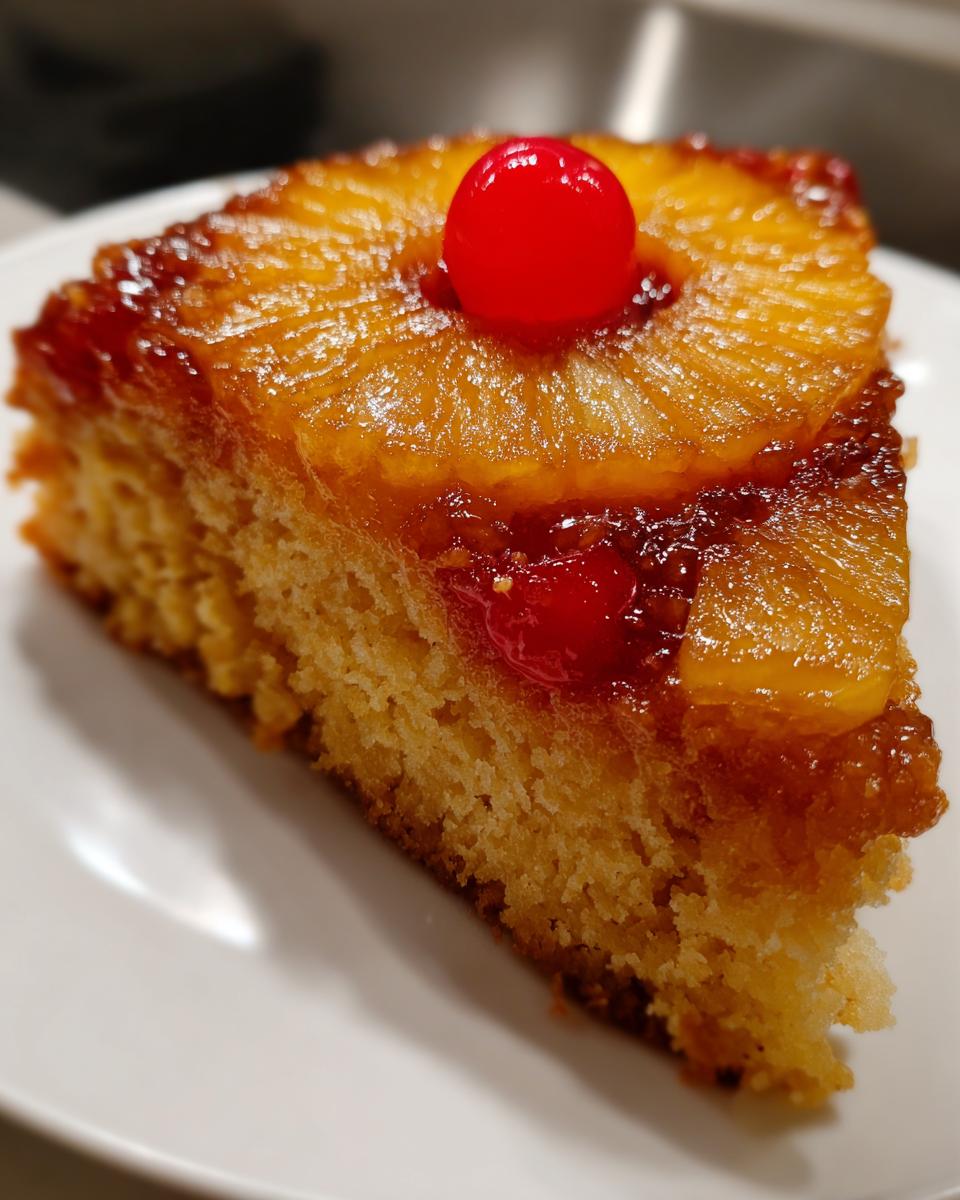
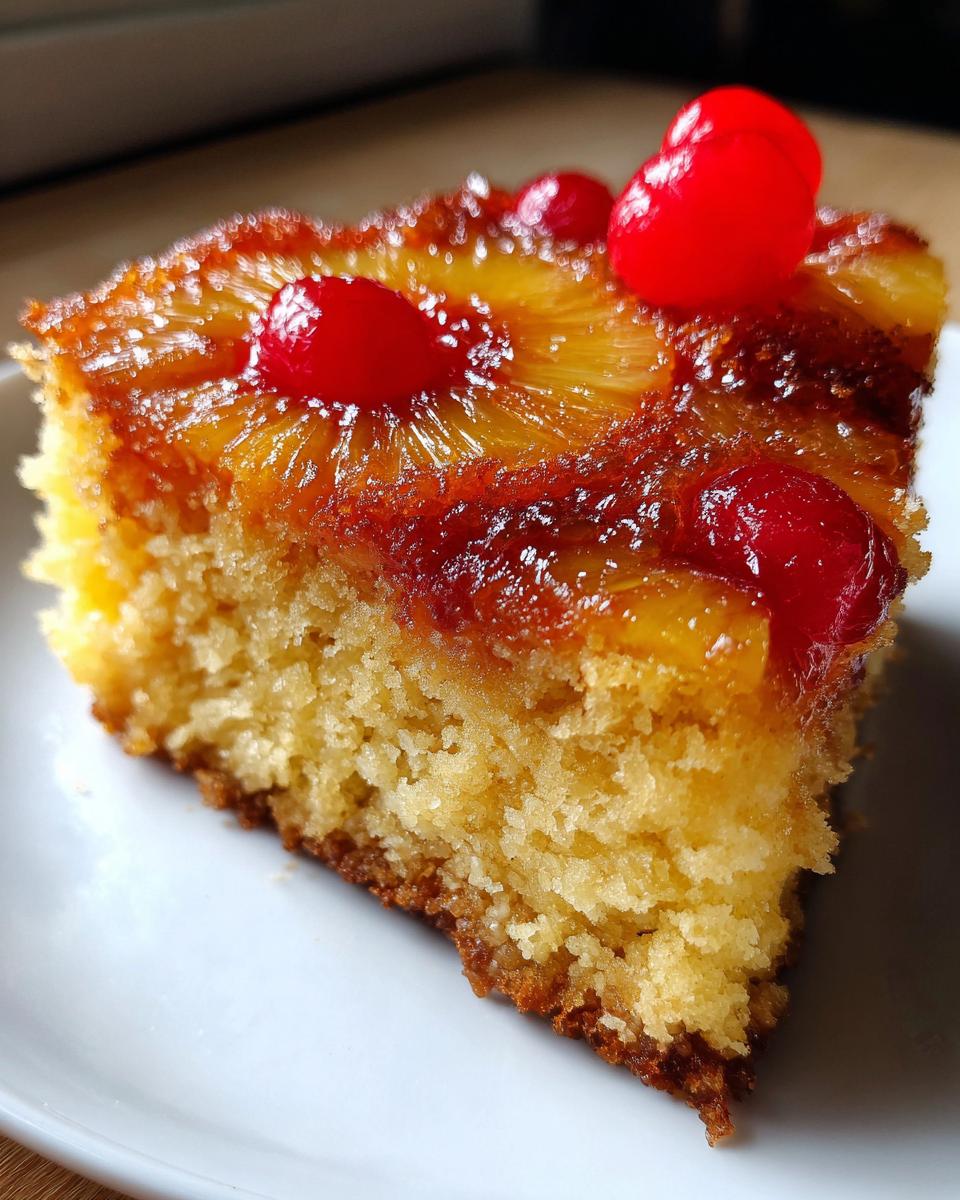
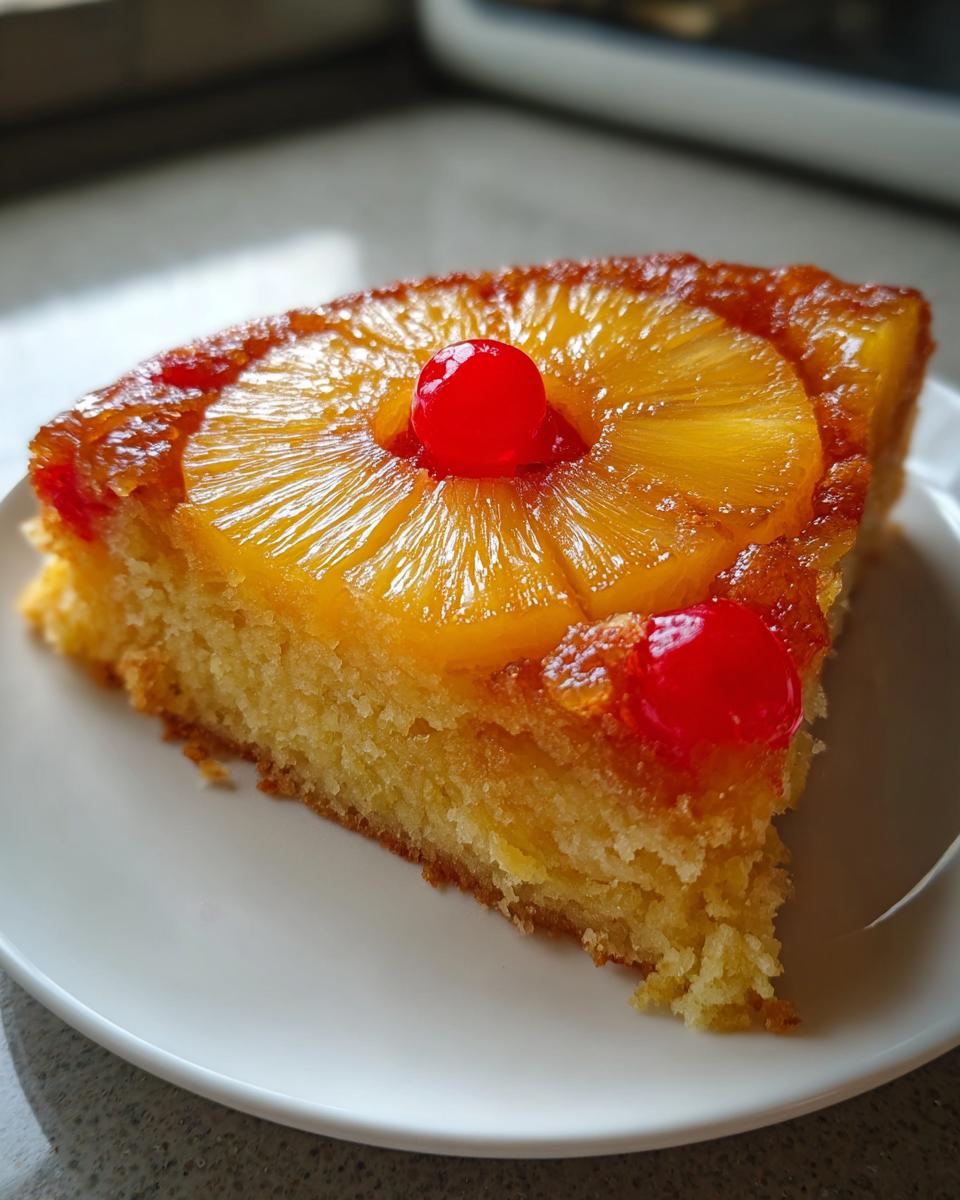
We treat the bottom of the pan like a candy factory! You need to use that melted butter first, followed by a generous, even layer of brown sugar. When you arrange those pineapple rings and tuck in those bright red cherries, you’re creating edible art. Trust me, this beautiful design is what makes people stop and stare when you bring it to the table—it’s practically made for photos!
Tips for a Moist pineapple upside down cake Batter
Moisture is the secret weapon in any great cake, and this pineapple upside down cake has two major advantages. First, we use the liquid from the canned pineapple right in the batter! Don’t toss that juice; it adds tropical flavor and moisture. Second, we mix the dry and wet ingredients carefully, alternating them. This stops the gluten from developing too much, which keeps the final texture soft and tender.
Gathering Ingredients for Your pineapple upside down cake
Getting ready for this dessert is super easy because most of what you need is pantry standard. The magic really happens when you bring the pineapple and the high-quality butter together in that pan. For anyone new to canning or preserving, you can check out my tips on water bath canning, but for this cake, we are sticking to the trusty can!
Topping Ingredients: Butter and Brown Sugar Base
This is the candy layer that gets flipped, so don’t skimp here! You need:
- 1/2 cup unsalted butter, melted
- 3/4 cup packed light brown sugar (make sure you pack it in the measuring cup!)
- 1 (20 ounce) can pineapple slices in juice—make sure you drain those, but save that sweet juice!
- 10 maraschino cherries
Cake Batter Components for a Classic pineapple upside down cake
For the actual cake that sits underneath all that gooey goodness, we need our dry goods and wet bases:
- 1 1/2 cups all-purpose flour
- 1 1/2 teaspoons baking powder
- 1/2 teaspoon salt
- 1/2 cup unsalted butter, softened
- 3/4 cup granulated sugar
- 2 large eggs
- 1 teaspoon vanilla extract
- 1/2 cup milk
- 1/4 cup reserved pineapple juice (this is for flavor!)
Step-by-Step Instructions for the Easiest pineapple upside down cake
Alright, let’s get this show on the road! This is the fun part where all that planning comes together. Remember, the key to a great presentation for your pineapple upside down cake is getting that topping just right. If you love making classic recipes, you’ll enjoy looking at my tips for my classic chocolate chip cookies while you wait for this one to bake.
Preparing the Caramelized Topping Layer
First things first: fire up that oven to 350°F (175°C). Grab your 9-inch round cake pan—don’t forget that step! Pour that melted butter right into the bottom. Next, sprinkle that brown sugar evenly over the top of the butter. Now for the artistry! Arrange your drained pineapple slices nicely over the sugar mixture to make whatever pretty pattern you like. I always pop one maraschino cherry right into the center hole of every ring. Look at that! It’s already beautiful.
Mixing the Moist pineapple upside down cake Batter
While your topping is setting, whisk together your flour, baking powder, and salt in a little bowl—that’s your dry crew. In your big mixing bowl, cream that softened butter with the granulated sugar until it looks pale and fluffy. Beat in your eggs one at a time, waiting a moment between each one, then stir in the vanilla. Now, here’s the expert tip: alternate adding the dry mix with the milk and that reserved pineapple juice. Mix only until it just comes together. Seriously, stop mixing when you still see a few streaks! Overmixing guarantees a tough cake.
Baking and Inverting the Cake
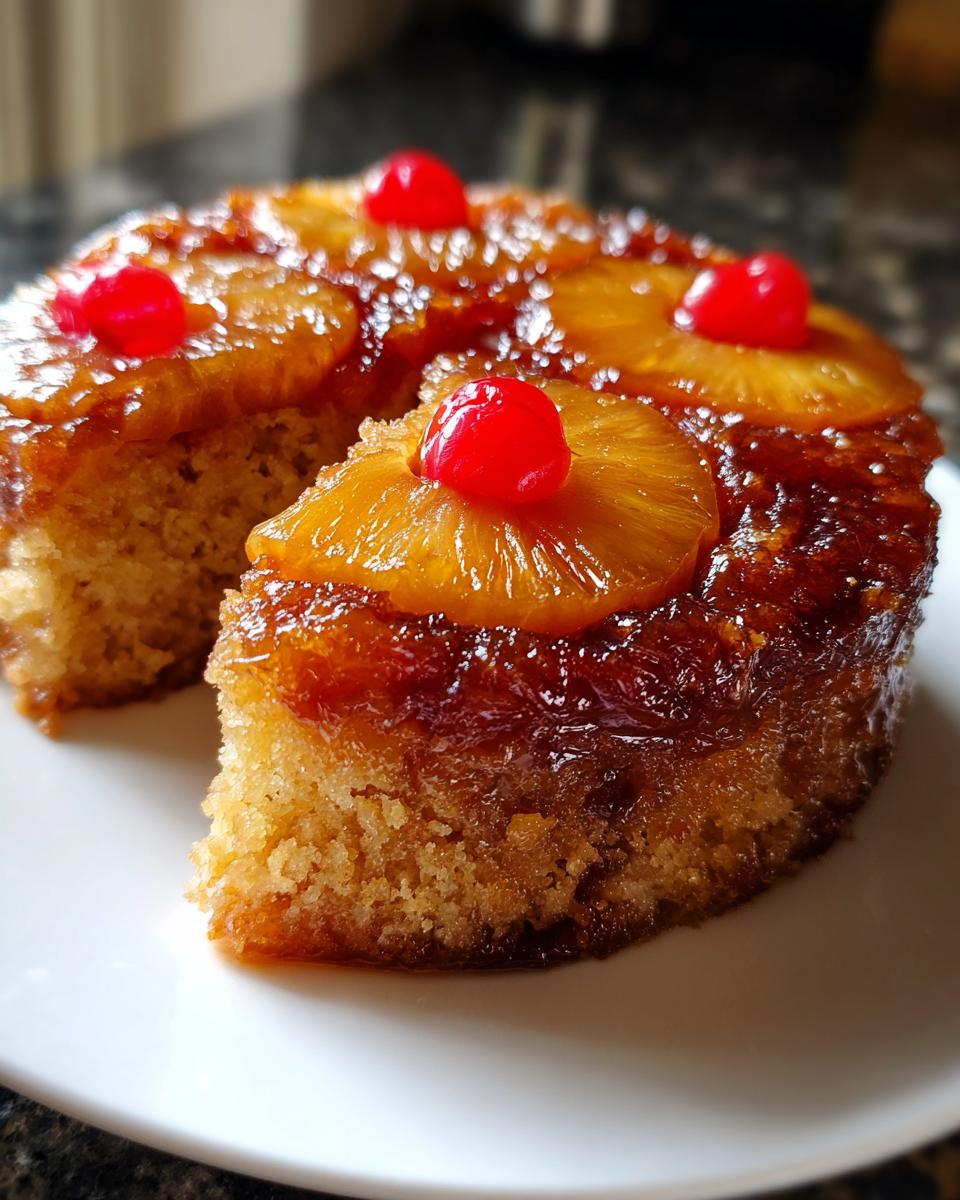
Gently spoon that beautiful, airy batter right over your fruit layer. Bake it anywhere from 35 to 40 minutes. You’ll know it’s done when a toothpick comes out clean. Resist the urge to flip it immediately! Let the cake cool right in the pan on a rack for exactly 10 minutes. After that small rest, grab a serving plate, place it upside down over the pan, and with one quick, confident motion, flip the whole thing over! Lift that pan off slowly, and watch that shiny, caramelized pineapple top reveal itself. It’s magic every time.
Tips for Success with Your Homemade pineapple upside down cake
Even though this recipe for pineapple upside down cake is famously easy, there are always a few little tricks that elevate it from good to absolutely unforgettable. I’ve definitely had moments where I thought I could skip a step, and trust me, it’s never worth it! If you’re looking for another easy treat that always impresses, you might want to save my recipe for banana nut muffins.
Adapting the Recipe: Pineapple Bundt Cake
If you’re making this for a bigger family gathering or just prefer that gorgeous fluted shape, you can absolutely use a Bundt pan. Just be super generous when you grease and flour it before you add the butter and brown sugar base. Because Bundt pans are deeper, you’ll probably need to add about 5 to 10 minutes to that 40-minute bake time. Keep an eye on it and check for that clean toothpick!
Quick Fix: Using a Box Mix for an Easy Pineapple Dessert
Look, sometimes you just need speed! If you’re in a major hurry and want an easy pineapple dessert, you can absolutely use a box mix. Just make the cake batter according to the box directions, but here’s the swap: use half milk and half of that reserved pineapple juice for your liquid requirement. It keeps the flavor intense and the cake surprisingly moist, even though it’s coming from a box!
Serving Suggestions for This Retro Dessert Recipes Star
This amazing dessert shines all on its own, but pairing it just right really takes it over the top, especially since it’s a star at any potluck! Because the cake is so rich with butter and that caramelized sugar, you don’t need heavy sauces. A simple dollop of freshly whipped cream is honestly perfect—the coolness just cuts through the sweetness beautifully.
If you want to lean into that nostalgic dessert vibe, a scoop of vanilla ice cream is classic. As it melts, the cold cream mixes with the warm caramel dripping off the pineapple. Wow! For a little extra zing, a dusting of toasted, flaked coconut on top adds texture and enhances that wonderful tropical flavor.
Storage and Reheating Instructions for Leftover pineapple upside down cake
Just like my Aunt Clara’s apple pie cookies, this cake seems to taste even better the next day! Because this pineapple upside down cake is so buttery, you don’t want it getting hard in the fridge. I find it keeps beautifully covered tightly at room temperature for up to two days. Seriously, the sugar topping helps preserve it!
If you do need to store it longer, pop it in the fridge, but make sure you bring a slice back to room temperature before serving. If you want it warm again, microwave a slice gently for maybe 10-15 seconds. That just warms up the caramel again perfectly.
Frequently Asked Questions About This Classic Pineapple Cake
I always get questions about how to customize this wonderful pineapple upside down cake, especially when folks are planning big potlucks or getting creative with fruit. It’s definitely the kind of dessert people talk about! When I’m getting ready for a big event, I often make a big batch of something hearty, like the famous Dorito Taco Salad, but for dessert, this cake is always the winner.
Can I use fresh pineapple instead of canned for my pineapple upside down cake?
You absolutely can! I love the idea of using fresh fruit, though it does take a little more prep work. If you go with fresh pineapple, you’ll need to peel it (which is a workout!) and then cut out that tough center core. I actually recommend cutting the fresh rings a little thicker than the canned ones. Then, just simmer the fresh pieces in a little water and sugar for about five minutes to soften them up a bit before layering them in the pan. Fresh is fantastic, but the canned slices mix perfectly for this pineapple upside down cake!
What is the best way to prevent the topping from sticking?
Oh, the panic when the topping sticks! That’s the scariest part, isn’t it? The absolute key is the base layer we put down first. You must ensure that the melted butter completely covers the entire bottom surface of your 9-inch pan. Then, take your brown sugar and sprinkle it evenly over that butter. If you have any bare spots of metal, the sugar will burn there, or the cake will grab onto the pan. Make sure you sprinkle it edge-to-edge—that buttery, sugary layer is your non-stick guarantee!
Is this cake suitable as a Dessert for Potluck?
It is hands down one of the best Desserts for Potluck that exists! It travels so well because the topping is already built in—you don’t have to worry about frosting getting smushed. Once the cake is baked and cooled for that 10-minute period, it holds its structure perfectly. When you flip it out onto a sturdy serving tray, it looks amazing for your Family Gathering Cakes, and it stays pretty even sitting out on a buffet table for a while.
Nutritional Estimate for this Simple Tropical Dessert
Now, I know we bake these cakes for love and joy, not for counting calories, but sometimes we just want a ballpark idea, right? Please remember that these numbers are just an estimate based on standard pantry ingredients. Since this is such a Simple Tropical Dessert, I figured it was worth sharing the estimate before you dive into dessert dreams! For more balanced ideas to start your day, you can always browse my healthy breakfast ideas.
Here’s the rough breakdown per slice:
- Serving Size: 1 slice
- Calories: 350
- Sugar: 35g
- Fat: 16g
- Protein: 4g
Share Your Best pineapple upside down cake Creations
I truly hope this recipe brings that same pure joy to your kitchen that it brings to mine! Once you’ve tried this pineapple upside down cake, please pop back here and leave me a star rating—it helps me know what’s working for you. I absolutely love seeing your beautiful, caramelized creations! Tell me in the comments how it went over at your last family gathering. If you have questions, please head over to my contact page, or just leave a note below. Happy baking!
PrintThe Ultimate Classic & Easy Pineapple Upside Down Cake (Moist & Caramelized)
Make this classic Pineapple Upside Down Cake for a moist, buttery dessert with a perfectly caramelized pineapple topping. This easy recipe is a nostalgic crowd-pleaser perfect for family gatherings or potlucks.
- Prep Time: 15 min
- Cook Time: 40 min
- Total Time: 55 min
- Yield: 8 servings 1x
- Category: Dessert
- Method: Baking
- Cuisine: American
- Diet: Vegetarian
Ingredients
- 1/2 cup unsalted butter, melted
- 3/4 cup packed light brown sugar
- 1 (20 ounce) can pineapple slices in juice, drained (reserve juice)
- 10 maraschino cherries
- 1 1/2 cups all-purpose flour
- 1 1/2 teaspoons baking powder
- 1/2 teaspoon salt
- 1/2 cup unsalted butter, softened
- 3/4 cup granulated sugar
- 2 large eggs
- 1 teaspoon vanilla extract
- 1/2 cup milk
- 1/4 cup reserved pineapple juice
Instructions
- Preheat your oven to 350°F (175°C). You will need a 9-inch round cake pan.
- Pour the melted butter into the bottom of the cake pan. Sprinkle the brown sugar evenly over the butter.
- Arrange the pineapple slices over the sugar mixture in a decorative pattern. Place one maraschino cherry in the center of each pineapple ring.
- In a medium bowl, whisk together the flour, baking powder, and salt. Set this dry mixture aside.
- In a large bowl, cream together the softened butter and granulated sugar until light and fluffy.
- Beat in the eggs one at a time, mixing well after each addition. Stir in the vanilla extract.
- Gradually add the dry ingredients to the wet ingredients, alternating with the milk and reserved pineapple juice. Mix until just combined; do not overmix.
- Gently pour the cake batter over the pineapple and cherry layer in the pan. Spread the batter evenly.
- Bake for 35 to 40 minutes, or until a toothpick inserted into the center comes out clean.
- Let the cake cool in the pan on a wire rack for 10 minutes.
- Place a serving plate upside down over the cake pan. Carefully invert the cake onto the plate. Lift the pan away slowly. Serve warm or at room temperature.
Notes
- For a Bundt cake variation, grease and flour a Bundt pan well before adding the butter and sugar layer. Baking time may increase slightly.
- If you want to use a cake mix, follow the package directions for the cake batter, but substitute the required liquid with a mix of milk and reserved pineapple juice.
- This cake keeps well covered at room temperature for up to two days.
Nutrition
- Serving Size: 1 slice
- Calories: 350
- Sugar: 35g
- Sodium: 250mg
- Fat: 16g
- Saturated Fat: 9g
- Unsaturated Fat: 7g
- Trans Fat: 0.5g
- Carbohydrates: 50g
- Fiber: 1g
- Protein: 4g
- Cholesterol: 75mg