
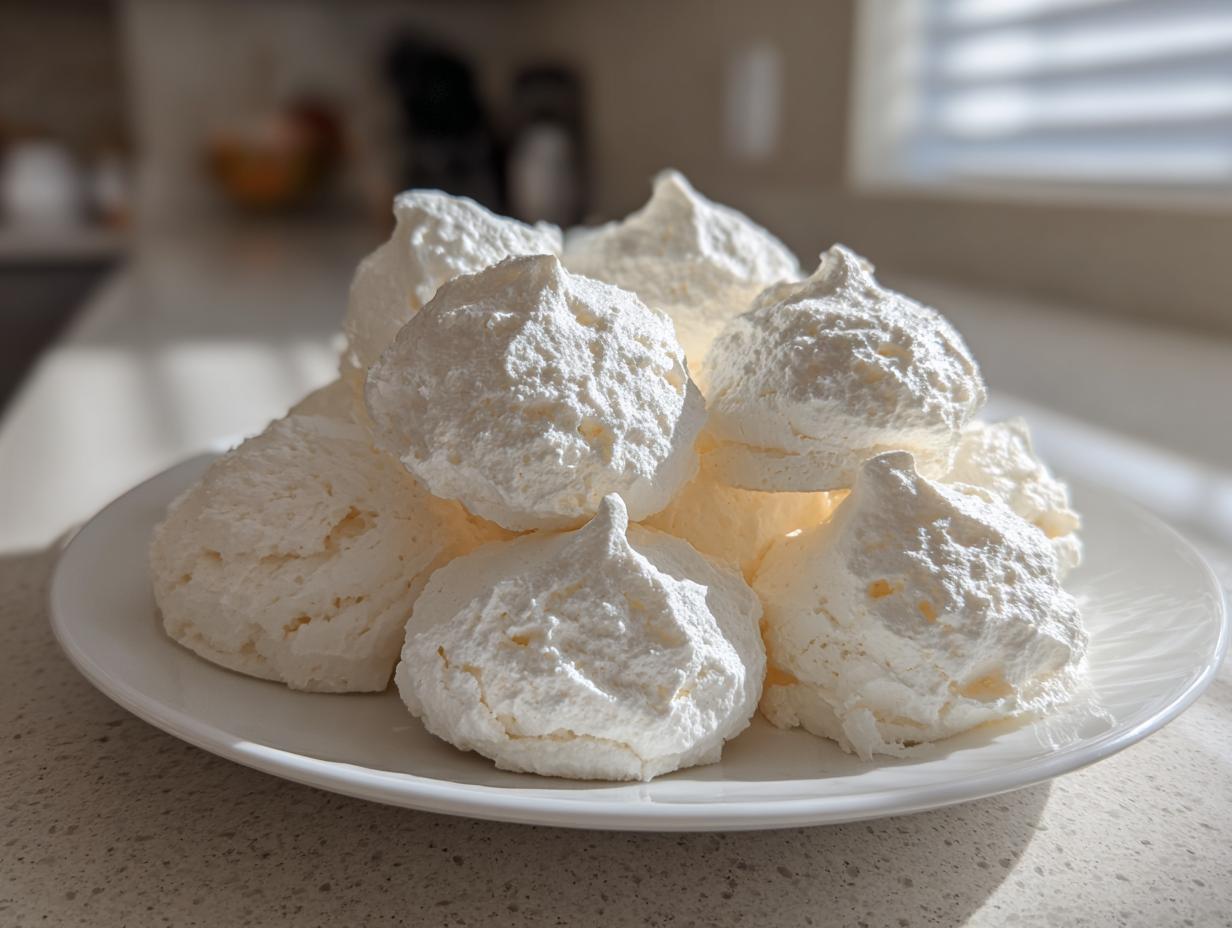
Oh, the pursuit of perfect meringue! Isn’t it frustrating when you follow every step, only for those elegant dollops to weep, crack, or go chewy? I promise you, achieving those impossibly light and crispy meringues isn’t some baking magic reserved for professionals. It’s actually quite straightforward once you nail the technique. Welcome to what I consider the definitive guide for making the best meringue cookies. For me, like in my grandmother’s kitchen, baking is about bringing pure, simple joy. These little whipped-up wonders—requiring minimal fuss but delivering maximum impact—are the definition of simple, perfect baking. Trust me, you’re about to master these airy dessert cookies!
- Why You'll Love This Easy Meringue Cookies Recipe
- Essential Ingredients for Light and Crispy Meringues
- How to Prepare Perfect Meringue Cookies: Step-by-Step
- Baking and Cooling: The Secret to No Fail Meringue Cookies
- Tips for Success with Your Homemade Meringue Treats
- Decorating Meringue Cookies for Holidays and Gifts
- Storage & Reheating Instructions for Meringue Cookies
- Frequently Asked Questions About Airy Dessert Cookies
- Nutritional Snapshot for Meringue Cookies
Why You’ll Love This Easy Meringue Cookies Recipe
I want you to see this recipe as your new default when you need something truly special but quick. These meringue cookies look so fancy, but honestly, they’re perfect for weeknights or when the grandkids stop by unexpectedly. Here’s why I think this is the best meringue recipe ever and why it’ll become your favorite:
- They are incredibly light and crispy meringues—truly melt-in-your-mouth delicious!
- They look elegant piped up high, but they are incredibly easy meringue cookies to tackle, even for first-timers.
- This is basically a simple 3 ingredient cookies concept at heart—just egg whites, sugar, and a little stabilizer.
- Naturally, these are a fantastic, delicate option if you are looking for a new gluten free cookies recipe to try out.
- They are so versatile! You can leave them plain white or color them pastel shades for Easter Meringue Desserts.
- When baked low and slow, these become the perfect airy dessert cookies that always impress on a cookie tray.
You can find loads of other amazing things over at our dessert hub, but trust me, these sweet morsels are a winner on their own!
Essential Ingredients for Light and Crispy Meringues
When you’re aiming for that ethereal, cloud-like texture in your meringue cookies, the ingredients list looks suspiciously short, but every single item plays a massive role. Honestly, if you mess up the setup here, nothing else matters! You’re working with just a few things, so treating them right is key to getting those beautiful, crisp results.
First and foremost, we need four large egg whites. And listen, they absolutely must be at room temperature. Cold whites just don’t whip up to the volume we need for airy dessert cookies. Also, and this is non-negotiable for me: make sure your mixing bowl and whisk attachment are immaculate—totally grease-free! I remember one time I tried to rush it, and there was a tiny bit of old butter clinging to the bowl. Those egg whites just sat there looking sad and foamy. That’s why we obsess over clean equipment!
Here’s what you need for about three dozen truly delicate sweet treats:
- 4 large egg whites, room temperature for whipping volume
- 1 cup superfine granulated sugar (or caster sugar—don’t use regular granulated unless you have a lot of time!)
- 1/2 teaspoon cream of tartar (our reliable stabilizer)
- 1 teaspoon vanilla extract (for that background warmth)
- A tiny pinch of salt (this helps kickstart the foaming process)
Ingredient Notes and Substitution Guidance
Let’s talk sugar first. I specified superfine sugar because those tiny crystals dissolve much faster into the egg whites. If you use standard granulated sugar, you risk having gritty spots in your finished meringue cookies, which ruins that melt-in-your-mouth feeling. If you only have regular sugar, take a cup of it and just pulse it in your food processor for about 30 seconds until it’s a bit finer—it works almost perfectly!
The cream of tartar is crucial; it’s what gives the egg whites strength so they don’t collapse while you’re beating in all that sugar. If you have zero cream of tartar, you can substitute it with an equal amount of white vinegar or lemon juice—about 1 teaspoon of the liquid acid balances the egg whites beautifully. If you run out of vanilla, honestly, just skip it. Meringue is defined by purity, after all!
How to Prepare Perfect Meringue Cookies: Step-by-Step
Alright, let’s get these whipped up! First thing: heat that oven way low to 225°F. We aren’t really *baking* these, we are drying them, remember? Line your sheets with parchment—it’s your best friend here. Now, take your absolutely clean bowl and load in those room-temperature egg whites and that tiny pinch of salt. Start your mixer on medium speed. You’ll see it go from clear liquid to looking a bit like dishwater foam. That’s normal!
Once it’s foamy, throw in your cream of tartar and crank that speed up to medium-high. This is where the magic starts happening for these meringue cookies. You’ll see volume appear! This whole whipping process is what makes them so delightfully light. Take your time adding the sugar—I mean *slowly*, like one spoonful every few seconds. If you dump it all in, you shock the foam and deflate all that gorgeous air you just worked for. Keep going until you have stiff, glossy peaks. This technique is similar to what I learned from a fantastic guide on French meringue. When you pull the whisk out, the peak should stand straight up without flopping over. Test it by rubbing a tiny bit between two fingers; if you feel any grit, keep mixing for another minute or two. Finally, blend in that vanilla, and we’re ready for the fun part! Check out our dessert archive for more sweet inspiration, but for now, focus right here!
Achieving Stiff Peaks for Airy Dessert Cookies
Nailing the stiff peak stage is the entire secret to lovely, structurally sound airy dessert cookies. See how glossy the mixture gets after all that sugar is incorporated? That sheen tells you the sugar has fully dissolved. If you stop too soon, your meringue cookie recipe will collapse in the oven because the sugar hasn’t created that strong, stable scaffolding for the egg whites. The tactile test—rubbing the meringue between your fingers—is honestly the best way to check. If you feel even a single sugar grain, that meringue is still too soft and will weep later on your baking sheet. Gotta get it smooth as silk!
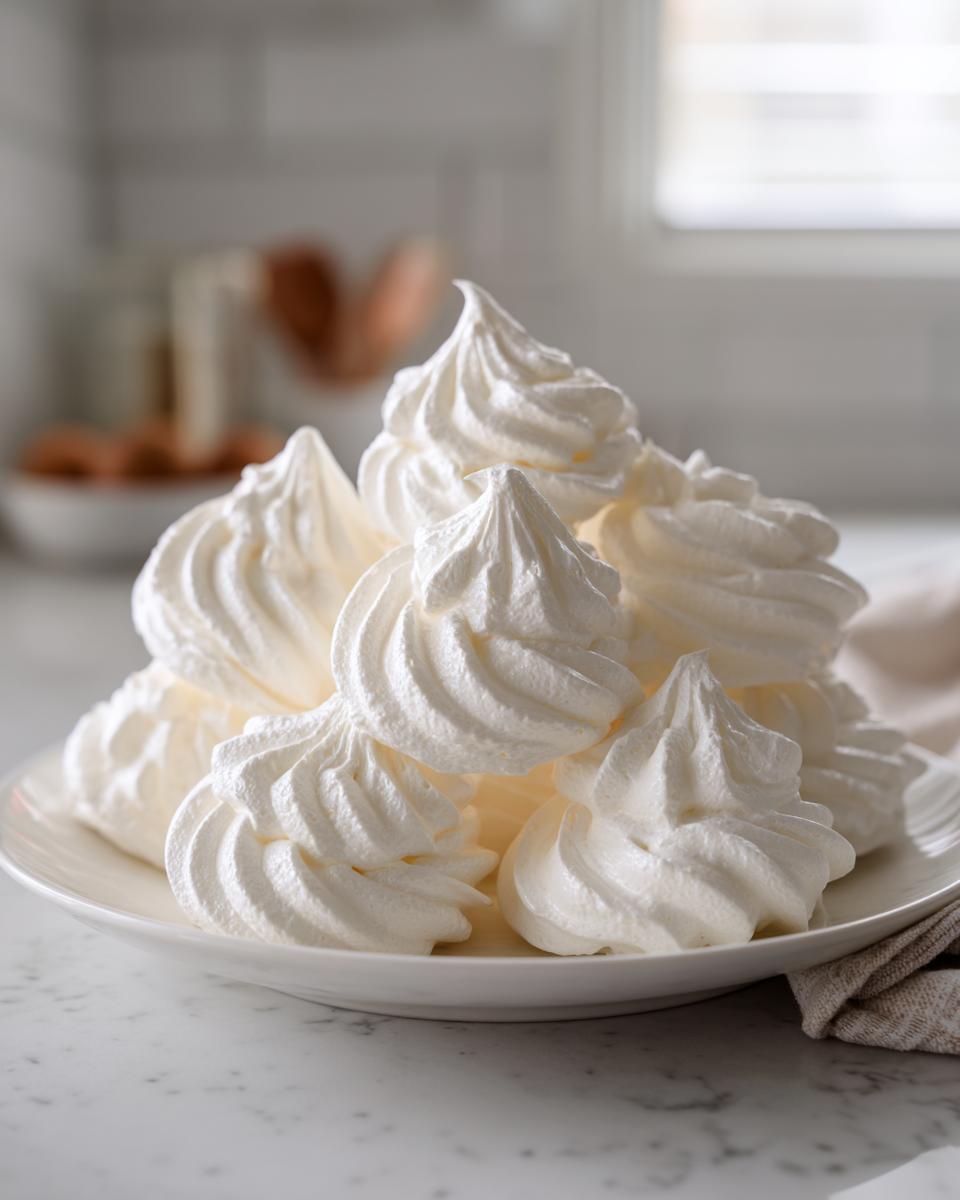
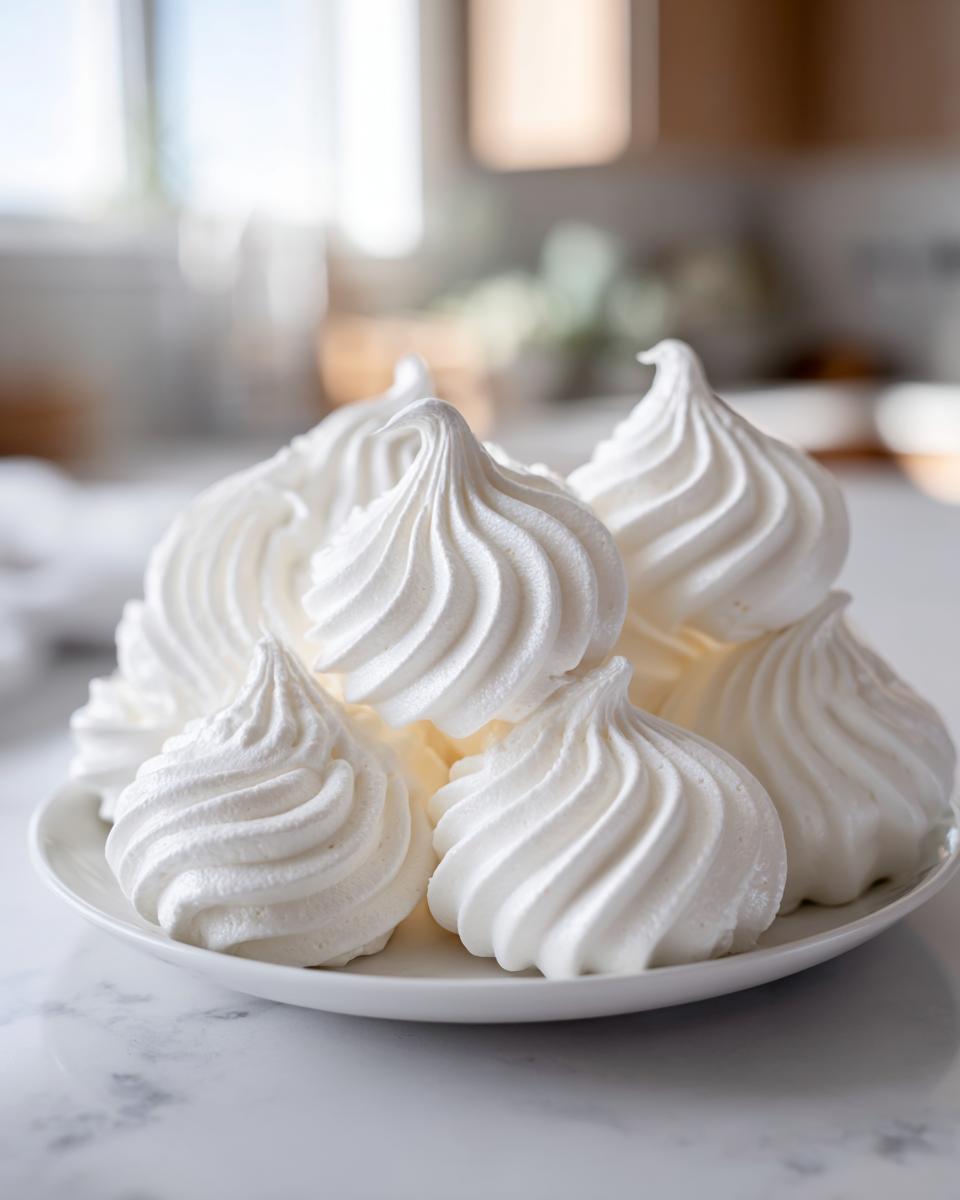
Piping and Shaping Your Meringue Cookies
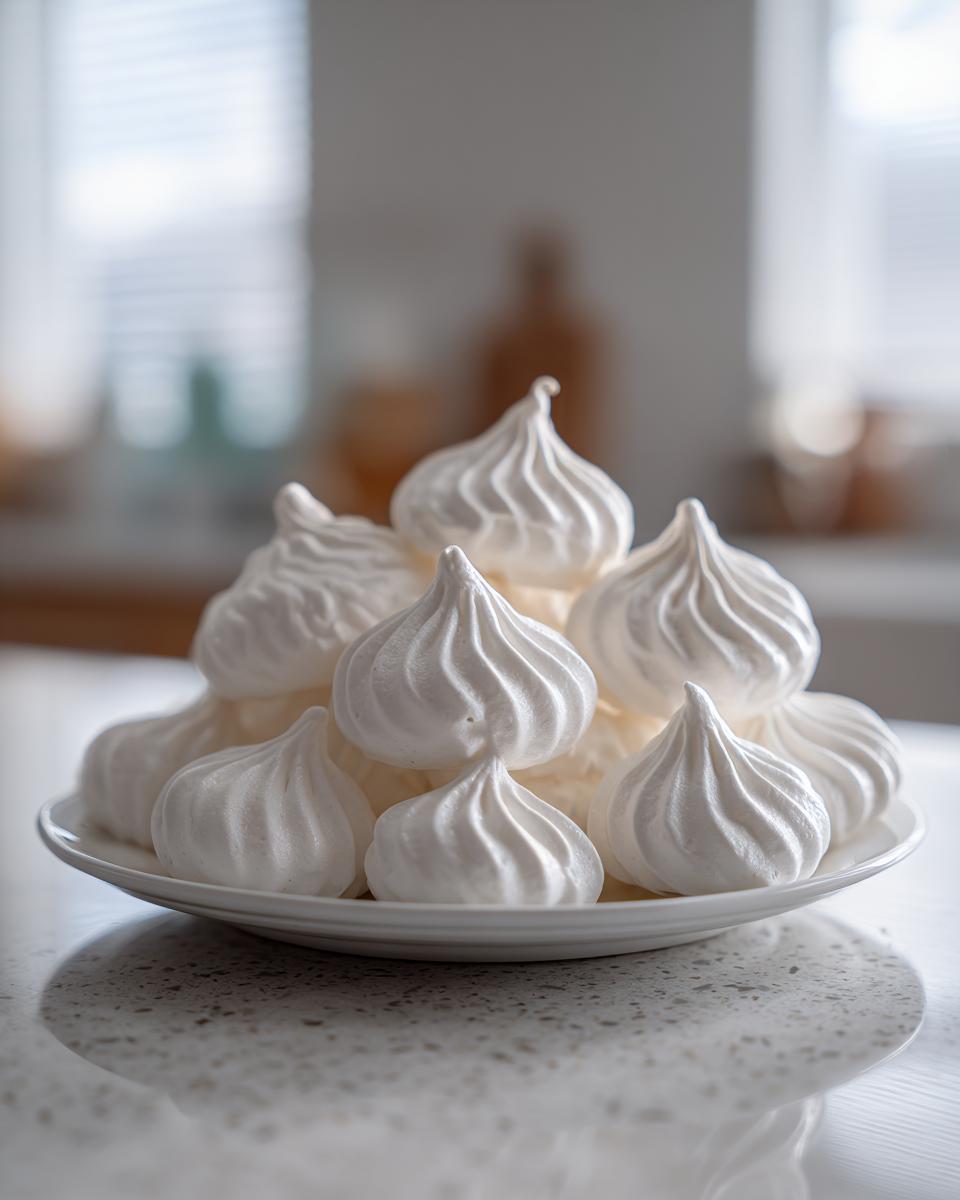
Now you need your piping bag fitted with a big star tip, unless you want rustic drops, which are totally sweet too! Fill your piping bag about two-thirds full—don’t overfill, or you’ll stress the seam. Hold the bag vertically over your parchment paper. Gentle, even pressure is key. You squeeze until the meringue is about an inch high, then quickly twist your wrist as you lift the bag straight up to create a nice little swirl top. This uniform size helps all your homemade meringue treats bake evenly. If you’re aiming for little Christmas meringue ideas like trees or simple swirls, this technique works perfectly for beginners!
Baking and Cooling: The Secret to No Fail Meringue Cookies
Okay, we’ve whipped these beautiful clouds of sugar and white gold, and now comes the part that makes or breaks every batch of meringue cookies: the bake! You cannot treat these like regular cookies. If you crank the heat, they’ll puff up fast, crack immediately, and fall into delicious but messy puddles. We aren’t baking; we are *drying* them out low and slow.
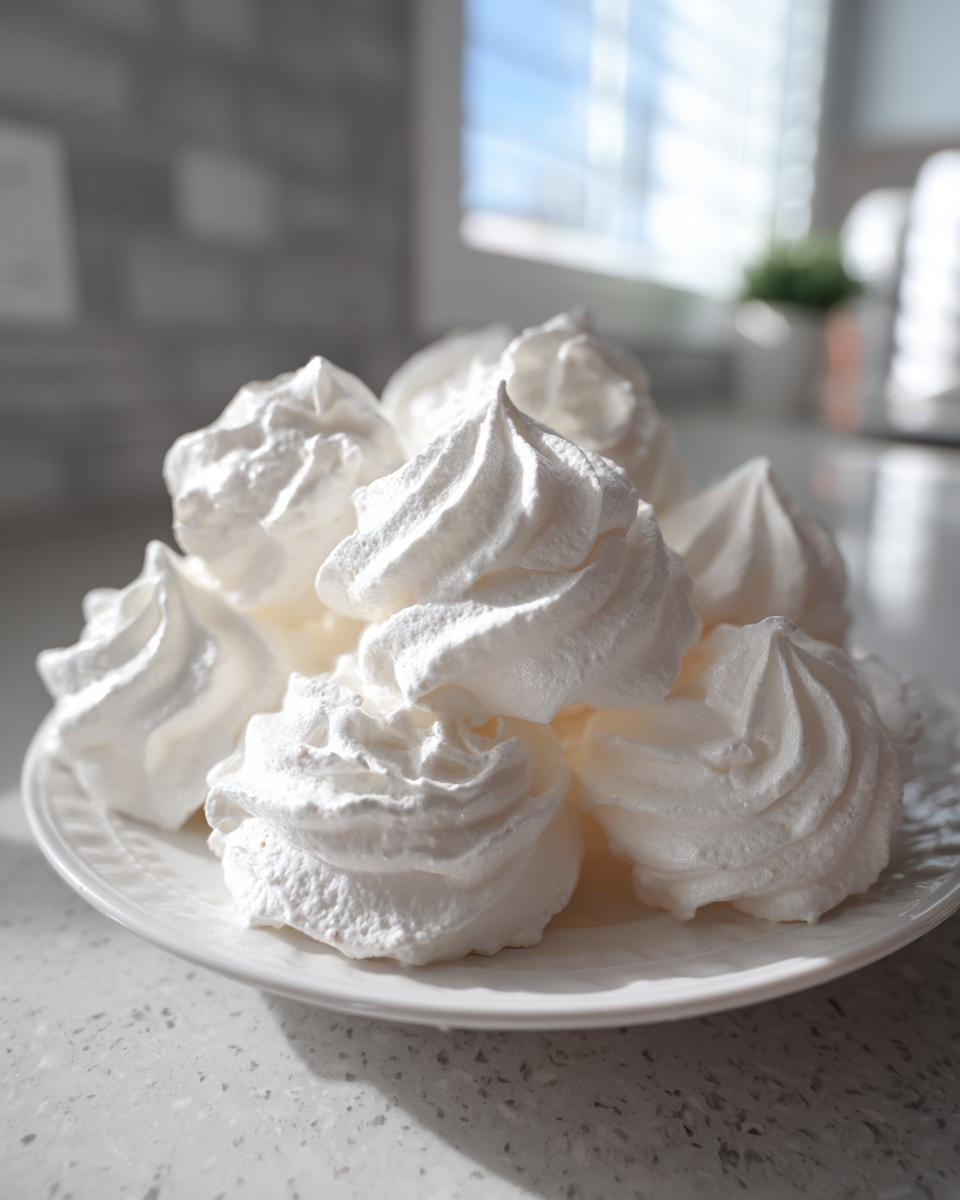
Slide those trays into your preheated 225°F oven. You’re looking for about 60 to 90 minutes of gentle heat. The goal here is zero browning—we want pure white, pillowy structures. If you see any hint of gold, you’ve gone too hot! For me, I watch them closely around the one-hour mark. They should feel feather-light when you carefully tap them.
But here is the absolute golden rule, the one step that truly guarantees you get those perfect Melt in Your Mouth Cookies: You must let them cool in the oven. Seriously. After that hour or so, turn the oven completely off. Don’t open the door yet! Just leave the heat source off, and prop the oven door open just a crack using a wooden spoon. That little bit of airflow prevents the dramatic temperature shock that causes cracking. We need them to transition slowly, drying out completely as the residual heat fades. I always leave mine in there overnight if I can manage it. When you crack that door open in the morning, you are rewarded with the crispest, most delicate meringue cookies imaginable. It’s worth the patience, trust me!
Tips for Success with Your Homemade Meringue Treats
Now that you’ve mastered the whipping and the drying, let’s talk about those inevitable little hiccups that pop up when dealing with whipped egg whites. These homemade meringue treats are inherently delicate, but with a few expert hacks, we can keep them pristine. Remember, I am Isabella Rossi, and I’ve made every mistake possible so you don’t have to! My biggest screw-up involved thinking I could sneak in some chocolate chips right after the sugar—I stirred them too vigorously! That overmixing is what leads to weeping later on. Learn from my enthusiasm!
If you want to jazz these up a little—and who doesn’t want a twist on the standard meringue cookie recipe?—remember that the ‘Notes’ section mentioned you could add things like finely chopped nuts or mini chocolate chips. But here’s my rule: only gently fold them in at the very end, once the meringue is glossy and stiff, using a spatula. Do not use the mixer for this, or you’ll knock out all that air you so carefully built up. You can also grab more inspiration for desserts right over at our dessert hub!
Troubleshooting Common Meringue Cookie Issues
Handling humidity is part one of ruling the world of meringue cookies. If your kitchen is damp, they might turn sticky or, worse, start weeping sugar syrup onto the tray. The best defense is ensuring that low-and-slow oven time is long enough, and that rigorous cooling step is followed. If they weep, it’s usually humidity attacking the sugar, so make sure your storage container is absolutely airtight once they are done cooling!
Cracking is a different beast, and that almost always comes down to temperature shock. If you pull those perfect-looking shells out of the oven and immediately set them on a cold counter, *crack*, they splinter. My solution? Always turn that oven off and prop the door open a good inch with something wooden—a wooden spoon works perfectly to hold that door just slightly ajar. Let them sit for hours in that slowly cooling environment. Slow transition equals happy, crack-free light and crispy meringues every single time.
Decorating Meringue Cookies for Holidays and Gifts
Once you’ve got these cloud-like little beauties baked and dried, they are just begging for some playful decoration! That’s the part where you truly make these meringue cookies your own. They are such an amazing base—naturally gluten-free and pure white—so they take color and little embellishments like a dream. This is where you turn a simple batch into showstoppers for your holiday trays or beautiful edible gifts.
For festive flair, remember that gel food coloring is your best friend. If you want beautiful Easter Meringue Desserts, mix a few drops of pastel pink or baby blue right into the stiff meringue before you pipe it. Just fold it once or twice so you get those lovely pale streaks rather than a solid, flat color. If you want to try out some fun designs, folks make adorable things like Tree Meringue Cookies or even little snowman shapes using specific piping tips!
If you don’t want to color the whole batch, you can keep the meringue white and add the fun on top. Right before they go into the oven, sprinkle them with coarse sanding sugar—it catches the light beautifully and gets nice and crunchy! For an even more dramatic look, you can melt down some white or dark chocolate and drizzle it over the cookies *after* they are completely cool. Think tiny zigzags or even dipping just the tips. This adds a lovely richness that perfectly complements the pure sweetness of the light and crispy meringues.
If you’re making these for giving away, tying a few together with a pretty ribbon makes them look like proper homemade gifts! If you need other ideas for sweet things that just wow people, take a peek at our dessert collection, but honestly, these meringue cookies are always a crowd-pleaser, especially when you add a little shimmer for Christmas, just like Emma does over at her kitchen!
Storage & Reheating Instructions for Meringue Cookies
Okay, you finally have a batch of the most perfect, light and crispy meringues sitting on your counter, and they are cool! Victory! The absolute last thing you want is to ruin that gorgeous crunch. So, let’s talk storage, because this is where humidity tries to sneak in and steal your joy.
For these meringue cookies, you absolutely want to store them at cool room temperature, never the fridge. Refrigerators have too much moisture, and I promise you, these beautiful, airy dessert cookies will start turning sticky faster than you can say ‘French Meringue.’ You need an airtight container—like a cookie tin or a sturdy plastic box with a good seal. You can layer them with a piece of wax paper in between if you’ve got a lot, just to prevent any friction, but seriously, skip the fridge!
My friends sometimes ask if they can reheat them if they notice them getting a little soft. Don’t bother! Reheating these is a recipe for disaster because that blast of heat and moisture right before serving usually causes them to weep or crackle unevenly. The best way to keep your homemade meringue treats perfect is through proper, dry storage. If you’ve followed the long, slow cooling process in the oven, they should stay crisp for at least a week, maybe two, if your house isn’t incredibly humid. If you notice they’ve lost a tiny bit of their snap after a few days, you can *very carefully* place them back in the turned-off oven with the door propped open for just 30 minutes later in the day, but honestly, eating them fresh is the best policy!
Frequently Asked Questions About Airy Dessert Cookies
I totally get it; sometimes you need a quick check before diving in. If you’ve read through everything and still have a few niggling questions about these perfect meringue cookies, I’ve gathered the most common ones right here. Please don’t stress if something seems confusing—baking is all about practice!
Can I make these meringue cookies without a stand mixer?
Yes, you absolutely can! Honestly, my Aunt Carla still uses a big glass bowl and an old hand whisk when she makes her batches; she says it feels more traditional. The only difference is that it takes a whole lot more arm power and time. You need to whisk continuously for maybe 15 to 20 minutes to incorporate enough air to reach those stiff, glossy peaks. If you use a handheld electric mixer, you’ll probably land somewhere around 10 minutes. The trick is patience; don’t stop just because your arm is tired—keep going until the sugar is totally dissolved!
What should I do if my kitchen is really humid?
Humidity is the enemy of fluffy, dry treats like our light and crispy meringues! If it’s pouring rain outside or you live somewhere generally damp, you need to increase your insurance policy against softness. First, make sure you use that cream of tartar or acid stabilizer; it helps fight off extra moisture. Second, you absolutely must bake them longer than the recipe suggests, even if they look done. Then, ensure that cooling period inside the oven is as long as possible—overnight is best! If you are storing them, use two layers of plastic wrap around the airtight container just to really seal out any damp air.
Are these truly a Gluten Free Cookies Recipe?
They sure are! That’s one of the beautiful things about meringue—it’s nothing but egg whites and sugar, meaning they are naturally free of wheat. If you are looking for more fantastic gluten-free options, check out our dedicated gluten-free recipe index. Just be super careful about what you add as variations; if you decide to fold in nuts, they are naturally GF, but if you use a mix that has processed chocolate chips, always double-check the ingredient label to make sure there hasn’t been any chance of cross-contamination.
Why did my meringue cookies weep sugar syrup after cooling?
Oh, the dreaded weeping! That little puddle of clear syrup usually means one of two things: either you didn’t beat the sugar in long enough and some granules remained undissolved, or you shocked them with a temperature change. They might feel dry on the outside, but undissolved sugar crystals pull moisture from the air once cool. To avoid this next time, really focus on that tactile test to make sure the mixture is smooth as glass before you pipe. And remember the golden rule: NEVER pull them out of a hot oven into a cold kitchen; always let them dry out slowly inside the cooling oven!
Nutritional Snapshot for Meringue Cookies
I know some of you are curious about how these sweet treats fit into your day-to-day, even though they are delicate little things! Since these meringue cookies are essentially pure sugar and protein, the numbers look pretty straightforward. Remember, this is just an estimate based on the recipe above, calculated per cookie, so treat it as a general guideline!
If you’re looking for a very low-fat, gluten-free indulgence, these honestly can’t be beaten! They are so light you might forget you are eating one!
Here is what you can expect from one standard meringue cookie:
- Serving Size: 1 cookie
- Calories: 45
- Sugar: 11g (Yes, it’s mostly sugar, remember we are whipping air!)
- Sodium: 5mg
- Fat: 0g
- Saturated Fat: 0g
- Carbohydrates: 11g
- Protein: 1g
The Ultimate Guide to Classic, Easy Meringue Cookies (Perfectly Crisp and Light)

Make light, crisp, and airy meringue cookies using this straightforward French meringue recipe. These melt-in-your-mouth treats require only a few basic ingredients and are perfect for holiday trays or simple desserts.
- Prep Time: 20 min
- Cook Time: 90 min
- Total Time: 110 min
- Yield: About 3 dozen cookies 1x
- Category: Dessert
- Method: Baking
- Cuisine: American
- Diet: Gluten Free
Ingredients
- 4 large egg whites, room temperature
- 1 cup superfine granulated sugar (caster sugar)
- 1/2 teaspoon cream of tartar
- 1 teaspoon vanilla extract
- Pinch of salt
Instructions
- Preheat your oven to 225 degrees Fahrenheit (107 degrees Celsius). Line two large baking sheets with parchment paper.
- Place the egg whites and salt into the clean, dry bowl of a stand mixer fitted with the whisk attachment. Begin mixing on medium speed until the mixture becomes foamy.
- Add the cream of tartar and increase the speed to medium-high. Beat until soft peaks form.
- Gradually add the superfine sugar, about one tablespoon at a time, beating well after each addition. This process should take about 8 to 10 minutes.
- Continue beating until the meringue is stiff, glossy, and holds firm peaks. When you rub a small amount between your fingers, you should feel no sugar granules remaining. Beat in the vanilla extract.
- Transfer the meringue to a piping bag fitted with a large star tip (or use two spoons for rustic drops).
- Pipe small, uniform mounds or desired shapes onto the prepared baking sheets. For festive shapes like Christmas trees, use a steady hand and appropriate piping technique.
- Bake for 60 to 90 minutes. The exact time depends on the size of your cookies. The goal is to dry them out, not brown them.
- Turn off the oven, prop the door open slightly with a wooden spoon, and allow the meringue cookies to cool completely inside the oven for at least one hour, or preferably overnight. This step helps prevent cracking and ensures a crisp texture.
- Once completely cool, gently remove the light and crispy meringues from the parchment paper.
Notes
- Use room temperature egg whites for the best volume when whipping.
- Ensure your mixing bowl and whisk attachment are completely free of any grease or water residue; this prevents the egg whites from whipping properly.
- For colored meringues, add a few drops of gel food coloring after the stiff peaks form.
- If you want a slightly different flavor, you can substitute 1/4 cup of the sugar with finely chopped nuts or mini chocolate chips after the meringue is stiff.
Nutrition
- Serving Size: 1 cookie
- Calories: 45
- Sugar: 11
- Sodium: 5
- Fat: 0
- Saturated Fat: 0
- Unsaturated Fat: 0
- Trans Fat: 0
- Carbohydrates: 11
- Fiber: 0
- Protein: 1
- Cholesterol: 0