
Are you tired of flat, sad breakfast circles staring back at you from the griddle? Trust me, I’ve been there. But when you want that classic comfort of a true weekend brunch, you need height, you need texture, and you need reliability. That’s why I worked so hard to bring you what I truly believe is the ultimate fluffy old-fashioned pancakes recipe from scratch. This isn’t just another recipe; this is Isabella Rossi’s tried-and-true method for making incredible, tall pancakes that stay light and airy. If you love the softness of creamy scrambled eggs, you’ll appreciate the texture we achieve here!
- Why This Old-Fashioned Pancakes Recipe Delivers Fluffy Perfection
- Gathering Ingredients for Your Fluffy Pancakes
- The Step-by-Step Guide to Easy Homemade Pancakes From Scratch
- Tips for How to Make Perfect Pancakes Every Time
- Serving Suggestions for Your Fluffy Pancakes
- Storage and Reheating Instructions for Leftover Pancakes
- Frequently Asked Questions About Homemade Pancakes
- Sharing Your Experience with Our Perfect Pancakes
- Estimated Nutritional Data for Fluffy Pancakes
Why This Old-Fashioned Pancakes Recipe Delivers Fluffy Perfection
I’m telling you, everyone searches for the best fluffy pancakes recipe, but few people realize that the fluffiness comes from chemistry, not just ingredients! This isn’t some fancy restaurant trick; this is just good, old-fashioned technique applied to simple pantry staples. We build structure through balancing our acidic buttermilk with the baking soda perfectly. That interaction creates carbon dioxide bubbles that lift the batter before it even hits the heat.
But the real game-changer for achieving those tall and thick pancakes you see in the magazines? It’s the resting time. Seriously, don’t skip that ten minutes! When you let the batter sit, those tiny bubbles have time to form and stabilize. When you fold in the melted butter last, it coats those bubbles, essentially creating little insulation pockets inside the batter.
This combination is what guarantees a light, airy interior rather than a dense, sad disc. It’s why I call this the ultimate guide for making perfect homemade pancakes every time at home. Next, let’s make sure you have the exact team of ingredients ready to go for these classic comfort food breakfast favorites.
Gathering Ingredients for Your Fluffy Pancakes
When we talk about classic, old-fashioned goodness, we have to start with the right building blocks. My philosophy is that if the ingredients are good, the effort is minimal. You don’t need any weird stuff here—just pantry staples you probably have right now! Buttermilk is non-negotiable for that tangy lift and the fluffiest pancakes imaginable, though I’ll give you a backup if you’re in a pinch later.
For now, let’s get everything measured out precisely. I always lay everything out before I start mixing. It calms the chaos and ensures we don’t forget that crucial baking soda!
Essential Dry Ingredients for Perfect Pancakes
- 2 cups all-purpose flour
- 2 tablespoons granulated sugar
- 4 teaspoons baking powder
- 1 teaspoon baking soda
- 1 teaspoon salt
Make sure you really give these dry components a good whisking together. The goal here is to distribute the baking powder and soda evenly throughout the flour so every single pancake rises uniformly. Trust me, this step is key to avoiding flavor surprises!
Wet Components for Rich Pancakes
- 2 large eggs
- 1 3/4 cups buttermilk
- 1/2 cup unsalted butter, melted, plus more for the griddle
- 1 teaspoon vanilla extract
Notice that butter is listed as melted! That’s important. We add it last so it gets incorporated without scrambling our eggs or deflating the batter we worked so hard to create. Vanilla just gives everything that warm, home-baked scent we all crave in a breakfast treat.
The Step-by-Step Guide to Easy Homemade Pancakes From Scratch
Okay, now for the fun part! We’ve got our ingredients ready, and trust me, following these steps precisely is how you master easy homemade pancakes from scratch that actually work. Don’t worry about perfection here; we are aiming for *just combined*. Remember, we want beautiful, light breakfast stacks, not tough, chewy ones! I always think about a big family breakfast when I make these—you’ll appreciate being able to whip up a huge batch quickly.
Here are the steps we’ll follow exactly as written:
- In a large bowl, whisk together the flour, sugar, baking powder, baking soda, and salt. This is your dry mixture.
- In a separate medium bowl, whisk the eggs, buttermilk, and vanilla extract until combined.
- Pour the wet ingredients into the dry ingredients. Mix gently with a whisk or spatula until just combined. Do not overmix; a few lumps are fine. Overmixing develops gluten and creates flat pancakes.
- Gently whisk the melted butter into the batter last. Mix only until incorporated.
- Let the batter rest at room temperature for 10 minutes. This allows the leavening agents to activate, which creates taller, fluffier pancakes.
- Heat a large nonstick griddle or skillet over medium heat. Test the temperature by flicking a drop of water onto the surface; it should sizzle and evaporate immediately. Lightly brush the surface with melted butter.
- Pour 1/3 cup of batter onto the hot griddle for each pancake. Cook for 2 to 3 minutes, or until bubbles appear on the surface and the edges look set.
- Flip the pancakes and cook for another 1 to 2 minutes until golden brown and cooked through.
- Serve immediately with your favorite toppings, such as maple syrup and fresh berries.
Mixing the Batter: The Secret to Fluffy Pancakes
Stages 3 and 4 are absolutely crucial for achieving those high, light pancakes. When you combine the wet and dry bowls, you must mix only until *just* combined. I mean it! If you stir until everything looks perfectly smooth, you’ve activated too much gluten, and those beautiful fluff pockets will deflate before frying. Lumps are your friends here!
Izzy’s Tip: Seriously, embrace the lumps! Those little pockets of dry flour will hydrate during the resting period, but stirring them out now guarantees a rubbery result. This is one of the biggest pancake batter secrets I learned the hard way when I was trying to rush breakfast—don’t rush this mixing part. Add that melted butter last, folding it in gently until it disappears. Then, step away!
If you need quick dinner ideas while waiting for brunch to become an obsession, check out my instructions for easy chicken tacos! It’s nice knowing how to pivot to other tasty recipes too, in case you run out of milk for these easy breakfast treats later in the week.
Crucial Resting Time for Tall Pancakes
After you’ve incorporated that melted butter, you *must* let the batter settle for 10 minutes. This resting period is non-negotiable if you want truly tall and thick pancakes. What’s happening chemically is amazing: the baking powder and baking soda are reacting with the acid in the buttermilk, producing those lovely gas bubbles. If you cook them right away, the bubbles are too weak to lift the batter against gravity.
When they rest, those bubbles strengthen, and the flour hydrates fully. When the batter hits the hot griddle, those strong air pockets expand rapidly, giving you amazing height! This simple pause is the difference between a breakfast treat and a flat disappointment. I usually use this time to get the coffee going or pull out the maple syrup—it’s the perfect pace for busy mornings.
Griddle Management for Golden Pancakes
Now that the batter is rested and ready to perform, we need the griddle to be absolutely perfect for cooking our pancakes. If the pan is too cold, the batter spreads too much before setting, resulting in thinner cakes. If it’s too hot, the outside burns before the interior cooks through.
Remember that water droplet test? That is your absolute best guide to heat! It should sizzle and vanish almost instantly. Brushing with butter just until the surface is coated ensures those beautiful golden-brown spots form evenly across your amazing stack of pancakes. This tested method builds so much trust in the process!
Tips for How to Make Perfect Pancakes Every Time
Learning how to make perfect pancakes every time takes practice, but I promise, these final tips will save you so much heartache! I once, in a terrible rush for a Sunday morning meeting, mixed my batter for what felt like an eternity, trying to get rid of every last tiny lump. Result? Thin, tough, chewy discs. Never again! That mistake taught me that under-mixing is always better than over-mixing when aiming for soft, fluffy pancakes.
If you’re panicking because you ran out of buttermilk, don’t worry! My family substitutes it constantly when we’re making these fluffy homemade griddle cakes. If you don’t have buttermilk on hand—and I know how quickly you can run out mid-batch—I promise the substitute works beautifully. It’s all about getting that acid-to-base reaction going, just like the recipe calls for, but using milk you already have. See the simple fix below!
And when you’re feeding a crowd for weekend brunch, you’ll need a plan to keep those initial beauties warm while you finish the rest of the batter, otherwise, the first person eating gets gold and the last person gets lukewarm sadness. We have a reliable method for that, too. You can read more about different techniques, including the one I love from this article on achieving breakfast joy!
Buttermilk Substitute for Classic Pancakes
If you only have regular milk—whole milk works best, but 2% is fine—you can fix it right now! Take 1 3/4 cups of your milk and stir in 1 tablespoon of white vinegar or fresh lemon juice. Just stir it once or twice, and then let it sit on the counter for about five minutes. It will start to curdle slightly, and voila—you have buttermilk substitute! It provides the exact same necessary tang and acid required to react with the baking soda for that lift we desperately need in these classic pancakes.
Keeping Your Stack of Pancakes Warm
When you are making a giant batch for a family gathering, the final few rounds always seem to cool down too fast. To avoid this, preheat your oven to a very low temperature, about 200°F. Keep a baking sheet inside that oven. As soon as you pull a finished batch off the griddle, stack them gently right onto that warm sheet in the oven.
This acts like a warming drawer! It keeps every single one of your golden-brown delights hot and fresh until you are ready to serve the whole glorious pile. It totally saves your big weekend brunch recipe when you’re serving more than four people!
Serving Suggestions for Your Fluffy Pancakes
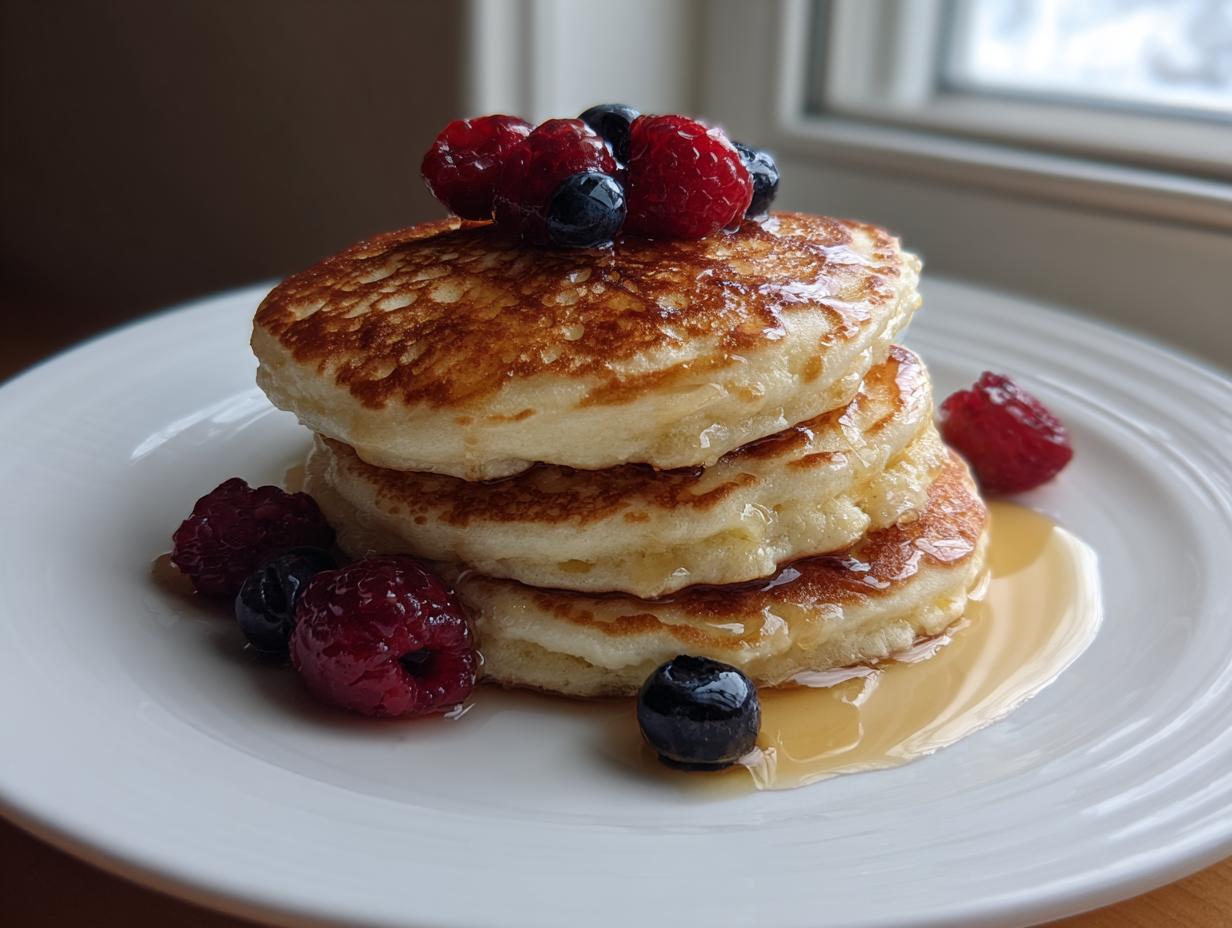
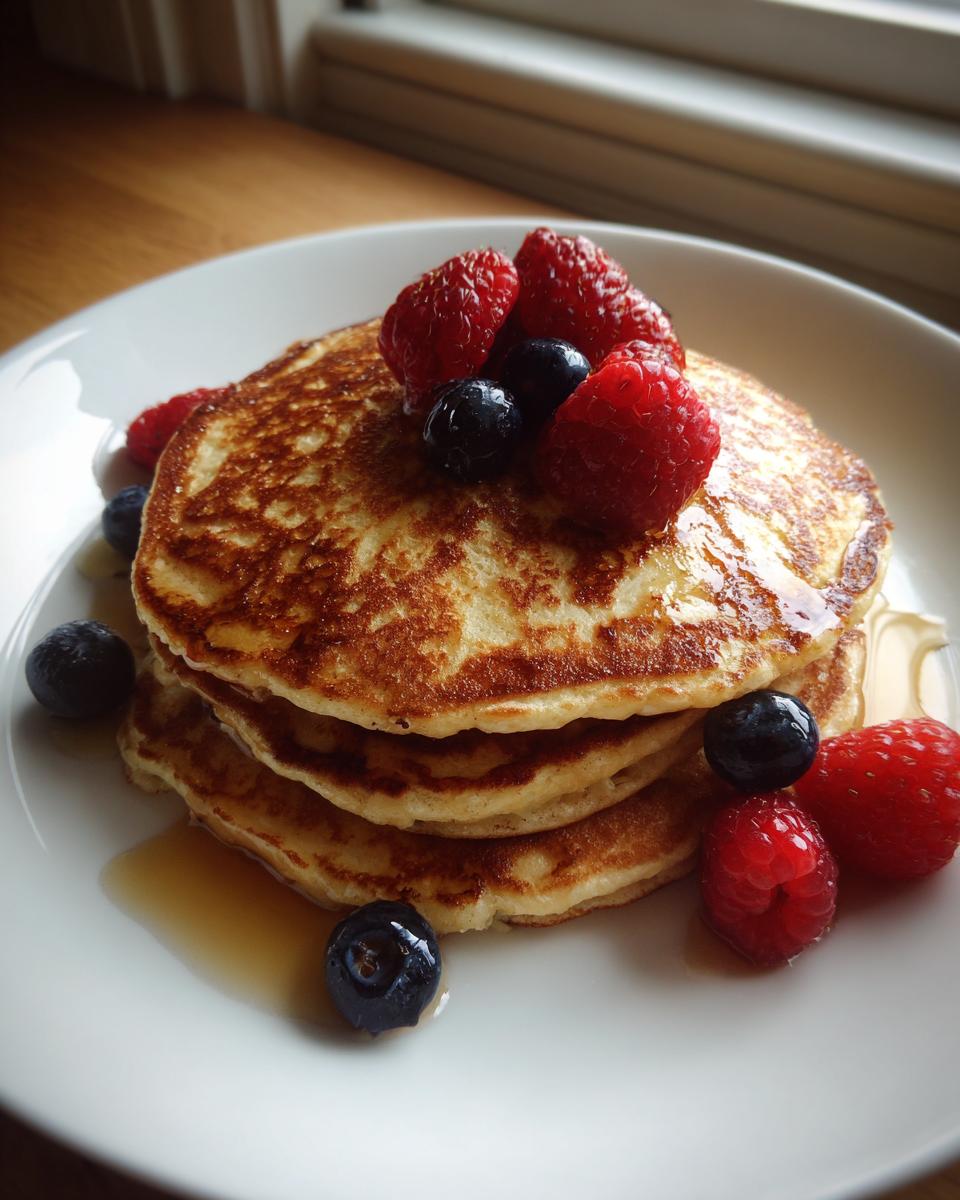
Once you have these gorgeous, tall pancakes cooling slightly, the fun of customization begins! Honestly, they are perfect just as they are, maybe with a whisper of butter melting on top and a slow pour of real maple syrup. That’s the pure, old-fashioned experience right there.
But if you want to dress them up, I have some great pancake topping ideas. Fresh blueberries or sliced bananas are always winners, especially if you dust them with a little powdered sugar to enhance those light and airy breakfast stacks. For something richer, try a small dollop of good quality berry jam or maybe even a drizzle of chocolate sauce if the kids are around! You can find instructions for making amazing candied sweet potatoes if you want to try a savory-sweet side pairing!
Storage and Reheating Instructions for Leftover Pancakes
Listen, sometimes life gets busy, and we don’t eat every single golden beauty we flip onto the griddle. That’s okay! The good news is that these homemade pancakes actually store better than the boxed mix ones, provided you treat them right. You want to maintain that essential fluffiness, and that means avoiding the microwave if you can, even though it’s tempting when you’re rushing out the door.
First things first: make sure they are completely cooled before you store them. Stacking warm pancakes traps steam, and steam equals soggy bottoms—and nobody wants a soggy pancake, right?
For short-term storage—say, the next day—stack them flat in an airtight container or Ziploc bag and keep them in the fridge for up to three days. They hold up really well sitting there waiting for you!
If you know you won’t get to them for a week or more, freezing is the way to go. I always place a small square of parchment paper or wax paper between each cooled pancake before bagging them up. This stops them from sticking together in one giant, immovable cake of breakfast carbs! They will last beautifully in the freezer for about two months.
The key to reader trust here is how you bring them back to life. When reheating, the oven or toaster oven is absolutely your best friend for maintaining that slightly crisp edge and soft interior. Pop them onto a rack set over a baking sheet at about 350°F for just five to seven minutes. They come out almost like they were just made! If you absolutely must use the microwave, only do one or two at a time, maybe adding a tiny splash of water to the plate or covering them with a barely damp paper towel—it adds the humidity back in, otherwise, they get tough fast!
Frequently Asked Questions About Homemade Pancakes
I get so many wonderful questions, and honestly, that’s how we all learn to be better cooks! If you’re wondering about a quick fix or need confirmation on a step, chances are, someone else is wondering the exact same thing. We build amazing, reliable recipes together by asking these questions. Think of this as a little cheat sheet so you always feel confident bringing out the batter for your next batch of easy no-bake eclair cake or, better yet, these breakfast wonders!
Can I use regular milk instead of buttermilk in these pancakes?
You absolutely can, my dear cook! If you’re out of buttermilk—which happens to me constantly—you don’t have to run to the store just for this recipe. Remember what I mentioned earlier? You can easily whip up a substitute right in your kitchen. Just stir one tablespoon of white vinegar or lemon juice into 1 3/4 cups of your regular whole milk. Let it sit on the counter for about five minutes until it looks a tiny bit curdled. That creates the necessary acid to activate our baking soda, giving you that necessary lift for genuinely fluffy results!
What is the secret to making these pancakes so tall?
If you take only one thing away from this whole guide, please let it be this: the secret to those unbelievably tall, light, and airy pancakes is twofold, but the most important part is the *rest*. You must let the batter rest for a full 10 minutes after you mix everything, especially the melted butter in last. This resting period allows the leavening agents to slowly create stable gas bubbles within the batter. Trying to cook it immediately means those bubbles pop too soon under the heat, and you end up with flatter results.
Sharing Your Experience with Our Perfect Pancakes
Now that you’ve created your own towering stack of light and airy pancakes, I really want to hear all about it! Did you achieve maximum fluffiness? Tell me in the comments below how they turned out, and please, share a photo if you have one! Knowing that this classic recipe is working its magic for your family is why I love sharing these treasured techniques. If you need to reach out with any questions, you always know where to find me over at the contact page!
Estimated Nutritional Data for Fluffy Pancakes
When we talk about comfort food, sometimes we want to know the breakdown, right? While these old-fashioned pancakes are made with simple, wholesome ingredients, it’s good to have a ballpark idea of what you’re enjoying, especially when whipping up a big stack for the family!
Please remember that these figures are just estimates based on the standard recipe measurements provided. Your portion size, the exact brand of your flour, and how much butter you use on the griddle will change the final count a bit. But this gives you a fantastic starting point for enjoying your fluffy homemade griddle cakes guilt-free!
- Serving Size: 1 pancake
- Calories: 210
- Total Fat: 8g
- Saturated Fat: 4g
- Carbohydrates: 30g
- Sugar: 5g
- Protein: 7g
- Sodium: 350mg
See? Not bad at all for such an incredibly satisfying breakfast! We keep the sugar relatively low because soaking these beauties in real maple syrup sounds like a better use of those grams anyway!
PrintThe Ultimate Fluffy Old-Fashioned Pancakes Recipe
Make truly light, airy, and tall pancakes from scratch. This easy, one-bowl recipe uses simple techniques to achieve the perfect classic breakfast stack every time you cook.
- Prep Time: 10 min
- Cook Time: 15 min
- Total Time: 25 min
- Yield: About 10 large pancakes 1x
- Category: Breakfast
- Method: Griddling
- Cuisine: American
- Diet: Vegetarian
Ingredients
- 2 cups all-purpose flour
- 2 tablespoons granulated sugar
- 4 teaspoons baking powder
- 1 teaspoon baking soda
- 1 teaspoon salt
- 2 large eggs
- 1 3/4 cups buttermilk
- 1/2 cup unsalted butter, melted, plus more for the griddle
- 1 teaspoon vanilla extract
Instructions
- In a large bowl, whisk together the flour, sugar, baking powder, baking soda, and salt. This is your dry mixture.
- In a separate medium bowl, whisk the eggs, buttermilk, and vanilla extract until combined.
- Pour the wet ingredients into the dry ingredients. Mix gently with a whisk or spatula until just combined. Do not overmix; a few lumps are fine. Overmixing develops gluten and creates flat pancakes.
- Gently whisk the melted butter into the batter last. Mix only until incorporated.
- Let the batter rest at room temperature for 10 minutes. This allows the leavening agents to activate, which creates taller, fluffier pancakes.
- Heat a large nonstick griddle or skillet over medium heat. Test the temperature by flicking a drop of water onto the surface; it should sizzle and evaporate immediately. Lightly brush the surface with melted butter.
- Pour 1/3 cup of batter onto the hot griddle for each pancake. Cook for 2 to 3 minutes, or until bubbles appear on the surface and the edges look set.
- Flip the pancakes and cook for another 1 to 2 minutes until golden brown and cooked through.
- Serve immediately with your favorite toppings, such as maple syrup and fresh berries.
Notes
- For the fluffiest pancakes, do not stir the batter after it has rested.
- If you do not have buttermilk, mix 1 3/4 cups of whole milk with 1 tablespoon of white vinegar or lemon juice and let it sit for 5 minutes before using.
- Keep cooked pancakes warm on a baking sheet in a 200°F oven while you finish the rest of the batch.
Nutrition
- Serving Size: 1 pancake
- Calories: 210
- Sugar: 5
- Sodium: 350
- Fat: 8
- Saturated Fat: 4
- Unsaturated Fat: 4
- Trans Fat: 0
- Carbohydrates: 30
- Fiber: 1
- Protein: 7
- Cholesterol: 65