
When you open your door on game day and everyone is hungry *now*, you need an appetizer that travels straight from the pantry to the party in minutes. Forget babysitting a complicated sauce! I’m Isabella Rossi, and here at Chefsily, we believe the best food is the food that brings people together without stressing you out. That’s why this chili cheese dip is my personal MVP. We’re talking about the Ultimate Easy 3-Ingredient Cream Cheese Chili Dip. It’s so ridiculously fast—seriously, under 25 minutes total—that you’ll wonder why you ever bothered with anything else. This recipe truly embodies our philosophy: simple ingredients, maximum comfort, and guaranteed cheers from the crowd when you bring out that bubbling, cheesy goodness. If you love dips that make a statement but take no effort, you have to check out my recipe for Dorito Taco Salad too! Grab your chips; we’re making history!
- Why This Chili Cheese Dip is the Ultimate Crowd Pleaser Dips (Quick Party Snacks)
- Gather Your Ingredients for the Chili Cheese Dip
- How to Prepare Your Easy Chili Cheese Dip Instructions
- Tips for Success with Your Cream Cheese Dip Recipes
- Serving Suggestions for This Crowd Pleaser Dips
- Variations: Making Your Chili Cheese Dip Your Own
- Storage and Reheating Instructions for Leftover Chili Cheese Dip
- Frequently Asked Questions About Easy Chili Cheese Dip
- Nutritional Information for This Hot Cheese Dips Estimate
Why This Chili Cheese Dip is the Ultimate Crowd Pleaser Dips (Quick Party Snacks)
I promise you, this isn’t just another dip recipe clogging up your Pinterest board. This chili cheese dip earns its spot as an ultimate crowd pleaser because it respects your time! When you’re hosting a big game day party or just need a seriously hot cheese dip ready fast, you don’t want complexity. You want magic. And this recipe delivers pure, cheesy, melty magic with almost zero effort.
It’s the secret weapon that always disappears first. If you love easy appetizers, you absolutely must see my recipe for Jalapeño Popper Dip next, or maybe my Homemade Guacamole!
Quick Party Snacks: Ready in Under 25 Minutes
Who has time to simmer ingredients for an hour? Not me! This dip is phenomenal because the total time commitment is barely half an hour. We’re talking 5 minutes of actual hands-on work before it slides into the oven. That means you can get it baking and still have time to actually greet your guests!
The Beauty of 3 Ingredient Dips
This is where the simplicity shines. When you strip things down to the essentials—cream cheese for the creamy base, great canned chili for flavor, and sharp cheddar for that satisfying stretch—you avoid kitchen overwhelm. It’s budget-friendly, easy to scale up for bigger crowds, and you don’t need to run to the specialty store for fancy extras. It’s pure dairy and chili perfection!
Gather Your Ingredients for the Chili Cheese Dip
Okay, listen up because simplicity is the name of the game here. When I say this is a 3-ingredient recipe, I mean it! You need to have these core components ready to go. Having good quality ingredients, even for something this fast, makes all the difference in your final melty masterpiece. Trust me, showing up with the right stuff ensures a perfect result when you only have a few things to work with.
Ingredient List for the Ultimate Chili Cheese Dip
Make sure you grab these three essentials before you even think about preheating the oven. I’m being really specific about the state of the ingredients because that’s how we nail the texture:
- 1 (8 ounce) package cream cheese, and this must be softened onto your counter! No shortcuts here—it needs to blend smoothly.
- 1 (15 ounce) can chili. Now, this is my little secret: I always grab the kind with no beans. If you use beans, the texture gets a little lumpy when it bakes, and we are going for smooth, creamy decadence here!
- 1 cup shredded sharp cheddar cheese. Use sharp! It cuts through the richness of the cream cheese beautifully.
How to Prepare Your Easy Chili Cheese Dip Instructions
Okay, now that we have our three perfect players lined up, getting this dip assembled is faster than emptying the chip bag! This is where the real fun starts, and honestly, it’s so simple you don’t even need a mixer. I love that I can mix this up right before people arrive, slide it in the oven, and have an incredible appetizer ready before anyone has time to ask where the restroom is. Remember what I said about the no-bean chili? That pays off right here because the smoother this base is, the better it eats!
Step 1: Prep and Combine the Cream Cheese Dip Base
First things first, get your oven on! We need it warmed up to 350°F (175°C). While that’s heating, grab a small baking dish—you don’t want this spread out too thin, or it won’t get that nice, thick texture we’re aiming for. Lightly grease it; this just makes cleanup a snap later. Now, dump that softened cream cheese into a medium bowl. If your cream cheese is cold, the dip will be lumpy, so make sure it’s super soft!
Next, add your can of chili right on top. Grab a sturdy spoon or spatula and just work those two ingredients together. You need to mix completely until everything is uniform, smooth, and you can’t see any more distinct white streaks of cream cheese. Seriously, keep mixing until it looks harmonious!
Step 2: Baking the Chili Cheese Dip to Perfection
Once your chili and cream cheese mixture is perfectly combined, scrape every last bit of that beautiful base right into your prepared baking dish. Spread it out evenly with the back of your spoon, making a nice, flat canvas.
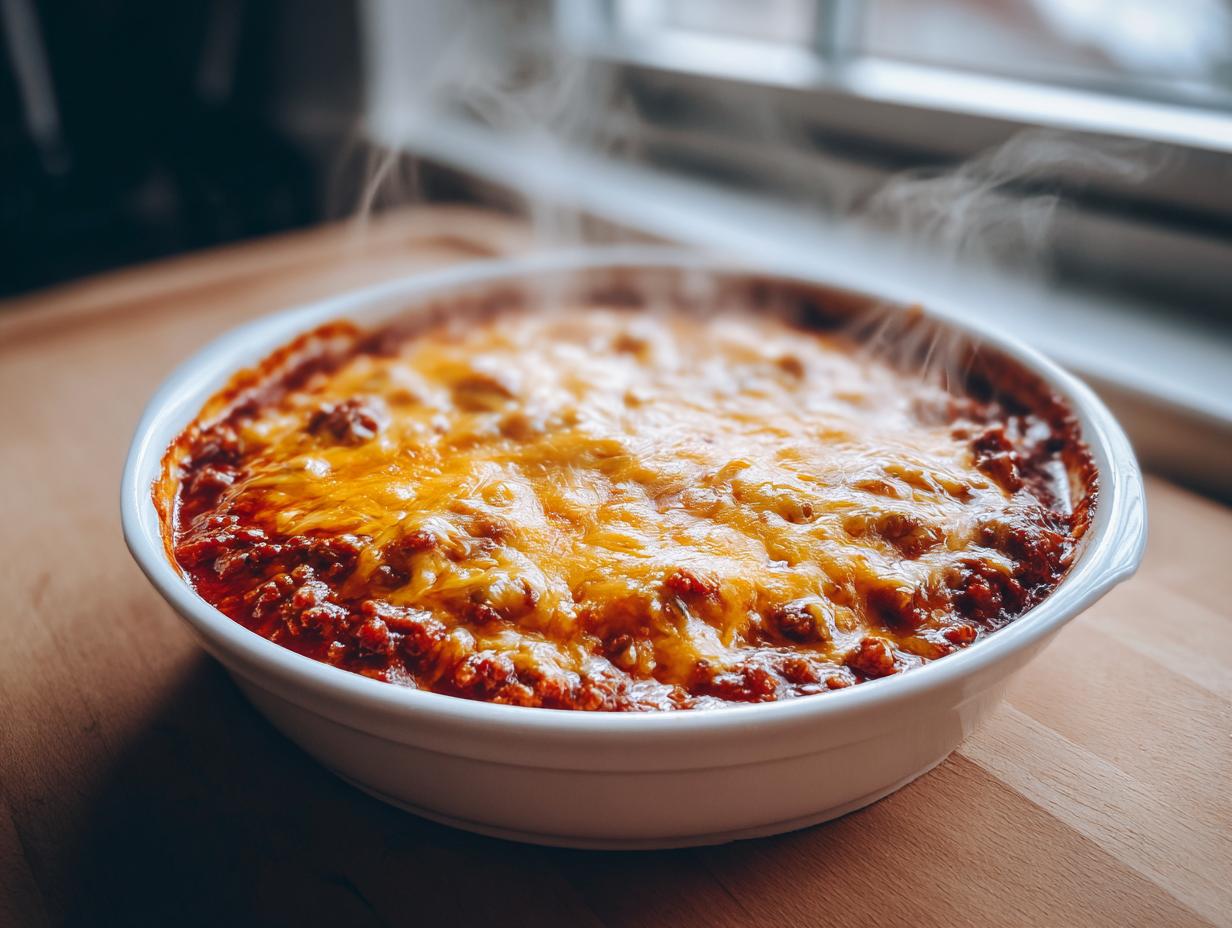
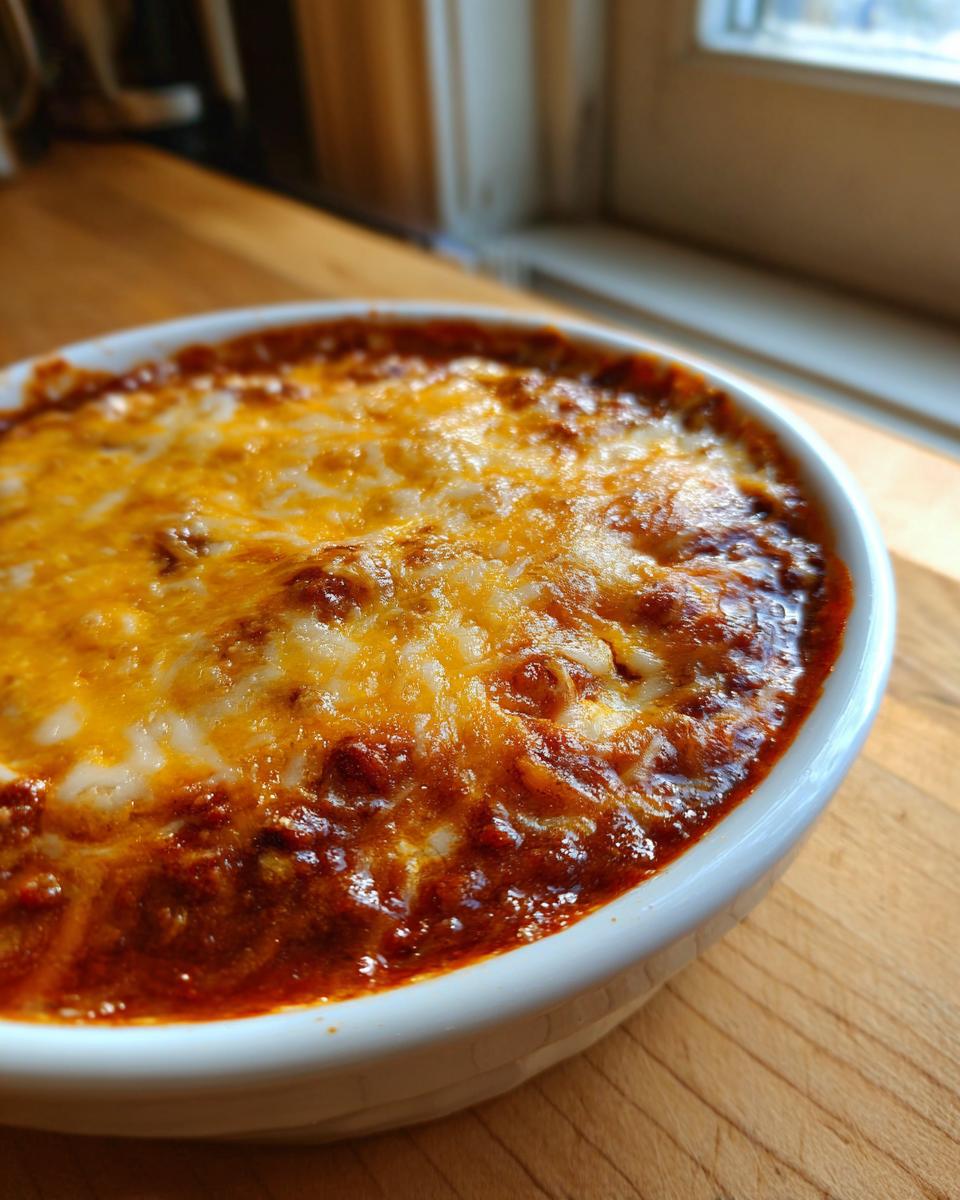
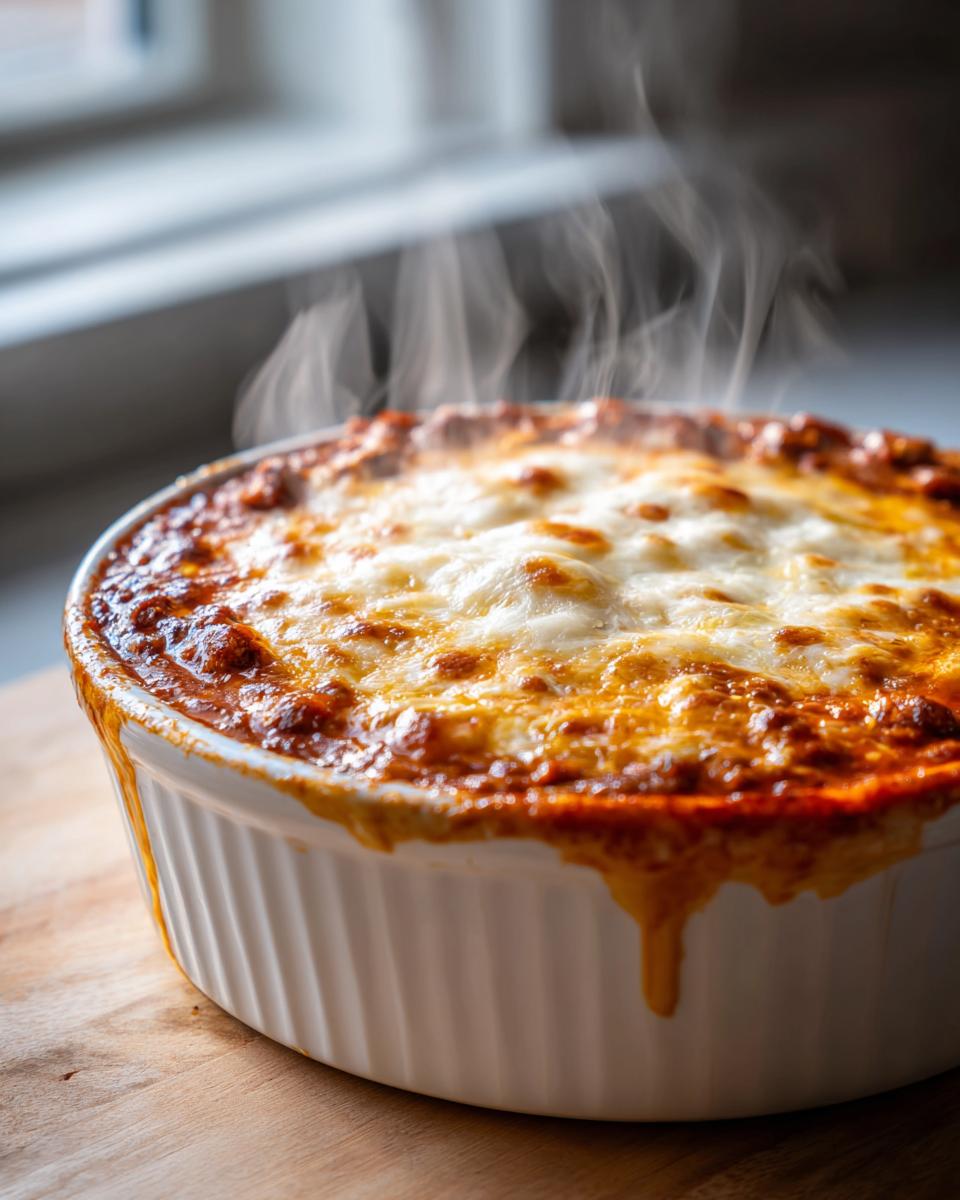
Now, the grand finale before the oven: sprinkle that sharp cheddar cheese right over the top. Use all of it! We want a thick, glorious blanket of cheese. Pop it into the preheated oven and set your timer for 15 minutes. You’re looking for it to get heated all the way through—you’ll see those edges start to bubble—and the cheddar on top should be completely melted and getting just a little bit brown and bubbly. Once it looks ready, pull it out! This melty cheese dip is best served immediately while it’s screaming hot. Grab your chips and dive in before your guests beat you to it. If you are looking for a homemade chili recipe for later, check out my Hearty Chili recipe!
Tips for Success with Your Cream Cheese Dip Recipes
Even though this chili cheese dip seems foolproof—and trust me, it mostly is—I always like to share a few tricks I picked up over the years when serving dips for big gatherings. You want that perfect pull, that perfect heat, and zero fuss, right? Getting these little details locked down is what separates a good dip from the dip everyone asks you to bring to the next party. I love sharing my tips for making even the easiest recipes feel chef-approved. If you need another dip that sings, check out my Garlic Aioli Recipe!
Ingredient Swaps for the Best Chili Cheese Dip
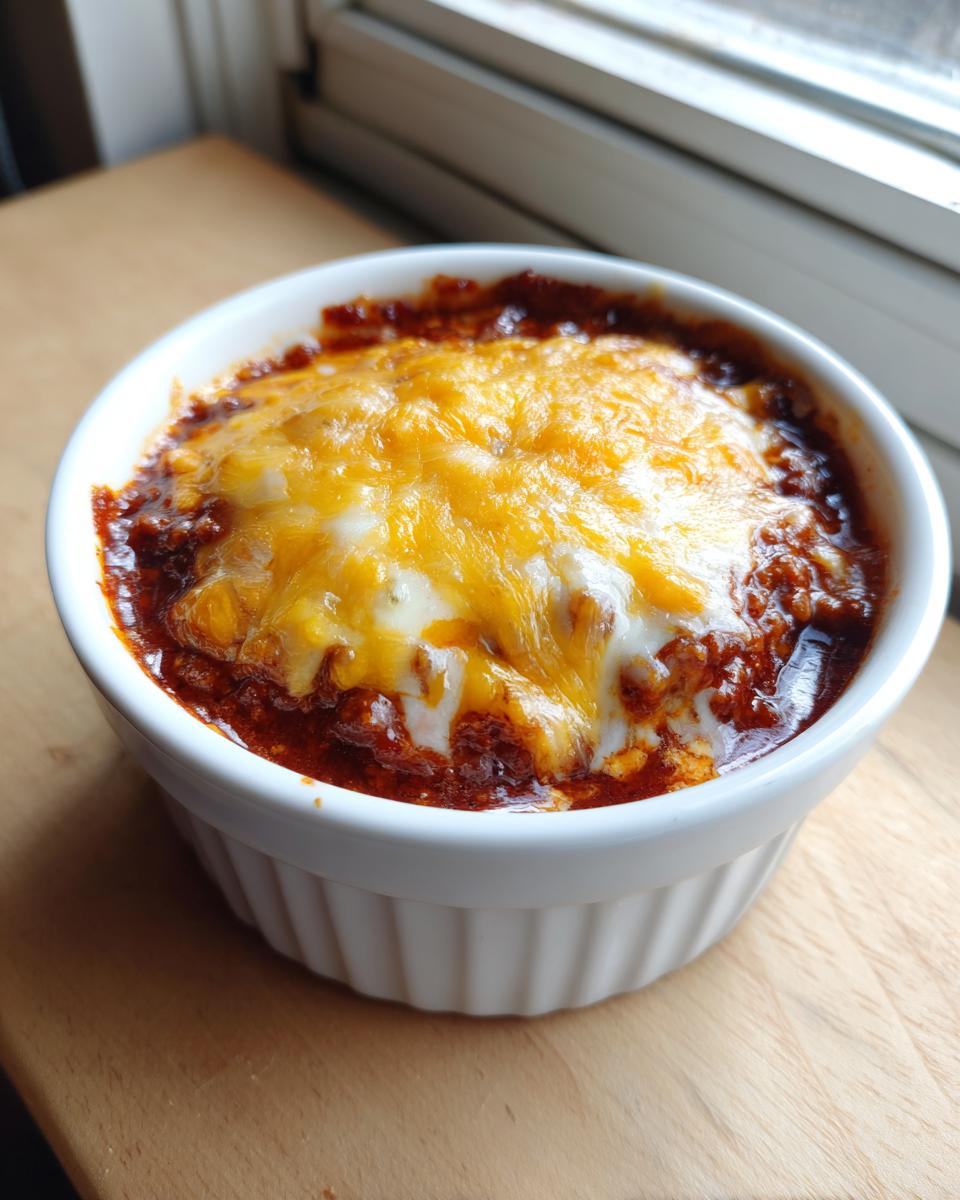
So, you saw in the recipe I called for sharp cheddar, but what if you really, really prioritize that liquid, melty stretch? That’s where Velveeta comes in! If you want the absolute smoothest texture possible, try swapping out the shredded cheddar for an equal weight of Velveeta cheese. It melts down into this unbelievably glossy sauce that is just pure comfort food heaven. It’s a total personal preference, but good to know the option is there!
Now, let’s talk about chili. If you bought that convenient canned chili that happens to have beans in it—no judgment! It happens! Here’s the trick: Before you mix it into the cream cheese, just take a fork and roughly smash about half of those beans against the side of the bowl. You don’t have to pulverize them, but mashing them breaks them up so they integrate better into the dip instead of hanging out as giant, solitary bean bombs.
Make-Ahead and Storage for This Game Day Dip Recipes
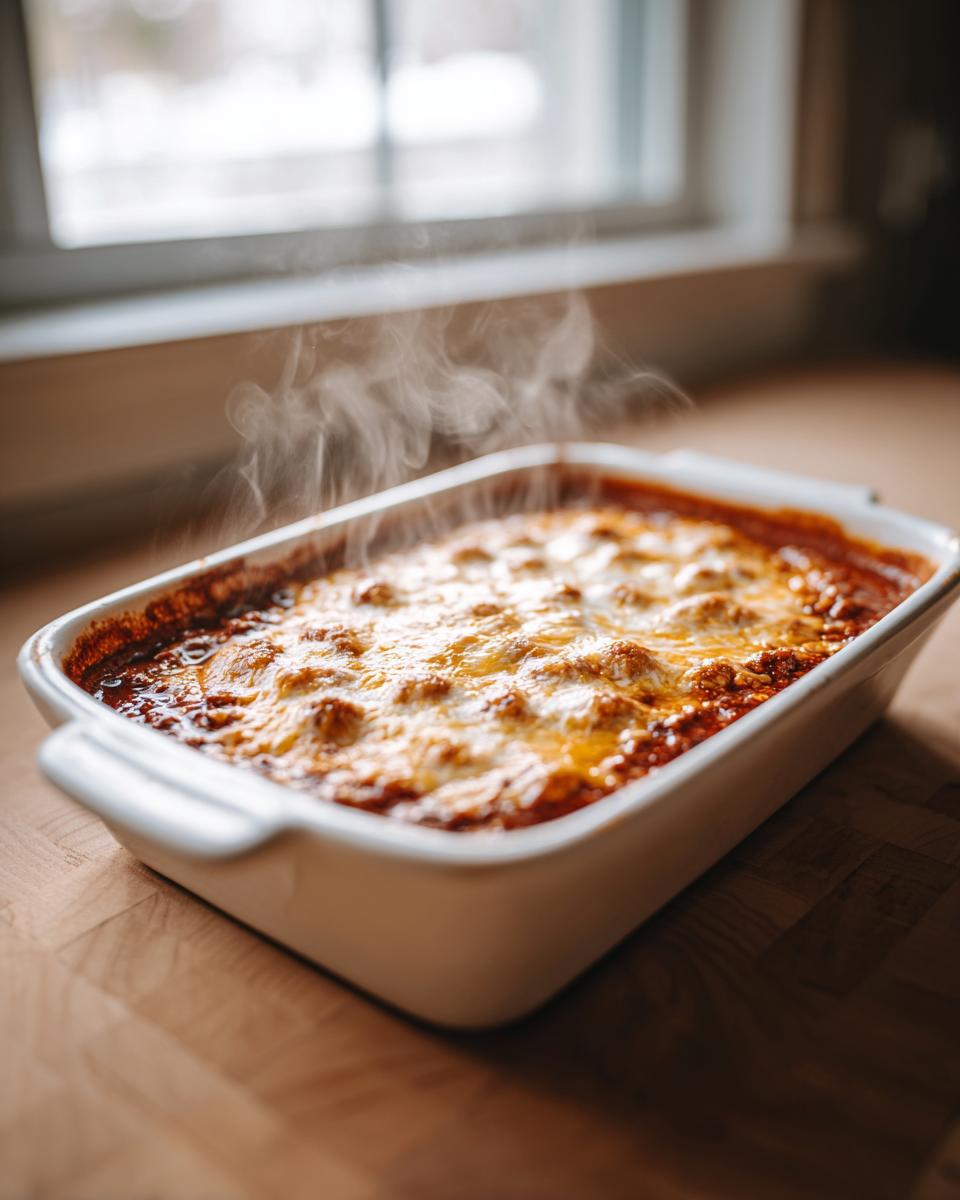
This is my favorite part about this recipe for busy hosts: it is a fantastic make-ahead appetizer! You can fully assemble everything—the cream cheese mixed with the chili, spread into the baking dish, and topped with the cheddar—store it covered in your refrigerator for up to two full days before you plan to bake it. Seriously, prep it Wednesday for a Sunday game day!
When game time rolls around, just pull it out of the fridge about 20 minutes before you want to bake it, just to let it take the chill off slightly. Then, you just add your 15-20 minutes of baking time, and boom! Hot, bubbling, absolutely perfect chili cheese dip, ready to go, with zero stress.
Serving Suggestions for This Crowd Pleaser Dips
Serving this incredible chili cheese dip is almost as easy as making it! While a big bowl of sturdy tortilla chips is always the standard—and truly, you can’t go wrong—I like to offer a little variety when I’m hosting. If you have a crowd coming over, you want options so everyone finds something they love to scoop up all that cheesy goodness. Having a few different dippers on hand keeps people coming back for more!
If you’re looking for other appetizer wins for your spread, you have to try my recipe for Garlic Naan Bread—it’s amazing dipped in cheese or shared on a platter. And for more party tips, this article on quick and easy entertaining dips has some great ideas for planning out your snack table!
Here are a few of my go-to dippers that handle the heat and richness of this hot cheese dip perfectly:
- Hearty Tortilla Chips: Skip the thin flimsy ones! You need a strong chip that won’t snap off when you scoop up a big wedge of the melted cheese and chili. Scoop shape is best, honestly.
- Crusty Bread or Baguette Slices: Seriously, try this! Toasting thin slices of a baguette until they are golden brown gives you a rich, carb-heavy base that tastes incredible with the chili flavor.
- Fritos Scoops: These little corn chips are practically begging to hold this dip. They have the perfect structure to cradle a massive spoonful of that cheesy appetizer.
- Fresh Veggies for Balance: To cut through all that richness, I always put out crisp celery sticks, bell pepper strips (red and yellow look so bright!), and thick slices of cucumber. They offer a refreshing crunch, which is exactly what you need between dips.
- Soft Pretzel Bites: If you’re feeling a little extra on game day, tossing some store-bought soft pretzel bites in the oven for five minutes while the dip finishes baking makes for an unbelievably decadent pairing.
The goal, whether you’re serving game day dip recipes or just watching a movie, is to provide enough sturdy carriers so everyone can get a massive scoop while the dip is still bubbly! Happy dipping!
Variations: Making Your Chili Cheese Dip Your Own
Look, I know I hawk the three-ingredient magic of this recipe constantly because it’s perfect for an emergency party situation, but don’t let that fool you into thinking this chili cheese dip is basic! It’s actually a fantastic starting point for customization. Once you see how easy it is to layer in your own favorite flavors, you’ll realize this simple base can transform into whatever comforting appetizer you crave. This is where your personal expertise comes in, letting you take this crowd pleaser dip and make it uniquely yours!
If you’re feeling adventurous and want to kick things up a notch—maybe you need a richer flavor or just a little more heat—I have a few tried-and-true ways to move beyond the standard canned chili.
Spice It Up with Added Seasonings
That canned chili is pre-seasoned, sure, but it’s designed to be mild for everyone. If your crew likes a little zing, you can easily boost the flavor right in the mixing bowl along with the cream cheese. I always toss in about half a teaspoon of smoked paprika—it adds great color and a deep, warm flavor that cheddar loves.
Want more heat? Add a generous pinch of cayenne pepper or a dash of your favorite hot sauce. If you happen to have some of my candied jalapenos on hand, that sweet-heat combo is incredible mixed right into the base layer before baking. The cream cheese base holds spice really well, so don’t be shy!
Level Up Your Cheese Game
We stuck with sharp cheddar because it’s easy to find, but cheese is an adventure! If you’re making this for a smaller group and want more complexity, try blending cheddar with something smoky. Monterey Jack melts beautifully and adds incredible pull, or even a small amount of pepper jack can add a gentle, lingering heat layer to your hot cheese dip.
Remember, if you’re swapping out cheese types, try to keep the quantity around the one-cup mark suggested in the main recipe. You want the cheese layer to melt nicely over the top, not drown out the chili flavor entirely. A little bit of grated Parmesan sprinkled on at the end also adds a wonderful salty punch right before it bubbles!
The Homemade Chili Upgrade
If you’re planning ahead for this, skip the can entirely and use your own homemade chili! That’s the real secret to taking this game day dip to the next level. If you’ve got leftover chili from a big batch you made last week, warm it up slightly and use that instead. The flavor profile of your chili—whether you prefer it beefy, smoky, or heavy on the cumin—will completely shine through.
Just remember my earlier rule if you use homemade chili: if you prefer a super smooth texture, take a moment to roughly press down on any large chunks of meat or beans against the side of the bowl before you mix it with the cream cheese. It ensures that every chip gets a perfect, luxurious bite of that melty cheese dip!
Storage and Reheating Instructions for Leftover Chili Cheese Dip
If you managed to have any of this heavenly chili cheese dip left over—which, honestly, I usually don’t—don’t stress! This stuff reheats beautifully, even though it’s technically just three ingredients. The goal when reheating any melty cheese dip is to bring the core temperature up evenly without letting the edges get dried out or crunchy. We want that perfect scoopable texture still intact!
How to Store Your Delicious Chili Cheese Dip
First, you have to let it cool down a bit. Don’t seal it up while it’s hot, or you’ll trap steam and make things soggy. Let it sit on the counter until it’s just warm to the touch. Then, you need to transfer it. If you baked it in a disposable aluminum pan, great! Cover it tightly with foil. If you used one of your nice ceramic dishes, transfer the leftover dip into an airtight container. Plastic with a snap-top lid works perfectly well, too.
Store this cozy appetizer in the refrigerator for up to three or four days. Honestly, it holds up really well because cream cheese is a pretty sturdy base ingredient for dips. Just keep it sealed tight so it doesn’t pick up any weird fridge smells!
Reheating for Another Game Day Snack
Okay, time to bring this beauty back to life! You have two main paths here, and both work great for getting that cheesy goodness bubbly again.
For the Oven Method (My Favorite):
- Transfer the dip back into an oven-safe dish if it’s in plastic.
- Cover it loosely with foil. This prevents the top cheese layer from burning before the center gets hot.
- Bake at a lower temperature than you cooked it initially—I aim for 325°F (160°C).
- Bake for about 15 to 20 minutes, or until it’s heated right through to the center. Gently stir half-way through to help it heat evenly.
For the Microwave Method (The Super Quick Fix):
If you just need one serving or you’re in a rush, the microwave is your friend. Put a scoop in a microwave-safe bowl. Heat it in 30-second bursts, stirring well between each burst. Stirring is crucial here because the microwave heats unevenly, and you want to redistribute that rich, creamy base before you burn the edges.
No matter how you reheat it, the end goal is the same: hot, scoopable, and ready for tortilla chips. Enjoy that second round of comfort food!
Frequently Asked Questions About Easy Chili Cheese Dip
I know you might still have questions swimming around about making the perfect batch of this chili cheese dip! It’s totally normal. When you want the best party food, you want to make sure you’ve nailed the details. Having a few Game Day Dip Recipes in my back pocket that *always* work is what keeps me sane during the holidays and football season. Ask away; I’ve heard them all over the years!
Can I make this chili cheese dip in a slow cooker?
Oh, absolutely! If you want to keep this dip warm for hours while everyone grazes during a long event—like the Super Bowl—the slow cooker is your best friend for chili cheese dip. You assemble the cream cheese and chili mixture just like normal, put it in the slow cooker insert, and then top it with cheddar. Set it on LOW and let it go! It usually takes about 1 to 1.5 hours to get fully heated through and bubbly. You might need to stir it once during the process to keep it melted nicely. If you want a dedicated guide for that method, I actually have a post on a great Slow Cooker Chili Cheese Dip!
What is the best chili to use for this recipe?
This is the million-dollar question that separates the good dips from the *great* ones! For the very best, smoothest texture when you are making a simple cream cheese dip like this, I strongly, strongly recommend using canned chili that has no beans. When you bake it, those beans can get a little firm or unevenly heated, and we want that perfect, luxurious texture throughout. That said, if the only thing you have on hand is chili *with* beans, don’t panic! Just mash them roughly with a fork before you mix the chili into the cream cheese, as I mentioned earlier. It helps them break down so you still get a fantastic, cheesy appetizer!
If I use Velveeta instead of cheddar, do I still bake it?
That’s a smart question about using Velveeta! Yes, you absolutely still bake it, but the result is slightly different that hits that super ‘melty cheese dip’ note everyone loves. If you use Velveeta (and you’d sub it cup-for-cup for the cheddar), you might shave a few minutes off your bake time because Velveeta melts so fast. The texture will be much glossier and creamier—less stringy than cheddar. It’s a great option if you’re aiming for that classic, almost nostalgic, hot cheese dip feel. It makes for a fantastic comfort food appetizer!
Can I make this dairy-free or vegan?
Oh, that’s a trend I’m seeing a lot! While this specific recipe relies heavily on full-fat dairy for its texture and richness, you can certainly try adapting it. You would need a high-quality vegan cream cheese alternative and a good melting vegan cheddar shred (or use Velveeta’s vegan counterpart if available). You’d still use your no-bean chili, of course. Because a lot of vegan cheeses behave differently when baked, I recommend mixing everything and then microwaving it in short blasts until hot, rather than baking, just to control the texture better. It won’t be the *identical* experience, but it definitely keeps it in the realm of quick party snacks!
Nutritional Information for This Hot Cheese Dips Estimate
I always include the nutrition facts because, even though this chili cheese dip is pure indulgence for your game day dip recipes, it’s good to know what you’re serving up! Whether you’re aiming for a satisfying comfort food appetizer or just monitoring things generally, here is the estimated breakdown based on the ingredients list. Please keep in mind that this is just an estimate, like any good recipe note!
Stuff like the brand of canned chili you grab (does yours have more sodium?) or the fat content in your cheddar can change these numbers slightly. But this gives you a solid baseline for what you’re enjoying in every scoop!
- Serving Size: 1/6 of dip
- Calories: 280
- Fat: 22g
- Saturated Fat: 12g
- Trans Fat: 0.5g
- Cholesterol: 55mg
- Sodium: 650mg (Yep, it’s high, that’s why we use sturdy chips!)
- Carbohydrates: 7g
- Fiber: 1g
- Sugar: 4g
- Protein: 14g
See? That’s a decent punch of protein to keep everyone happy while they watch the game! Enjoy every bit of this easy party snack, and don’t worry too much about the numbers when you’re having fun!
PrintUltimate Easy 3-Ingredient Cream Cheese Chili Dip

Make this simple, crowd-pleasing chili cheese dip using only three ingredients. It is quick to prepare and perfect for game day or any party gathering.
- Prep Time: 5 min
- Cook Time: 20 min
- Total Time: 25 min
- Yield: 6 servings 1x
- Category: Appetizer
- Method: Baking
- Cuisine: American
- Diet: Vegetarian
Ingredients
- 1 (8 ounce) package cream cheese, softened
- 1 (15 ounce) can chili (no beans recommended for best texture)
- 1 cup shredded sharp cheddar cheese
Instructions
- Preheat your oven to 350°F (175°C). Lightly grease a small, oven-safe baking dish.
- In a medium bowl, combine the softened cream cheese and the canned chili. Mix until the ingredients are fully incorporated and smooth.
- Spread the chili and cream cheese mixture evenly into the prepared baking dish.
- Sprinkle the shredded cheddar cheese over the top of the mixture.
- Bake for 15 to 20 minutes, or until the dip is heated through and the cheese on top is melted and bubbly.
- Serve immediately with tortilla chips, crackers, or vegetable sticks for dipping.
Notes
- For a smoother dip, use Velveeta cheese instead of cheddar cheese.
- If you use chili with beans, mash some of the beans slightly before mixing for a better texture.
- You can prepare the dip mixture ahead of time and store it in the refrigerator for up to 2 days before baking.
Nutrition
- Serving Size: 1/6 of dip
- Calories: 280
- Sugar: 4
- Sodium: 650
- Fat: 22
- Saturated Fat: 12
- Unsaturated Fat: 10
- Trans Fat: 0.5
- Carbohydrates: 7
- Fiber: 1
- Protein: 14
- Cholesterol: 55