
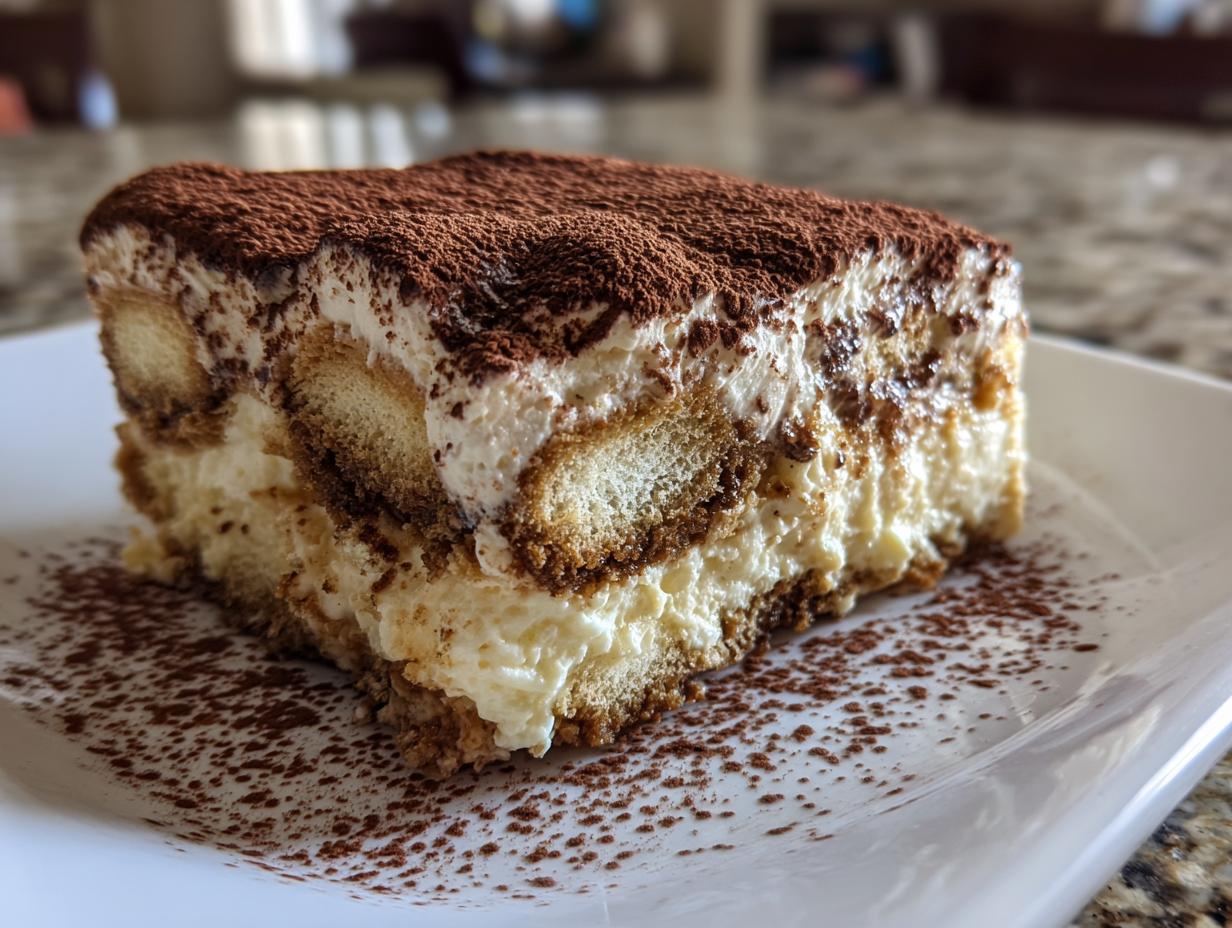
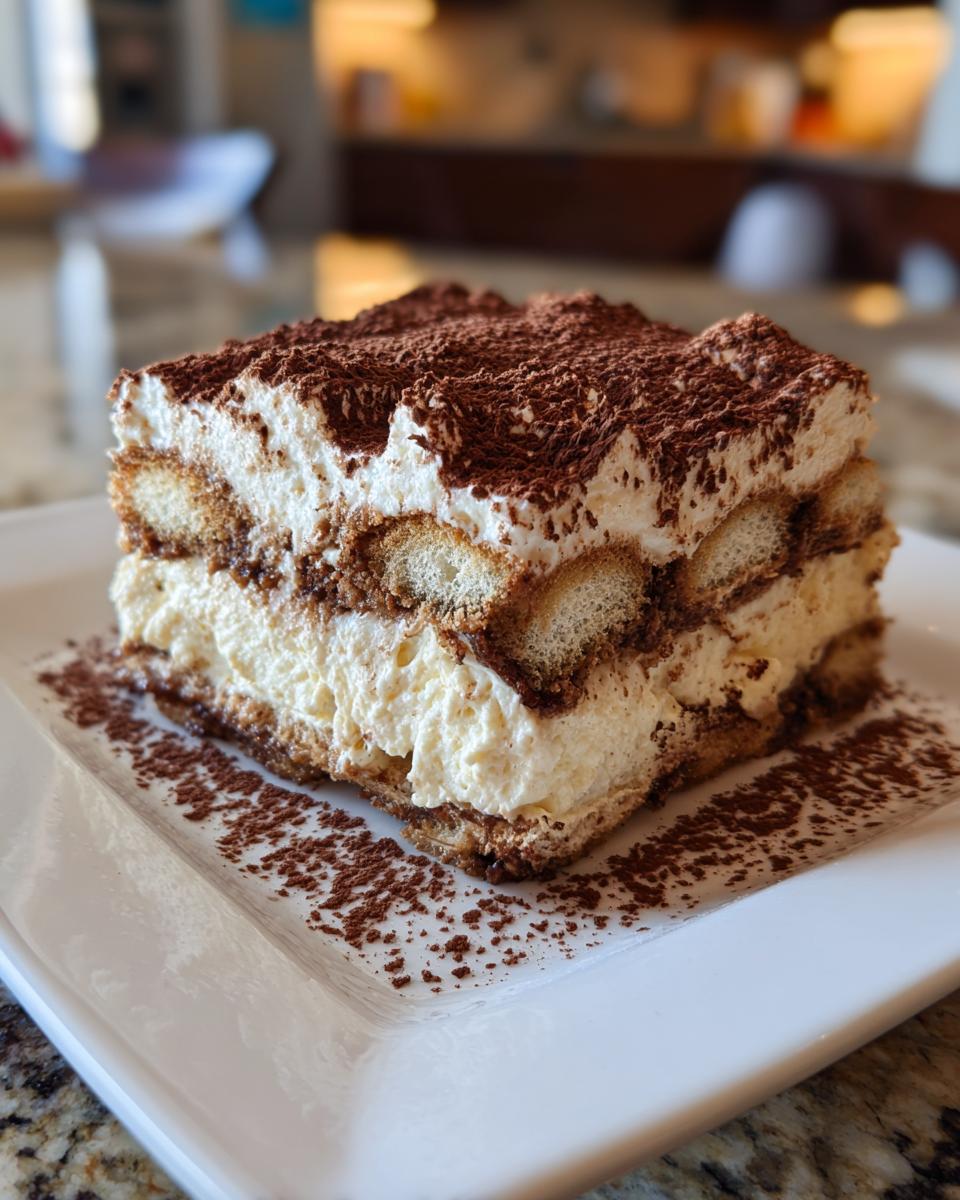
Oh, my friends, sometimes you just need a dessert that knocks everyone’s socks off, right? I’ve always believed that the best way to impress at a family dinner or a big gathering is with something that looks ultra-fancy but doesn’t require you to spend all day wrestling with an oven. That’s why I’m so excited about this fusion masterpiece: the tiramisu cheesecake!
It takes the bold, grown-up flavors of Italian tiramisu—that rich coffee and that heavenly mascarpone—and marries them perfectly with the smooth, decadent structure of a classic cheesecake. This creation is exactly what I aim for in my kitchen: showstopping but always manageable for the home cook. You can find more of my favorite sweet treats here: delicious desserts. The best part? We’re keeping it simple and easy. This is my foolproof, absolutely stunning No Bake Tiramisu Cheesecake recipe. Let’s get baking—or rather, chilling!
- Why This No Bake Tiramisu Cheesecake is Your New Favorite Italian Cheesecake Fusion
- Ingredients for Your Creamy Mascarpone Dessert
- Step-by-Step Instructions for the No Bake Tiramisu Cheesecake
- Tips for Success with Your Tiramisu Cheesecake Recipe
- Variations: Baked Cheesecake Coffee Flavor vs. No Oven Desserts
- Serving Suggestions for Your Special Occasion Desserts
- Storage & Reheating Instructions for Easy Make Ahead Desserts
- Frequently Asked Questions About Tiramisu Cheesecake
- Nutritional Estimates for This Rich & Creamy Dessert
Why This No Bake Tiramisu Cheesecake is Your New Favorite Italian Cheesecake Fusion
Forget the stress of water baths and cracked tops! That’s the beauty of this tiramisu cheesecake mashup that I love so much. It delivers unbelievable Italian-inspired flavor without ever needing to preheat the oven. Honestly, I tell everyone that if you’re looking for a truly special dessert that’s easy to pull off, this is it.
Why is this the ultimate dessert for your next event? Let me count the ways:
- It’s a No Bake Tiramisu Cheesecake, which means less time fussing and more time socializing.
- We incorporate true Italian ingredients—that rich mascarpone—for that signature creamy mascarpone dessert texture.
- It needs to chill, not bake, making it the perfect make ahead dessert. You assemble it the day before and it’s ready when you need it!
Trust me, this gorgeous layered flavor is destined to become a staple for your celebrations. Check out some easy dinner ideas while this chills away: easy weeknight dinners.
Ingredients for Your Creamy Mascarpone Dessert
Alright, let’s talk about what you need to bring this magnificent tiramisu cheesecake to life! Because this is a no-bake beauty, the success really hinges on having the right ingredients at the right temperature. We aren’t baking anything, so we need to layer flavors and textures that set up perfectly in the fridge. Think of this list as your shopping map to creating the most creamy mascarpone dessert your guests have ever tasted.
If you’re working on other kitchen projects, don’t forget to check out my recipe for blueberry jam! Now, gather these components:
For the Chocolate Crust
- 1 1/2 cups chocolate wafer crumbs (Oreo crumbs work great if you scrape out the filling!)
- 1/4 cup granulated sugar
- 6 tablespoons unsalted butter, melted
For the Espresso Ladyfinger Dessert Layer
- 1 cup strong brewed espresso, cooled completely (This is critical, you don’t want hot coffee dissolving your crust!)
- 2 tablespoons coffee liqueur (Kahlua or Tia Maria works wonderfully, but this is totally optional if you’re keeping it family-friendly).
- 1 package (7 ounces) good quality ladyfingers
For the Silky Smooth Cheesecake Filling
- 16 ounces cream cheese, softened completely to room temperature
- 1 cup powdered sugar
- 1 teaspoon vanilla extract
- 1 cup heavy whipping cream, cold (Keep this right in the fridge until the moment you whip it!)
- 8 ounces mascarpone cheese, softened slightly but not runny
Make sure you have a 9-inch springform pan ready! That’s the secret to perfect release later.
Step-by-Step Instructions for the No Bake Tiramisu Cheesecake
Okay, here’s where the magic happens, and trust me, it’s way easier than you think! We are building up our incredible tiramisu cheesecake layer by layer. Think of it like constructing a perfectly delicious edible tower. Follow these steps closely, especially when we get to the espresso soaking—that’s the real trick to a genuine Italian flavor!
Creating and Chilling the Crust
First things first, we need the base for our cake. Grab a bowl, dump in your chocolate wafer crumbs and that granulated sugar from the ingredient list. Pour in the melted butter and mix it all up! You want the texture right—it should look like wet sand that holds together when you squeeze a bit. Press that mixture firmly and evenly into the bottom of your springform pan. Use the bottom of a measuring cup to really pack it down tight. Pop that pan into the fridge for about 15 minutes while we get the coffee situation sorted out.
Preparing the Coffee Soak and Ladyfinger Layer
This step defines the whole dessert! Make sure your espresso is totally cooled down—we don’t want melted cream cheese, remember? Pour the cooled espresso and optional liqueur into a shallow dish. Now, take your ladyfingers. You have to be quick here! Dip each side of a ladyfinger into the coffee mixture for just a quick one-second dunk. Seriously, don’t let them sit or they will turn to mush! Lay the soaked fingers tightly next to each other right over your chilled crust. This creates that essential cakey, coffee-infused layer.
Mixing the Tiramisu Cheesecake Filling
We need two separate mixing moments here to get that silky smooth cheesecake filling. In a big bowl, beat your room-temperature cream cheese, powdered sugar, and vanilla until it’s totally smooth—no lumps, please! In a *separate*, very cold bowl, whip your heavy whipping cream until you get those lovely stiff peaks. Now, gently fold that whipped cream into the cream cheese mixture. Finally, fold in your softened mascarpone gently. Remember, we are folding, not beating! We want to keep all that lovely air we just whipped in there.
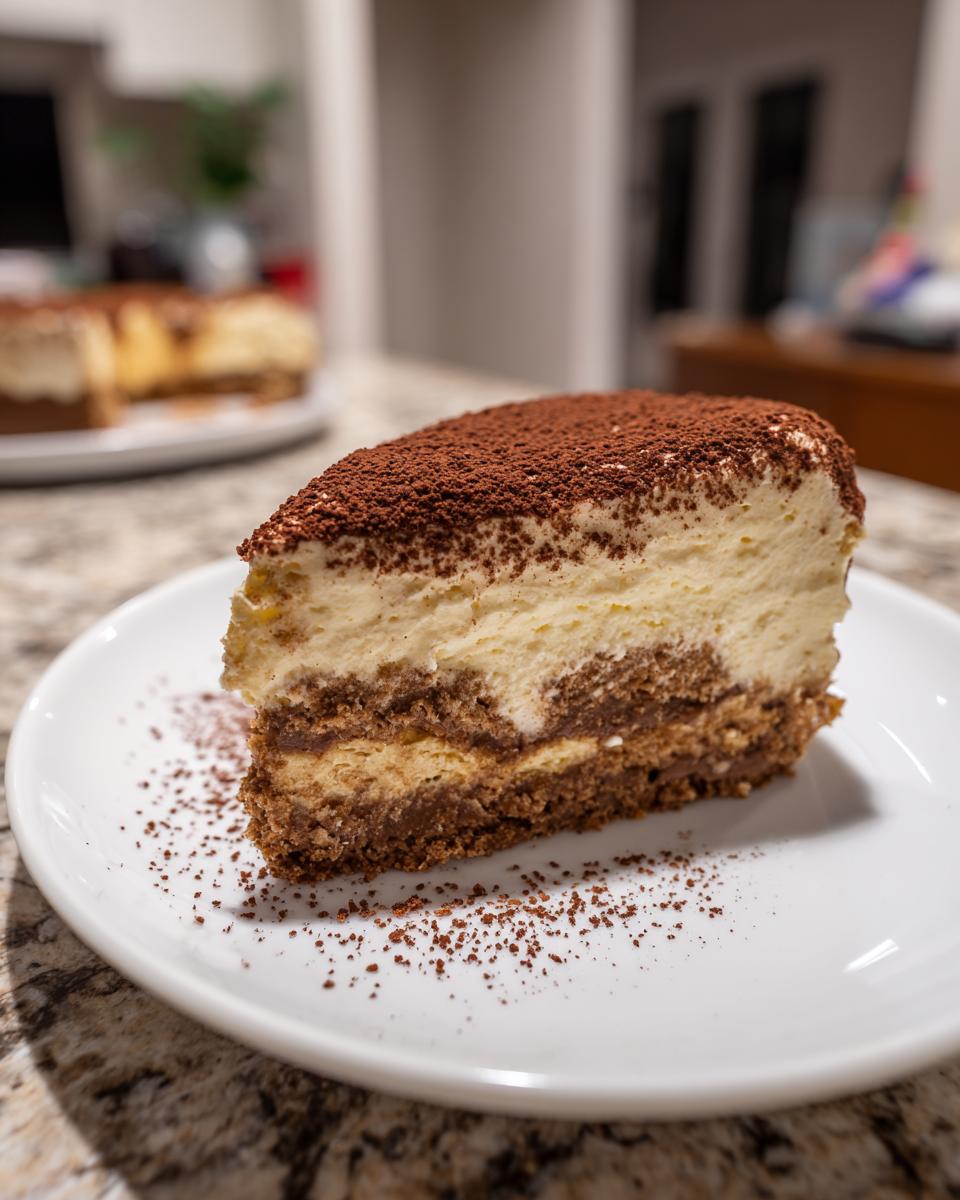
Assembling and Setting the Decadent Cheesecake Recipes
Time to build! Take half of that beautiful, airy filling and spread it evenly over the coffee-soaked ladyfingers. Then, place down your second layer of coffee-dipped ladyfingers. Top it all off with the remaining filling, smoothing the top nicely. Cover it loosely with plastic wrap—don’t let the wrap touch the filling! Place the whole tiramisu cheesecake back in the fridge. It needs a minimum of six hours to set up firm, but if you can leave it overnight, you get the absolute best texture. You can check out a fun apple crumble recipe while you wait!
Tips for Success with Your Tiramisu Cheesecake Recipe
Getting this Tiramisu Cheesecake Recipe right is all about patience and paying close attention to the temperatures of your ingredients—it’s a small thing that makes a giant difference in the final texture! Since this is a no-bake dessert, we can’t rely on the oven to fix any mistakes, so preparation is key when working with cream cheese and mascarpone.
Ingredient Temperature Matters
This is non-negotiable for that Silky Smooth Cheesecake Filling. Your cream cheese and mascarpone absolutely must be softened—I mean really soft, room temperature soft! If they are cold, you get nasty little lumps that won’t go away, and you’ll end up overmixing trying to smooth them out. Conversely, the heavy whipping cream needs to be ice cold straight from the fridge! Cold cream whips up into those stable, stiff peaks we need to give the cheesecake its lift when we gently fold it in.
Achieving the Perfect Coffee Infused Cheesecake Flavor
If you want that deep, bold flavor that screams ‘tiramisu,’ don’t skimp on the coffee element! My favorite trick for an extra flavor punch is to add about a teaspoon of instant espresso powder right into the melted butter when you are making the chocolate crust. It dissolves beautifully and gives you a richer base note that complements the soak. This little addition really elevates the whole coffee infused cheesecake experience without changing the texture at all. If you’re looking for other great cookie inspiration, take a peek at my chocolate chip cookie tips!
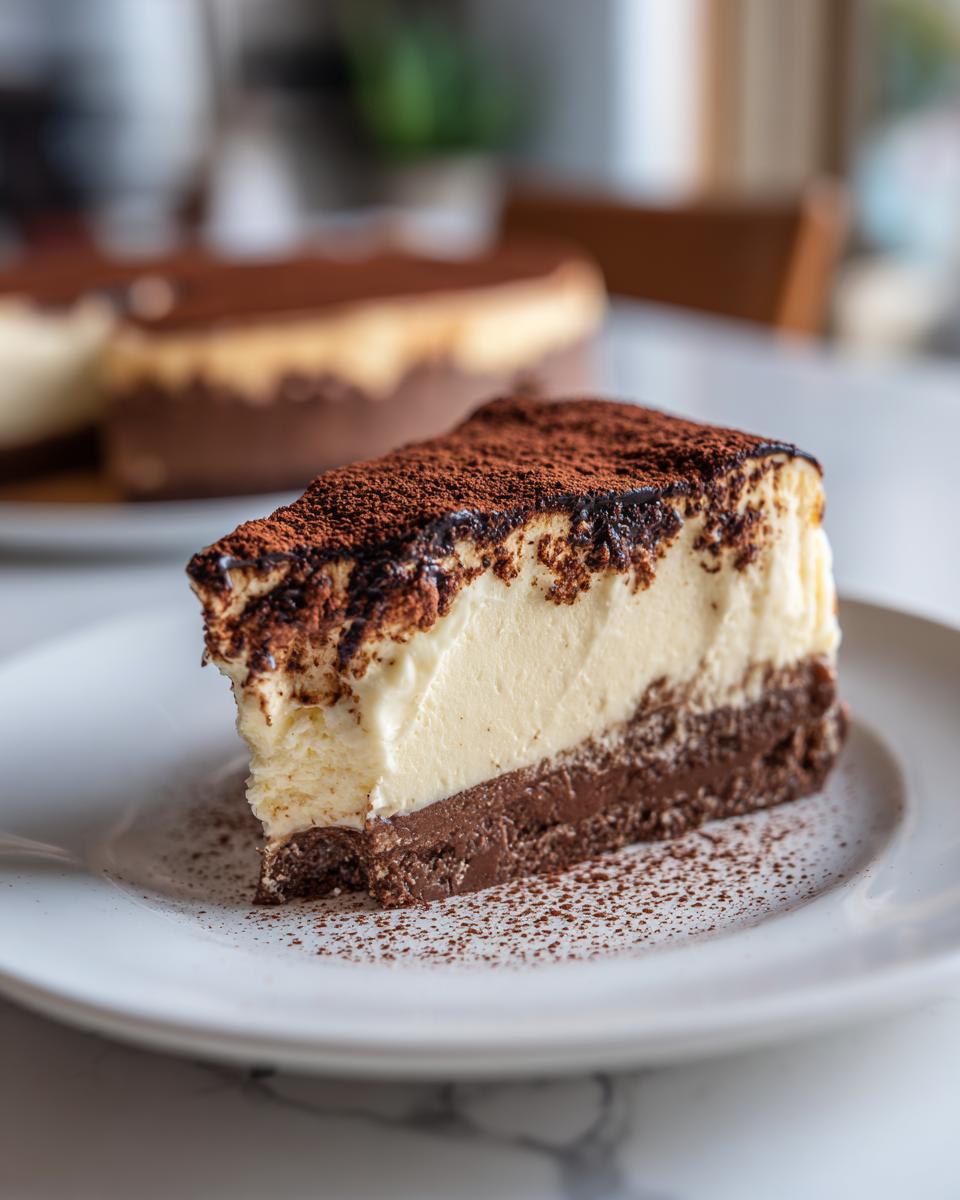
Variations: Baked Cheesecake Coffee Flavor vs. No Oven Desserts
Listen, I know some of you purists out there might be craving that baked texture, and I totally get it! While this gorgeous tiramisu cheesecake is all about the easy, no-bake magic, adapting it for the oven is certainly doable if you’re into a more traditional baked cheesecake coffee flavor.
If you want to switch gears and bake this, you’ll need to adjust things quite a bit. You’ll need to incorporate eggs into that filling mixture for structure, and you’ll definitely need a water bath—we don’t want the edges getting dry while the center cooks! Bake it low and slow until it just barely jiggles in the middle, then let it cool completely before you even think about adding the mascarpone topping layers.
However, truly, this no-bake version shines brightest when you don’t want the heat! It’s one of my top recommendations for summer cheesecake ideas because it chills beautifully. When pool parties are happening or the A/C is struggling, the last thing you want is another appliance running. This recipe is pure joy as one of those fantastic no oven desserts. You can check out my coffee cake muffin recipes if you decide you need a baked coffee fix later: coffee cake muffins.
If you’re curious about a fully baked version, I’ve seen some truly stunning results, like this one over here: Tiramisu Cheesecake Delight. But for now, let’s stick to the easy, cool indulgence this recipe offers!
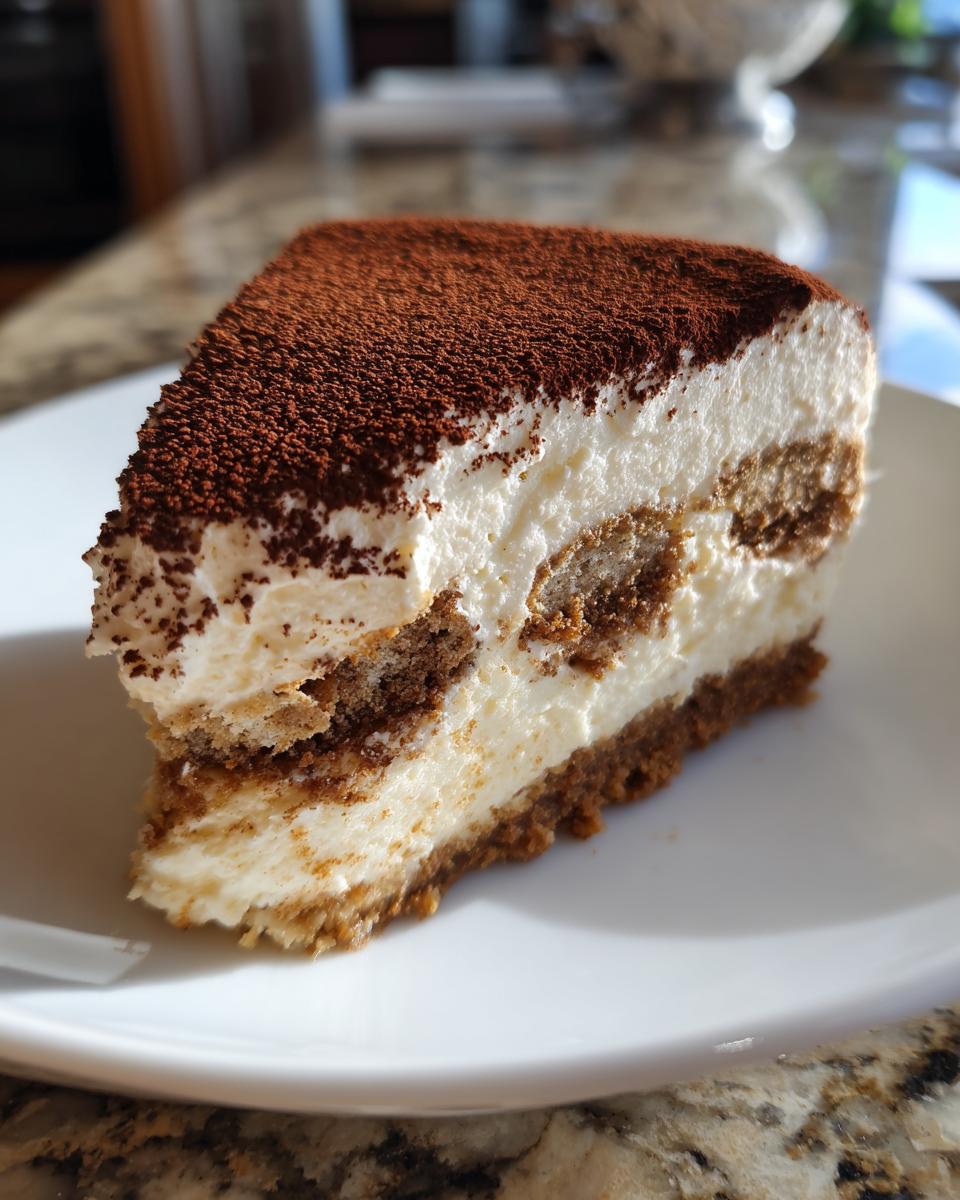
Serving Suggestions for Your Special Occasion Desserts
This beautiful tiramisu cheesecake is truly designed to be the star of the show at any special gathering. Once it’s perfectly chilled and firm, the presentation step is where you really seal the deal. Remember that cocoa powder we talked about? Dust it on right before serving using a fine-mesh sieve—this gives you that gorgeous, velvety matte finish that screams luxury.
To serve these perfect special occasion desserts, you’ll need to get the ring off the springform pan. Here’s my trick: run a very thin knife dipped in hot water around the inner edge of the cheesecake first. Then, carefully release the latch and gently lift the ring off. If you need any savory inspiration to balance out all this richness, I have a fantastic garlic aioli recipe! A couple of chocolate curls or a light drizzle of sweetened espresso syrup drizzled around the plate? Divine! It truly looks elegant and homemade.
Storage & Reheating Instructions for Easy Make Ahead Desserts
Because this fabulous tiramisu cheesecake is a no-bake recipe—thank goodness!—we don’t need to worry about reheating at all. That’s one less thing to stress about when you’re hosting! The entire joy of this dessert is that it’s the ultimate easy make ahead dessert, designed to be prepared in advance so you can spend time with your guests instead of hovering over the stove.
Storage is super simple, but you need to seal it up right to keep that rich mascarpone filling fresh and prevent it from absorbing any strange fridge smells. Keep the cheesecake covered tightly in the springform pan—or transfer it to an airtight container once the ring is removed—and place it in the refrigerator. It holds up beautifully for about four days this way, tasting almost better on day two or three once all those coffee flavors have really settled in.
If, by some miracle, you have leftovers past day four, you can actually freeze a slice! Wrap individual slices really well in plastic wrap, then a layer of foil. When you’re ready to enjoy it, just let it thaw slowly overnight in the fridge. It really maintains its structure well, which is amazing for a chilled dessert. Speaking of preserving goodness, you might want to look at my guide on how to do proper pear preserves canning if you’re getting into making things ahead of time!
Frequently Asked Questions About Tiramisu Cheesecake
I get so many wonderful questions about this tiramisu cheesecake, and frankly, they’re all good ones! It’s a layered dessert, so naturally, people wonder about the small details that make it perfect. Don’t stress if you need to make a quick adjustment—this recipe is super flexible, even though I stick to my favorite components. If you’re looking for savory inspiration next time, check out my lasagna with cottage cheese!
Can I skip the coffee liqueur in the soak?
Absolutely, you can skip the coffee liqueur if you want to keep things non-alcoholic! The espresso is doing most of the heavy lifting for that deep coffee flavor anyway. If you want to replace the liqueur, just swap it out measure-for-measure with a little bit of almond extract mixed into the espresso, or just use plain strong espresso. It’s still going to be incredibly flavorful!
What is the best way to dust the cocoa powder?
The cocoa powder is the final flourish, and we want it to look perfect! Please don’t just dump it on there—that creates ugly clumps. The secret is using a very fine-mesh sieve. Hold the sieve right over the top of the chilled cake and gently tap the side while you move it across the surface. This gives you that beautiful, even, light brown blanket that looks just like the topping on a professional tray of tiramisu.
Can I make Tiramisu Cheesecake Bars instead?
Yes! If you’re serving a crowd or want easy portions, making Tiramisu Cheesecake Bars is a fantastic idea. Instead of using a 9-inch springform pan, use a 9×9 inch square baking pan, lined with parchment paper that hangs over the sides. The crust and layers will be thicker, so you might need to chill them for an extra hour or two to ensure everything is rock solid before cutting them into squares. They are just as decadent!
Nutritional Estimates for This Rich & Creamy Dessert
Now, let’s talk numbers! Since this tiramisu cheesecake is such a decadent treat, it’s only fair we look at what’s inside. Keep in mind that this is a rich and creamy dessert, and these estimates are based on the specific ingredients I listed, using standard measurements. If you decide to use different chocolate wafers or add extra liqueur, your final count might shift a little, so consider this your helpful guide rather than an exact science!
This information is calculated for one generous slice of the No Bake Tiramisu Cheesecake. If you’re looking for lighter ways to incorporate dessert into your routine, maybe check out my protein ice cream recipes for a different kind of sweet fix!
Here are the estimated values based on the required recipe:
- Serving Size: 1 slice
- Calories: 450
- Sugar: 35g (It’s a dessert, folks! We need a little sweetness!)
- Fat: 30g
- Saturated Fat: 18g
- Carbohydrates: 40g
- Protein: 8g
- Cholesterol: 95mg
- Sodium: 250mg
Make sure you treat these figures as helpful approximations. Enjoy this incredible mashup while knowing exactly what you’re indulging in!
PrintNo Bake Tiramisu Cheesecake
Create a decadent fusion dessert combining creamy cheesecake with the coffee and mascarpone flavors of classic tiramisu. This no-bake recipe uses espresso-soaked ladyfingers and sets beautifully for special occasions.
- Prep Time: 30 min
- Cook Time: 0 min
- Total Time: 6 hr 30 min
- Yield: 10 servings 1x
- Category: Dessert
- Method: No Bake
- Cuisine: Italian Fusion
- Diet: Vegetarian
Ingredients
- 1 1/2 cups chocolate wafer crumbs (or graham cracker crumbs)
- 1/4 cup granulated sugar
- 6 tablespoons unsalted butter, melted
- 1 cup strong brewed espresso, cooled (or coffee mixed with 1 teaspoon instant espresso powder)
- 2 tablespoons coffee liqueur (optional, like Kahlua)
- 16 ounces cream cheese, softened
- 1 cup powdered sugar
- 1 teaspoon vanilla extract
- 1 cup heavy whipping cream, cold
- 8 ounces mascarpone cheese, softened
- 1 package (7 ounces) ladyfingers
- Unsweetened cocoa powder, for dusting
Instructions
- Prepare the crust: Combine the chocolate wafer crumbs and 1/4 cup granulated sugar in a bowl. Pour in the melted butter and mix until the crumbs are evenly moistened. Press the mixture firmly into the bottom of a 9-inch springform pan. Chill the crust for 15 minutes while you prepare the coffee soak.
- Prepare the coffee soak: In a shallow dish, combine the cooled espresso and coffee liqueur, if using. Quickly dip both sides of the ladyfingers into the coffee mixture, soaking them for only a few seconds each to prevent them from becoming too soggy. Arrange a single layer of soaked ladyfingers over the chilled crust.
- Make the cheesecake filling: In a large bowl, beat the softened cream cheese, powdered sugar, and vanilla extract until smooth. In a separate bowl, whip the cold heavy cream until stiff peaks form. Gently fold the whipped cream into the cream cheese mixture.
- Fold in the mascarpone: Add the softened mascarpone cheese to the cream cheese mixture and fold gently until just combined and smooth. Do not overmix.
- Assemble the layers: Spread half of the cheesecake filling evenly over the layer of soaked ladyfingers. Top with a second layer of dipped ladyfingers. Spread the remaining cheesecake filling over the second layer of ladyfingers.
- Chill: Cover the pan loosely with plastic wrap and refrigerate for at least 6 hours, or preferably overnight, until the cheesecake is completely firm.
- Serve: Before serving, carefully remove the sides of the springform pan. Dust the top generously with unsweetened cocoa powder using a fine-mesh sieve. Slice and serve this rich and creamy dessert.
Notes
- For a richer coffee flavor in the crust, mix 1 teaspoon of instant espresso powder into the melted butter before combining with the crumbs.
- If you skip the optional coffee liqueur, add 1 teaspoon of rum extract to the cream cheese filling for depth.
- This dessert is best made one day ahead to allow the flavors to fully meld and the structure to set properly.
Nutrition
- Serving Size: 1 slice
- Calories: 450
- Sugar: 35g
- Sodium: 250mg
- Fat: 30g
- Saturated Fat: 18g
- Unsaturated Fat: 12g
- Trans Fat: 0.5g
- Carbohydrates: 40g
- Fiber: 1g
- Protein: 8g
- Cholesterol: 95mg