
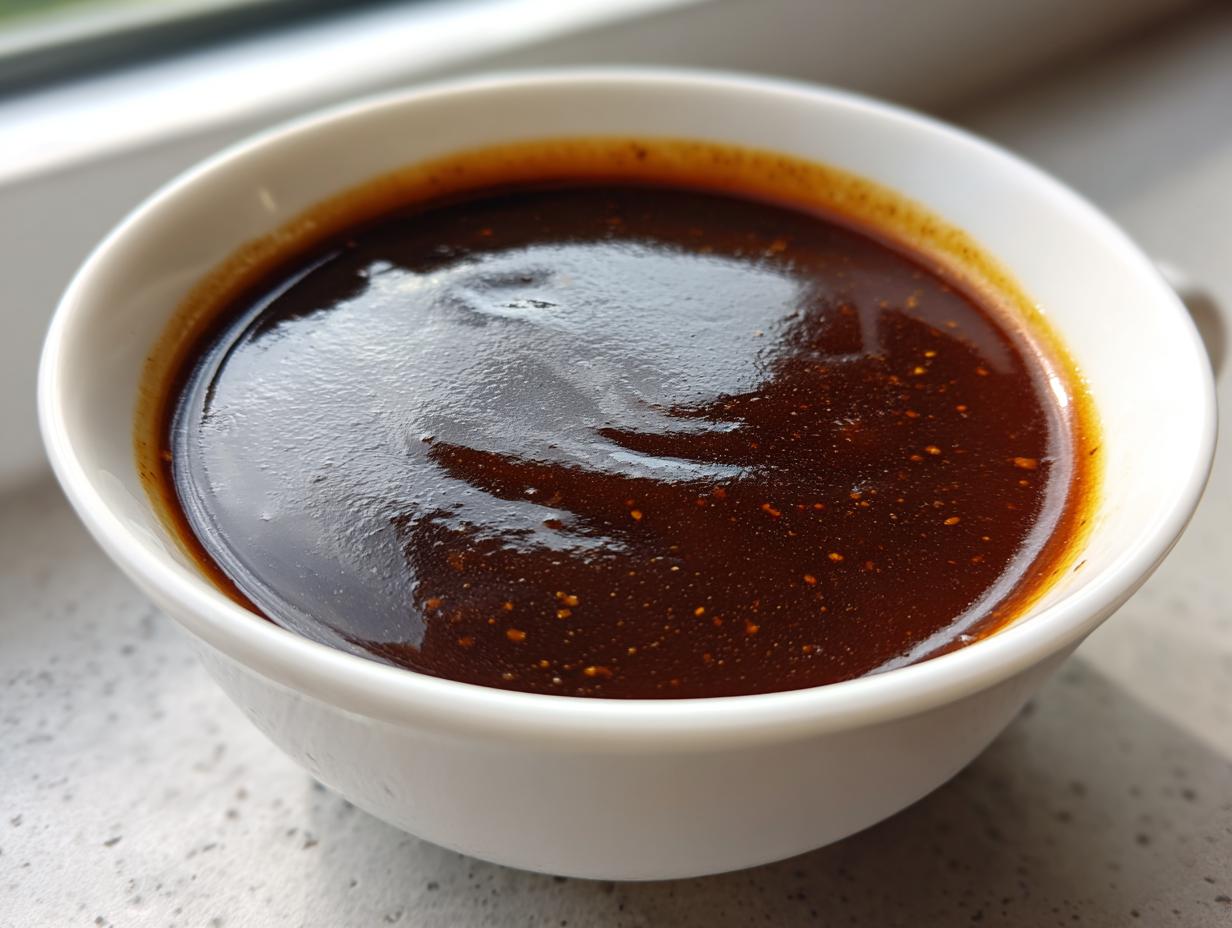
Oh, honey, let’s talk about true comfort. There is nothing—and I mean *nothing*—that beats a mountain of fluffy mashed potatoes drowning in the richest, warmest, **homemade brown gravy** you can imagine. For years, people thought you needed those drippings from a perfect roast, but that’s just not practical for a Tuesday night! That’s where I come in. My philosophy, honed by my own Italian-American background under my grandmother’s watchful eye, is about taking those classic, wonderful flavors and making them accessible for your everyday kitchen. This recipe for Ultimate Homemade Brown Gravy is savory, incredibly easy, and I promise you, you won’t need a single drop of drippings. It’s my go-to savory sauce recipe, and just like when I make my famous meatloaf, it transforms the whole meal. It’s my trusted method for delivering that classic, home-cooked taste every single time.
- Why This Homemade Brown Gravy is Your New Pantry Staple Gravy
- Ingredients for Ultimate Homemade Brown Gravy (No Drippings Needed)
- How to Make Homemade Brown Gravy from Scratch: Step-by-Step
- Tips for Success with Your Homemade Brown Gravy
- Serving Suggestions for This Savory Sauce Recipe
- Storage and Reheating Instructions for Homemade Brown Gravy
- Frequently Asked Questions About Making Homemade Brown Gravy
- Nutritional Estimate for This Classic Brown Gravy
- Share Your Homemade Gravy Creations
Why This Homemade Brown Gravy is Your New Pantry Staple Gravy
When you’re craving that rich, comfort food feeling, you don’t want to wait two hours for a roast to finish just to get a few tablespoons of drippings! That’s the beauty of this method. We’re making **gravy from scratch** using simple pantry staple gravy ingredients, which means you can whip up a robust, **buttery rich gravy** whenever the mood strikes. Forget those sad, salty store mixes; this is the real deal! If you’re looking for easy weeknight dinners, this reliable sauce is your secret weapon.
Achieving Velvety Smooth Gravy Every Time
The key to that gorgeous, velvety smooth gravy texture? It’s all about the roux right at the beginning! By cooking the flour and butter together first, we create a stable base. This technique stops lumps before they even have a chance to think about forming. Trust me, if you want a non-lumpy sauce, this is the absolute rule.
Quick Stovetop Gravy Preparation
See? No fuss! This entire recipe is a quick stovetop gravy operation, clocking in at around 20 minutes total from start to finish. That’s faster than running to the store for a packet! It’s truly the easiest gravy recipe you’ll ever use when you need that perfect, **best mashed potato topping** immediately.
Ingredients for Ultimate Homemade Brown Gravy (No Drippings Needed)
Gathering your ingredients for this wonderful gravy from scratch is incredibly simple, which is why I call it my pantry staple! You probably have almost everything sitting in your cabinets right now. We’re making about three cups of rich sauce here, perfect for smothering a huge batch of potatoes or pouring over that cheesy mac and cheese. Remember, because we skip the meat drippings, this is technically a versatile savory sauce recipe, but it boasts a far deeper flavor than any store-bought packet!
- 4 tablespoons unsalted butter
- 4 tablespoons all-purpose flour
- 2 cups beef broth (low sodium preferred)
- 1 cup chicken broth or water
- 1 teaspoon onion powder
- 1/2 teaspoon garlic powder
- 1/2 teaspoon salt, or to taste
- 1/4 teaspoon black pepper, or to taste
- 1/4 teaspoon dried thyme (optional, for depth)
Ingredient Notes and Substitutions for Classic Brown Gravy
I always recommend using low-sodium broth just so you can control the salt level yourself at the end—it makes such a huge difference! Most folks have beef broth on hand, and that’s what gives you that deep, classic brown gravy color and taste. Still, if you only have chicken broth, go ahead and use it! It will result in a slightly lighter, but still delicious, buttery rich gravy.
Now, if you want that deep, almost mahogany color—the kind that looks like it simmered for hours—don’t mess with the broth color. That deep color comes entirely from how long you cook your roux! You’ll see I mention it in the instructions, but cooking that flour and butter just a minute or two longer until it’s a nice medium brown makes all the difference when it comes to visual appeal in your final sauce.
How to Make Homemade Brown Gravy from Scratch: Step-by-Step
This is where the magic happens, and honestly, if you can handle melting butter and whisking, you can master this! We’re making a beautiful base that ensures you get that perfect, lump-free coating for your roast potatoes. Just follow these steps precisely, and you won’t need any fancy tricks later on. It’s all about getting the texture right from the get-go!
- First, you’ve got to melt that butter in your saucepan over medium heat. Let it get nice and bubbly.
- Next, whisk in your flour until it swallows up every bit of that butter and turns into a smooth, thick paste. This is your roux, and it’s our superhero for thickening gravy tips!
- Slowly, slowly, whisk in those two types of broth—beef and chicken/water. Pour a little in, whisk hard until everything is totally smooth, and then add a bit more. This slow addition is the secret to getting that velvety smooth gravy consistency without those annoying little flour clumps sticking around.
- Once it looks smooth as silk, toss in your seasonings: the onion powder, garlic powder, salt, pepper, and maybe that thyme if you’re feeling fancy! Stir it all around so everything gets introduced properly.
- Now, you just let it hang out! Bring it up to a gentle simmer—don’t let it boil furiously—and let it bubble low and slow for about 5 to 10 minutes. Keep stirring every minute or so. That simmering time cooks out any raw flour taste and lets it thicken up beautifully.
- When it coats the back of a spoon, it’s done! Taste it—maybe it needs more salt? Done! If it looks a bit too stiff for your liking, just whisk in a tablespoon of hot water until it flows exactly how you want this savory sauce recipe to flow.
Mastering the Roux for Rich Flavor
Listen, this roux step is non-negotiable for anyone wanting great homemade brown gravy. You need about 1 to 2 minutes of cooking time once the flour is totally absorbed by the butter. Keep whisking constantly! You’re waiting for that mixture to lose its pale, doughy look and turn a light, inviting golden brown. If you rush this, you get floury gravy. If you get it right, you get flavor depth!
Simmering and Thickening Your Gravy from Scratch
Once you’ve added your liquid, be patient! That 5 to 10 minutes of simmering is crucial for both flavor melding and getting that rich thickness. If you see it start getting too thick—like paste territory—don’t panic! Just grab a separate tablespoon of hot water or broth and whisk it in quickly. It saves the batch every single time!
Tips for Success with Your Homemade Brown Gravy
Even though this recipe is super straightforward, there are a couple of little secrets that take it from “good” to “the best holiday side dish ever.” I keep these little hints right by my stove, because even I can get distracted sometimes! Remember, making **homemade brown gravy** is forgiving, but a few tweaks can elevate it dramatically.
If you’re worried about color, here’s my big tip: for a truly deep, dark color—the kind that looks amazing drizzled over your Thanksgiving turkey or roast—you need to keep cooking that roux a bit longer. I’m talking 5 minutes instead of 2. You want it a deep, rustic brown, but you have to watch it like a hawk! If it starts smelling too nutty or dark brown, pull it off the heat immediately.
I remember one Thanksgiving, I was chatting away with my sister about appetizers and nearly spaced out. My roux was going from perfect light brown to alarming dark brown in seconds! Whoosh! I panicked for half a second, but quickly learned the trick: you just dump in a splash of cool broth and whisk like crazy. It immediately stops the cooking process and saves the whole batch. Crisis averted, and the gravy was still perfectly rich!
Now, what if you’ve simmered it for 10 minutes, you taste it, and it’s just not coating your potatoes the way you like? Don’t fret! We have the cornstarch slurry solution, which is my backup plan, especially if I’m serving it over something already saucy and need it extra thick. Instead of trying to cook the floury roux longer (which risks burning), just mix 1 tablespoon of cornstarch with 2 tablespoons of *cold* water in a separate little bowl. Whisk that slurry right into your simmering gravy. It thickens up almost instantly, giving you that glossy, beautiful consistency you need for your stew or chili nights too!
Serving Suggestions for This Savory Sauce Recipe
Honestly, once you have this homemade brown gravy ready, the world is your oyster! It’s the ultimate comfort food companion. The first place it absolutely *has* to go is over a huge pile of mashed potatoes—it’s the absolute best mashed potato topping, hands down. But don’t stop there! This is the perfect roast dinner gravy for carving up beef or pork.
My go-to weeknight use, which I adore, is treating it like a meatloaf sauce recipe. Just spoon it generously right over the top before serving. It’s also fantastic poured over roasted veggies, like my favorite garlic butter mushrooms, or even alongside a simple serving of rice. If you ever make my creamy mashed sweet potatoes, this savory sauce recipe provides that perfect salty counterpoint. It’s just so versatile!
Storage and Reheating Instructions for Homemade Brown Gravy
Okay, so you made way too much—don’t you always? That’s the mark of a great batch of **homemade brown gravy**! If you’re lucky enough to have any leftovers of this delightful savory sauce recipe, it actually keeps beautifully, which means you’re set for an easy meal later in the week. This is a huge win when you’re trying to stick to those simple pantry staple gravy ideas.
You’ll want to cool the gravy down a bit first, but not completely. Once it’s cooled and just warm, scoop it right into an airtight container. It keeps wonderfully in the refrigerator for about 3 to 4 days. I usually dedicate one corner of my fridge for leftovers, especially if I’ve made a big batch for a big Sunday dinner.
Reheating is where people sometimes get nervous, especially about losing that velvety smooth gravy texture. When you take it out of the fridge, it’ll look totally solid—don’t worry, that’s normal because of all that butter we used! You absolutely must reheat it gently on the stovetop.
Put your gravy in a small saucepan over low to medium-low heat. Stir it constantly as it melts, and here’s my big trick for keeping it silky: whisk in just a tiny splash—maybe a teaspoon at a time—of hot water or broth while you stir. This helps break up the thickness that sets in during refrigeration and brings back that perfect, pourable consistency we worked so hard for. It shouldn’t take more than 5 minutes to be piping hot and ready to pour over your next mashed potato masterpiece!
I wouldn’t recommend the microwave unless you really have to, because stirring evenly in the microwave is tough and you might end up with hot spots that break the sauce structure. Low and slow on the stovetop is always the keeper of the gravy flame!
Frequently Asked Questions About Making Homemade Brown Gravy
You know, when you start making something delicious from scratch, you always end up with a few questions, especially when you’re trying to replicate that fast-food flavor we all secretly love! Since this is a fantastic **pantry staple gravy** that works for everything, I get asked these things all the time. Let’s clear up any concerns you have about perfecting this delicious **savory sauce recipe**!
Can I make this easy gravy recipe using only chicken broth?
Oh absolutely, yes! I totally get it; sometimes you just don’t have beef broth hanging around, or maybe you’re serving something like turkey and want a lighter flavor profile. If you swap out the beef broth for all chicken broth (or even water, if you must!), it still works wonderfully. Just know that the flavor will be a bit lighter and cleaner. It won’t have that deep, robust, beefy foundation, but it will still be a phenomenal, buttery rich gravy. You might want to bump up that onion powder just a hair to compensate for the missing depth!
How do I get my homemade brown gravy to taste like KFC gravy?
This is one of my favorite questions! Because we are making this **homemade brown gravy** without the drippings, we need to lean hard into the spices to nail that signature flavor. The copycat cooks out there know the trick! After you’ve made your roux, when you add the spices, don’t be shy with the onion powder and white pepper—a little extra there goes a long way toward that recognizable savoriness. Also, make sure your roux is cooked to a beautiful, light golden hue, not dark brown. That specific level of caramelization in the flour and butter mimics the color base of those famous sauces. It makes for a perfect comfort food side dish!
What if I forgot to add the seasonings before simmering?
Don’t you worry for a second! This is why this is such an easy gravy recipe—it’s so forgiving. You can absolutely dump in your salt, pepper, onion powder, and garlic powder right after you mix in the broth and before you bring it to a simmer. That’s definitely the best time, as it allows all those wonderful flavors to infuse deeply into the sauce as it thickens. But honestly, if you realize you forgot them halfway through the simmering time? Just whisk them in! The flavor might be concentrated right on the surface initially, but five more minutes of stirring will blend it right in. It’s hard to mess up this classic brown gravy!
Nutritional Estimate for This Classic Brown Gravy
Now, I always say that when you’re making something this delicious and comforting, you shouldn’t obsess over the numbers, but I also believe in being totally transparent with my readers. Sometimes we just want to know what we’re digging into, right? This recipe for homemade brown gravy uses standard ingredients, and based on what I use—especially with low-sodium broth—here’s a general idea of what you’re looking at per half-cup serving. This information helps you fit this wonderful savory sauce recipe into your dinner plans!
Remember, this is just an estimate, and if you decide to swap out my unsalted butter for salted, or if you use a super high-sodium broth, those numbers are going to shift a little bit. This is just a baseline for our classic, buttery rich gravy!
- Serving Size: 1/2 cup
- Calories: 110
- Fat: 8g
- Saturated Fat: 5g
- Carbohydrates: 7g
- Protein: 2g
- Sodium: 450mg (This is the value I aim for by using low-sodium broth!)
- Sugar: 1g
- Cholesterol: 20mg
Honestly, for a sauce that tastes this incredibly rich and satisfying, getting that velvety smooth gravy texture for only 110 calories? I think that’s a fantastic deal! It means you can absolutely pour it liberally over your mashed potatoes or your favorite baked fruit dessert (kidding! Mostly!) without feeling guilty. Enjoy the comfort food factor!
Share Your Homemade Gravy Creations
Well, that’s it! You’ve officially mastered the ultimate **homemade brown gravy** recipe. See how easy it was to create a superior, savory sauce right on your stovetop without waiting around for meat drippings? I truly hope this becomes one of your favorite go-to **pantry staple gravy** methods for everything from weeknight chicken to big holiday spreads.
Now, the best part of sharing a recipe isn’t just watching you all make it; it’s hearing what you served it on! Did you manage that perfect, **velvety smooth gravy** texture? Did you smother your roast or just load up on the mashed potatoes? I genuinely want to know! Please, leave a quick comment below and tell me what your favorite pairing was. If you loved this recipe and it delivered that rich, classic flavor you were looking for, a five-star rating would mean the world to me and help other home cooks find this amazing recipe!
If you run into any snags or have questions—though I hope those FAQs cleared everything up—please don’t hesitate to reach out via my contact page. Happy cooking, and here’s to many more wonderfully savory dinners!
PrintUltimate Homemade Brown Gravy (No Drippings Needed)

Make rich, savory brown gravy from scratch on the stovetop in under 20 minutes. This recipe uses simple pantry staples to create a velvety smooth sauce perfect for mashed potatoes, roasts, and meatloaf.
- Prep Time: 5 min
- Cook Time: 15 min
- Total Time: 20 min
- Yield: About 3 cups 1x
- Category: Side Dish
- Method: Stovetop
- Cuisine: American
- Diet: Vegetarian
Ingredients
- 4 tablespoons unsalted butter
- 4 tablespoons all-purpose flour
- 2 cups beef broth (low sodium preferred)
- 1 cup chicken broth or water
- 1 teaspoon onion powder
- 1/2 teaspoon garlic powder
- 1/2 teaspoon salt, or to taste
- 1/4 teaspoon black pepper, or to taste
- 1/4 teaspoon dried thyme (optional, for depth)
Instructions
- Melt the butter in a medium saucepan over medium heat.
- Whisk the flour into the melted butter until a smooth paste, called a roux, forms. Cook the roux for 1 to 2 minutes, stirring constantly, until it turns a light golden brown color. This step cooks out the raw flour taste.
- Slowly whisk in the beef broth and chicken broth (or water), ensuring no lumps form. Continue whisking until the mixture is smooth.
- Add the onion powder, garlic powder, salt, pepper, and thyme, if using. Stir to combine.
- Bring the mixture to a simmer, stirring frequently. Reduce the heat to low and let it gently simmer for 5 to 10 minutes, or until the gravy thickens to your desired consistency. Stir often to prevent sticking.
- Taste the gravy and adjust salt and pepper as needed. If the gravy is too thick, whisk in a tablespoon of hot water or broth until it reaches the right texture.
- Serve this classic brown gravy immediately over your favorite comfort food dishes.
Notes
- For a darker color, cook the roux for an extra 2 to 3 minutes until it reaches a deep brown color before adding the liquid.
- If you want a thicker gravy, mix 1 tablespoon of cornstarch with 2 tablespoons of cold water in a separate small bowl, then whisk this slurry into the simmering gravy until thickened.
- This recipe is an excellent homemade gravy mix alternative; you can store the dry roux mixture (butter omitted) for later use.
Nutrition
- Serving Size: 1/2 cup
- Calories: 110
- Sugar: 1
- Sodium: 450
- Fat: 8
- Saturated Fat: 5
- Unsaturated Fat: 3
- Trans Fat: 0
- Carbohydrates: 7
- Fiber: 0
- Protein: 2
- Cholesterol: 20