
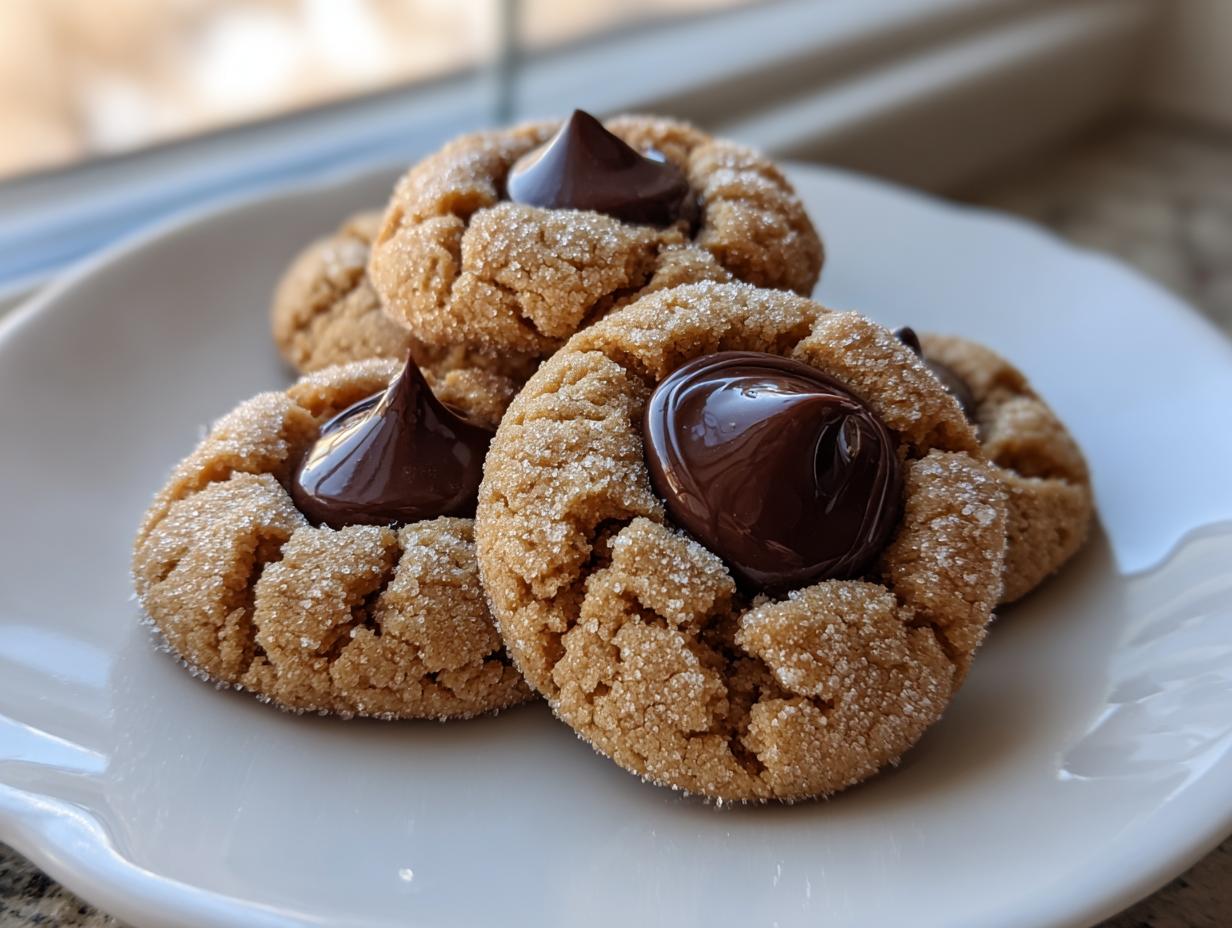
Oh, the nostalgia that hits when I see a tray full of these cookies! There’s just something about that perfect marriage of salty peanut butter and sweet, melty chocolate that takes me right back to my grandma’s kitchen during Christmas when I was just a kid. People struggle with these treasures, I find. They either bake up too dry or the chocolate kisses melt right into the dough, leaving no signature mark. Trust me, I tested dozens of batches—it took me ages—but I finally landed on the secret formula for the absolute softest and chewiest peanut butter blossom base that stays fresh for days. If it’s quick holiday baking you’re after, this classic recipe needs to be on your list. It’s more than a cookie; it’s a shared memory waiting to happen.
- Why This is the Best Peanut Butter Blossom Recipe (Expert Tips)
- Ingredients for Perfect Peanut Butter Blossom Cookies
- Step-by-Step Instructions for Peanut Butter Blossom Cookies
- Ingredient Notes and Substitutions for Your Peanut Butter Blossom
- Tips for the Best Peanut Butter Cookie Bake
- Storage and Keeping Your Peanut Butter Blossom Soft
- Making Classic Peanut Butter Blossoms for the Holidays
- Frequently Asked Questions About Homemade Kiss Cookies
- Nutritional Data for This Simple Peanut Butter Dessert
- Share Your Peanut Butter Blossom Creations
Why This is the Best Peanut Butter Blossom Recipe (Expert Tips)
Look, I’ve tried every trick out there—the high-altitude tweaks, the ingredient swaps—and I can confidently say this recipe nails the texture every single time. My testing phase was all about cracking the code on chewiness. We skip the chilling step entirely, which means you get these beautiful peanut butter blossom cookies on the plate faster, perfect for when company is about to show up! The key is how we handle the sugars and fats during creaming, just like we do for my famous classic chocolate chip cookies, to lock in moisture.
Achieving the Iconic Crackle Top on Your Peanut Butter Blossom
That signature look you want? It comes down to two simple things. First, you must roll those dough balls completely—I mean totally coated—in granulated sugar. Second, you bake them immediately while the dough is room temperature. That sugar coating hardens fast in the heat, forcing the cookie to spread and create those famous little cracks all over the surface of your peanut butter blossom. It’s pure science, folks!
Ingredients for Perfect Peanut Butter Blossom Cookies
When you’re aiming for that perfect bite that isn’t dry or crumbly, you can’t cut corners on the ingredients. Transparency in this part is key, so you know exactly what makes our peanut butter blossom cookies so great. I always stick strictly to the recipe measurements I worked so hard to perfect. For the chewiest base, use creamy peanut butter—it mixes in so much smoother than the natural stuff, trust me!
- 1 cup unsalted butter, softened
- 3/4 cup creamy peanut butter
- 3/4 cup granulated sugar
- 3/4 cup packed brown sugar
- 2 large eggs
- 1 teaspoon vanilla extract
- 2 1/4 cups all-purpose flour
- 1 teaspoon baking soda
- 1/2 teaspoon baking powder
- 1/2 teaspoon salt
- 1 cup granulated sugar, for rolling
- About 1 bag (12 ounces) Hershey’s Kisses, unwrapped
Don’t forget, if you want more classic peanut butter goodness in your life, check out my dedicated soft peanut butter cookies recipe too!
Step-by-Step Instructions for Peanut Butter Blossom Cookies
This recipe moves fast once you get going, which is why I love it for busy weeknights or when I need a quick treat for my marketing team. The whole thing comes together in about 30 minutes total! Just follow these steps precisely, especially around the chocolate part—that’s where the magic happens, and where timing matters most for these peanut butter blossom cookies. Don’t worry about finding complex equipment; a simple mixer (or even a strong arm!) will do the job beautifully. If you need some quick dinner after all this baking, I have a few ideas over on my easy weeknight dinners page!
Mixing the Dough: Creaming and Combining
First thing: get your oven hot! Preheat it to 375°F and line those sheets with parchment paper—trust me, cleanup is a dream this way. Now for the dough: In your big bowl, we need to cream the softened butter, the peanut butter, and both sugars until they get light and fluffy. This traps the air we need for that soft center later on. Next, beat in your eggs one by one, making sure each one is fully incorporated before adding the next, followed by that vanilla extract. Pay attention here!
Rolling and Baking Your Peanut Butter Blossom Balls
Take your flour mixture—the one with the baking soda, powder, and salt—and add it to the wet ingredients slowly, mixing on low speed. Stop mixing the second it’s just combined; overmixing creates tough cookies, and we want soft ones! Pour that remaining cup of sugar onto a plate. Roll your dough into little 1-inch balls and roll each one until it’s completely blanketed in sugar. Space them about two inches apart on your sheet. Bake for 8 to 10 minutes; you want the edges set but the middle still looking a little tender. That slightly soft center is what ensures you get those beautiful cracks on your peanut butter blossom tops!
Ingredient Notes and Substitutions for Your Peanut Butter Blossom
I get asked all the time about messing with the recipe, especially since I insist you skip chilling the dough. Since these peanut butter blossom cookies are meant to be quick treats, we don’t waste time waiting for the fridge! Now, about the peanut butter: please, please use creamy peanut butter for this recipe if you want that cloud-like softness.
Natural peanut butter, the kind that separates, simply doesn’t have the right fat content to keep the cookie tender enough. If you try it, you’ll likely end up with a crumbly cookie that dries out faster than you can grab a glass of milk. Stick to the good stuff! If you’re looking for other dips to serve these with, my recipe for homemade guacamole party dip is always a winner at bake sales!
Tips for the Best Peanut Butter Cookie Bake
Now that you have the dough mixed and rolled, let’s talk about those moments right before and right after they come out of the oven, because this separates a good cookie from an amazing peanut butter blossom. We need to nail the temperature control to get that perfect chewy texture we established in the dough!
Temperature Control for Soft and Chewy Results
My biggest piece of advice here, coming from testing countless batches, is to make sure your butter and eggs are truly room temperature. Cold butter equals dense cookies, right? Also, trust your oven by using an inexpensive oven thermometer. Ovens lie sometimes! If your oven runs hot, those beautiful peanut butter blossom cookies will bake too fast, setting the center too early for a proper melt when you press the chocolate in. For more incredible dessert ideas, make sure you browse my collection of delicious dessert recipes!
And here’s the secret I learned from another baker friend over at this amazing recipe: When they come out at 8 minutes, give them thirty seconds on the hot pan before you touch them. That initial heat sets the base just enough so you can press down firmly on that chocolate kiss without sinking the whole cookie into oblivion. It’s a balancing act, but you’ve got this!
Storage and Keeping Your Peanut Butter Blossom Soft
We work so hard to get that perfect soft and chewy texture in our peanut butter blossom cookies, so naturally, we need to store them right! If you have leftovers—which, let’s be honest, is rare at my house—you can’t just let them sit out in the open air. That’s how they turn into hockey pucks by morning.
To keep them soft for days, you need an airtight container. Here’s my trick: line the container with a piece of soft white bread. Seriously! The cookies will leach moisture into the bread, or rather, the bread will prevent the cookies from drying out, keeping them wonderfully tender. Change the bread if it gets hard. You can also store them with a small piece of an apple wedge, but the bread trick is my favorite for these specific cookies. If you’re looking for another fantastic, easy baked treat, check out my recipe for apple pie cookies!
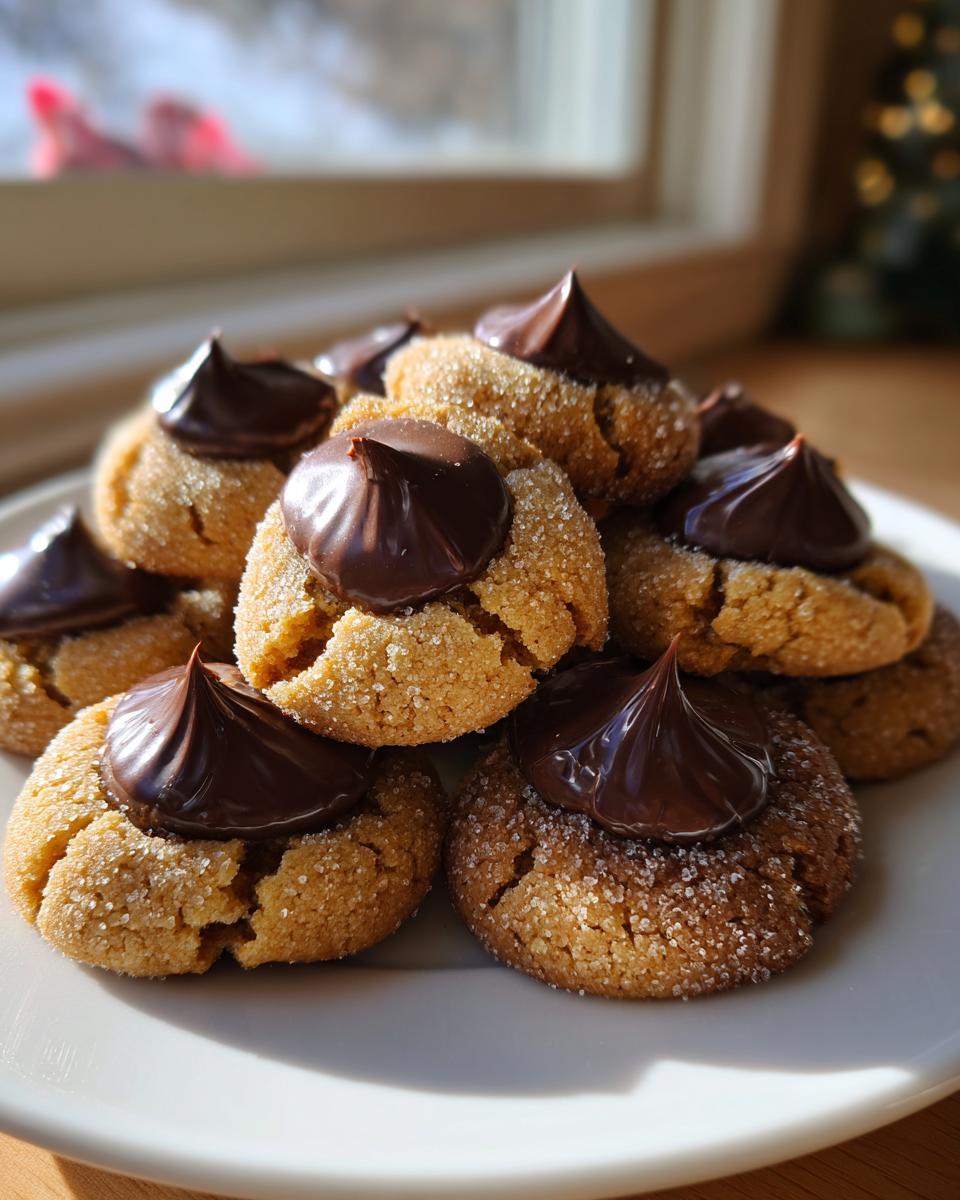
Making Classic Peanut Butter Blossoms for the Holidays
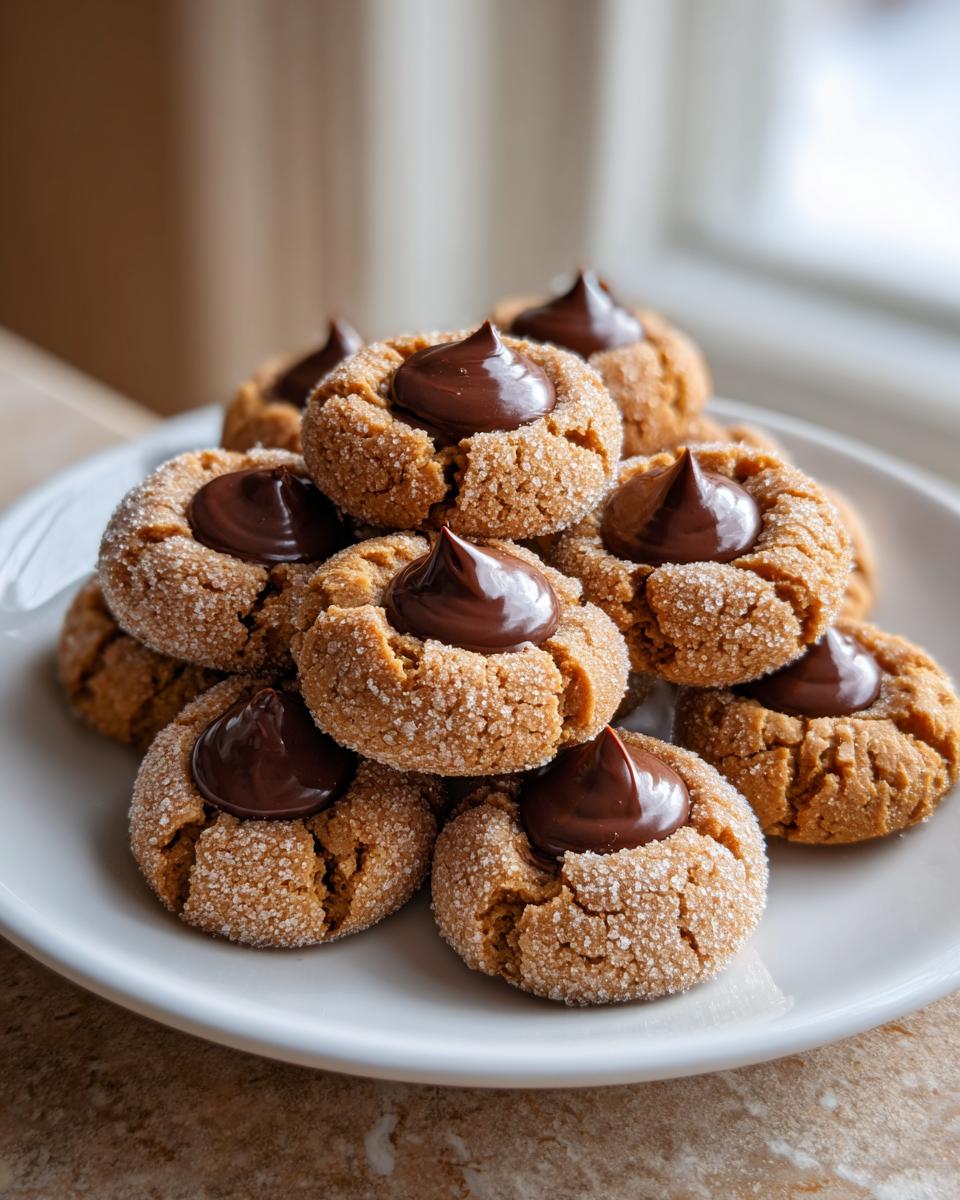
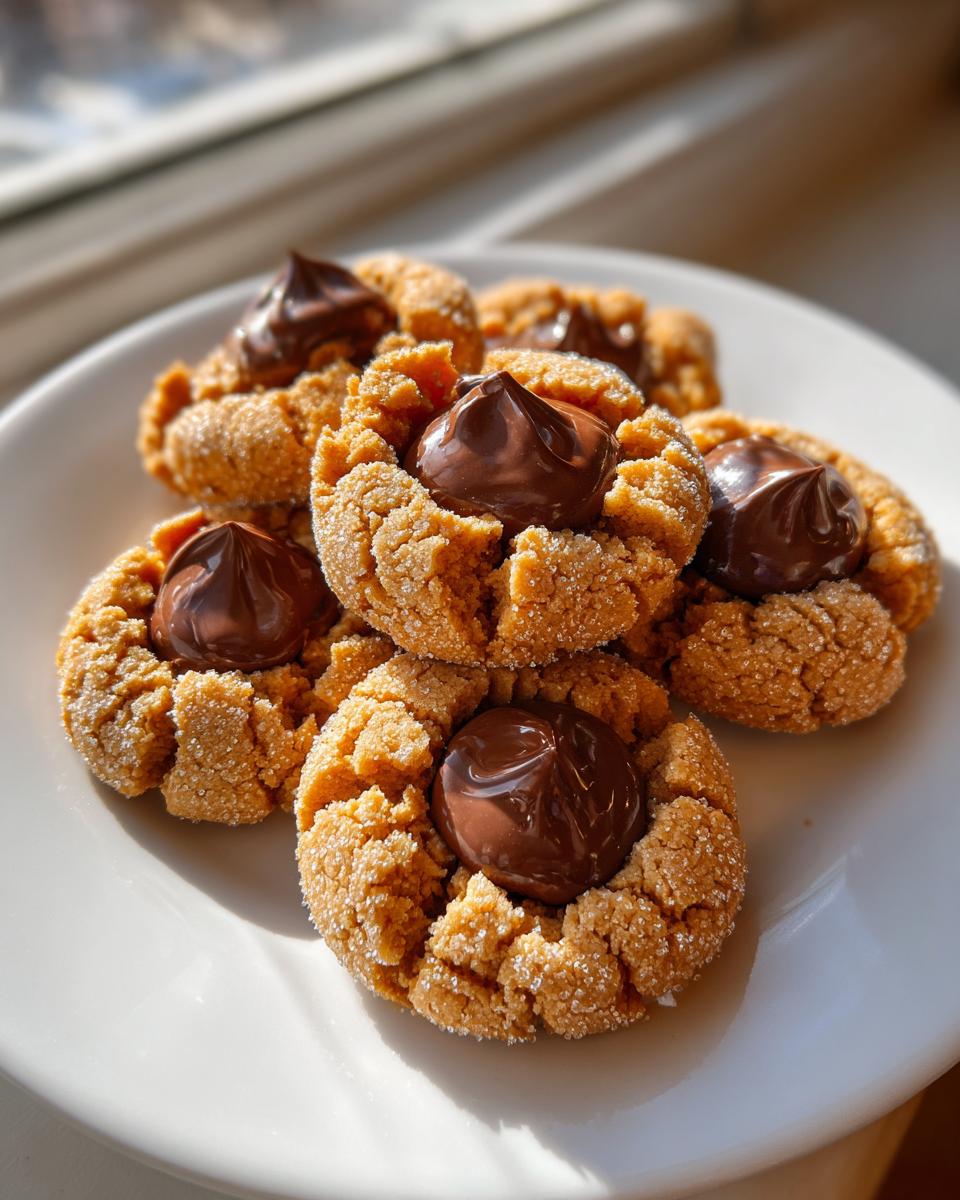
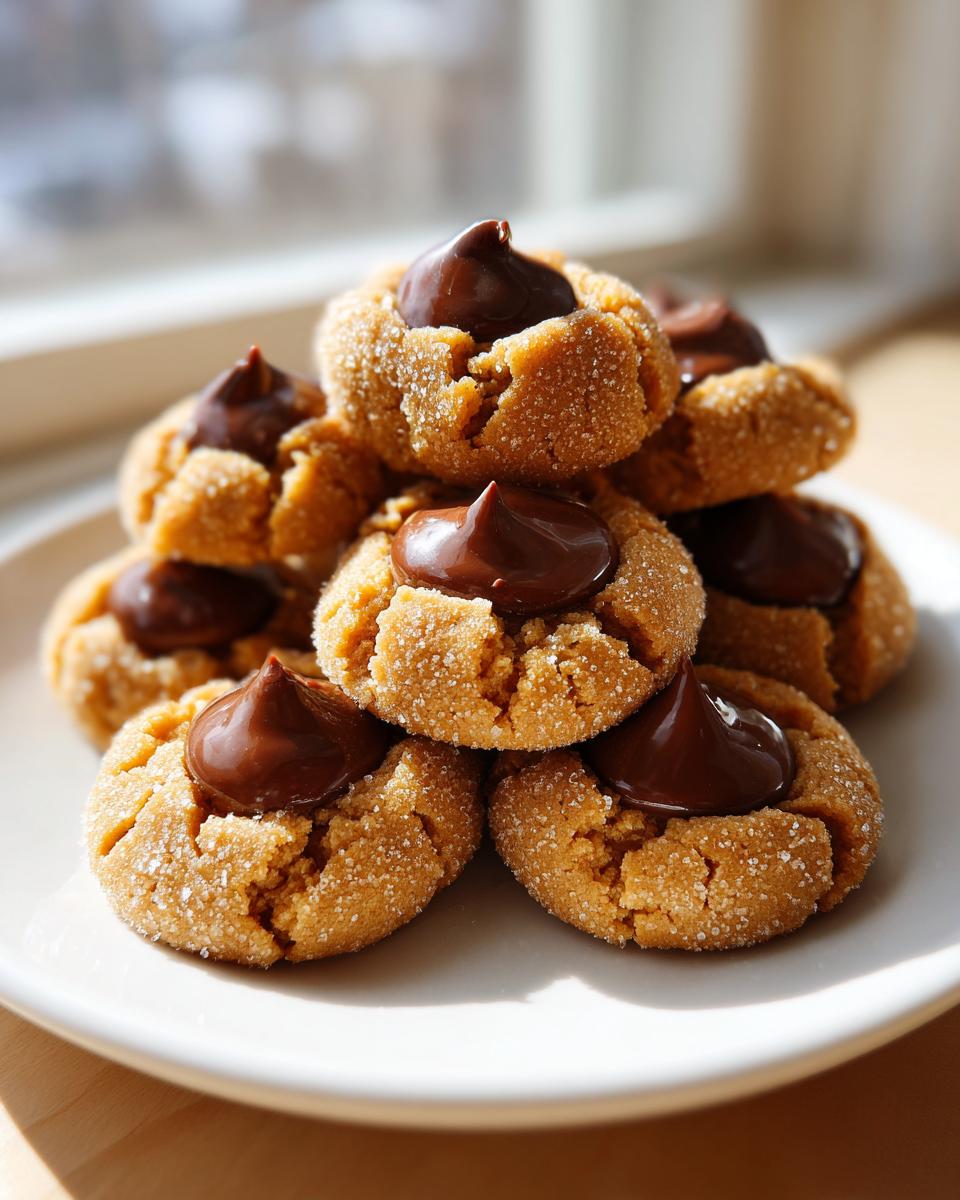
You just can’t host a holiday cookie exchange without a staple like this! These Classic Peanut Butter Blossoms feel instantly traditional, even though they take hardly any time at all to make. They look absolutely stunning piled high on a platter next to gingerbread or shortbread cookies. They are such a reliably good addition to any cookie tray, bringing that perfect salty-sweet balance.
I always make sure I have a fresh batch cooling the week before Christmas; I even whip up a batch of my homemade Christmas jam recipe to give away as little edible gifts. If you’re hunting for that iconic look, these are the perfect cookies to feature prominently, and you can find even more inspiration for a stunning platter over at this great resource. Seriously, make these the cornerstone of your holiday baking this year!
Frequently Asked Questions About Homemade Kiss Cookies
I know you might have a few lingering questions before you dive in, because even the best peanut butter blossom recipes need a little troubleshooting sometimes! Don’t worry, I’ve heard them all!
Can I use natural peanut butter instead of creamy?
Honestly, I wouldn’t recommend it for this specific recipe. If you want those truly soft and Chewy Chocolate Kiss Cookies that stay fresh, stick to creamy. Natural peanut butter throws off the fat and moisture balance, and they tend to crumble right away.
How do I prevent the chocolate from melting entirely?
This is crucial! You have to press the kiss into the cookie *immediately* after it comes out of the oven. The residual heat softens the foil-wrapped chocolate just enough for it to sink slightly into the crackle top without melting all over the place. If you wait even five minutes, you’ll struggle to get them to press in nicely.
Can I chill the dough? I want to bake them later!
Nope! Part of the charm of this Homemade Kiss Cookies recipe is that you don’t have to chill it. Chilling firms up the butter, which results in a flatter, less chewy cookie that won’t get those beautiful cracks. Scoop, roll in sugar, and bake right away! If you need to make them ahead, bake the cookie base only, let it cool, and then press the chocolate kiss in right before serving. For more fun cookie ideas, check out my fruit pizza sugar cookie recipe!
Nutritional Data for This Simple Peanut Butter Dessert
I always keep the focus here on flavor and joy, but I know some of you want the facts! Here’s a general idea of what you’re looking at per cookie based on the standard ingredients we used. This is an estimate, of course, because if you used extra-large Kisses or a different brand of peanut butter, things change!
- Serving Size: 1 cookie
- Calories: 180
- Sugar: 15g
- Fat: 10g
- Protein: 4g
Enjoy these treats knowing they were made from scratch with love, and that’s better than any number on a label!
Share Your Peanut Butter Blossom Creations
Alright, I’ve shared all my secrets for the best peanut butter blossom cookies! Now it’s your turn. Head down to the comments, tell me how they turned out, and please, give it five stars if you loved this easy, chewy classic. Seeing your festive photos sharing these joyful bakes truly makes all the testing worthwhile! If you need to reach out about substitutions or baking disasters, you can always use the contact form over at Chefsily!
PrintClassic Peanut Butter Blossoms: Soft and Chewy Holiday Cookies

Make the best soft and chewy Peanut Butter Blossoms. This classic recipe delivers crackled peanut butter cookies topped with a melted chocolate kiss, perfect for holiday baking or any time you want a simple, delicious treat.
- Prep Time: 20 min
- Cook Time: 10 min
- Total Time: 30 min
- Yield: About 3 dozen cookies 1x
- Category: Dessert
- Method: Baking
- Cuisine: American
- Diet: Vegetarian
Ingredients
- 1 cup unsalted butter, softened
- 3/4 cup creamy peanut butter
- 3/4 cup granulated sugar
- 3/4 cup packed brown sugar
- 2 large eggs
- 1 teaspoon vanilla extract
- 2 1/4 cups all-purpose flour
- 1 teaspoon baking soda
- 1/2 teaspoon baking powder
- 1/2 teaspoon salt
- 1 cup granulated sugar, for rolling
- About 1 bag (12 ounces) Hershey’s Kisses, unwrapped
Instructions
- Preheat your oven to 375 degrees Fahrenheit. Line baking sheets with parchment paper.
- In a large bowl, cream together the softened butter, peanut butter, 3/4 cup granulated sugar, and brown sugar until the mixture is light and fluffy.
- Beat in the eggs one at a time, then mix in the vanilla extract.
- In a separate medium bowl, whisk together the flour, baking soda, baking powder, and salt.
- Gradually add the dry ingredients to the wet ingredients, mixing on low speed until just combined. Do not overmix the dough.
- Pour the remaining 1 cup of granulated sugar into a shallow dish.
- Roll the dough into 1-inch balls. Roll each ball thoroughly in the sugar until completely coated.
- Place the sugared balls about 2 inches apart on the prepared baking sheets.
- Bake for 8 to 10 minutes. The edges should be set, but the centers should still look slightly soft.
- Immediately upon removing the cookies from the oven, gently press one unwrapped chocolate kiss into the center of each warm cookie. The residual heat will soften the chocolate.
- Let the cookies cool on the baking sheet for 5 minutes before transferring them to a wire rack to cool completely.
Notes
- For the softest cookies that stay chewy longer, use creamy peanut butter instead of natural or chunky varieties.
- Do not chill the dough; these cookies bake best when the dough is room temperature.
- If your chocolate kisses are melting too much, wait 2-3 minutes after removing the cookies from the oven before pressing them in.
Nutrition
- Serving Size: 1 cookie
- Calories: 180
- Sugar: 15g
- Sodium: 85mg
- Fat: 10g
- Saturated Fat: 4g
- Unsaturated Fat: 6g
- Trans Fat: 0g
- Carbohydrates: 22g
- Fiber: 1g
- Protein: 4g
- Cholesterol: 20mg