
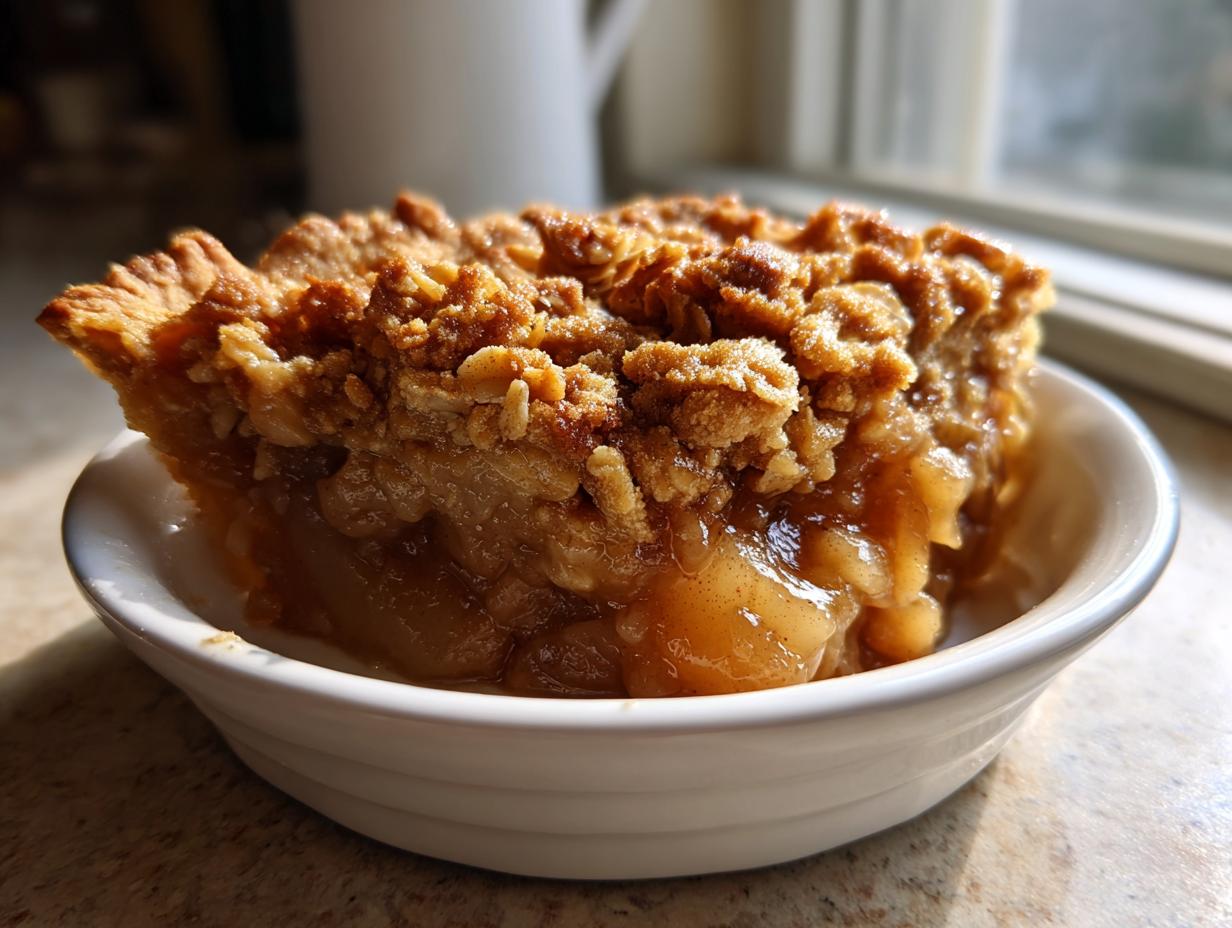
Oh, you haven’t lived until you’ve pulled a bubbling, fragrant fruit dessert straight from the oven on a cool evening. That scent—it just wraps around you like a favorite blanket! For me, the ultimate expression of simple, seasonal baking that brings the whole family together is, without a doubt, a perfectly executed pear crisp. Forget fussy pastries; this recipe is pure, rustic comfort. We’re making my Easy Brown Sugar Cinnamon Pear Crisp today, designed so you can get that deeply flavorful fruit filling and that incredible, golden buttery oat topping recipe without spending hours in the kitchen. It’s one of those magical, foolproof desserts that truly celebrates what’s best about fall harvest. If you’re looking for more wonderful ways to wrap up a meal, you can always check out my full collection of delicious dessert recipes!
- Why This Easy Pear Crisp Recipe Works So Well
- Ingredients for Your Easy Brown Sugar Cinnamon Pear Crisp
- Step-by-Step Instructions for the Best Pear Crisp
- Tips for Success Making Your Homemade Pear Dessert
- Variations on the Classic Pear Crisp
- Serving Suggestions for Your Cozy Fall Desserts
- Storage and Reheating Instructions for Leftover Pear Crisp
- Frequently Asked Questions About This Cinnamon Pear Crisp
- Sharing Your Rustic Pear Crisp Experience
Why This Easy Pear Crisp Recipe Works So Well
I know you have a million recipes bookmarked, but trust me on this one! This Easy Pear Crisp Recipe has become my go-to because it delivers on texture and flavor every single time. It’s genuinely a Quick Pear Dessert that still feels special. It nails that balance between being a Simple Baked Fruit Dessert and absolute comfort food.
- It comes together faster than you can set the table!
- The sweet pears bake perfectly—tender, never mushy.
- It uses pantry stables you probably have right now.
Achieving the Perfect Buttery Oat Topping Recipe
The secret to that incredible golden crunch is keeping the butter frigidly cold! When you “cut in” those little cubes of butter, you’re creating pockets of fat. As it bakes, that butter steams, separating the oats and flour just enough to create that airy, crunchy bite unique to a great Buttery Oat Topping Recipe. Don’t overwork it!
Flavor Profile: Brown Sugar Crisp Topping and Cinnamon
We’re leaning hard into warm, cozy fall flavors here. The dark molasses in the brown sugar adds this wonderful depth that white sugar just can’t match. When that melts into the pears and mixes with the cinnamon, you get this caramelly, spiced hug. That Brown Sugar Crisp Topping is really what makes this recipe sing!
Ingredients for Your Easy Brown Sugar Cinnamon Pear Crisp
Honestly, one of the best parts of making this From Scratch Pear Crisp is how achievable the ingredient list is. No obscure items here! Everything you need comes together in about fifteen minutes before it heads to the oven. You can see how I preserve my fall harvests by checking out my guide on pear preserves, but for the crisp, we just need the fresh stuff!
For the Sweet Pear Filling
- 6 medium ripe pears, peeled, cored, and sliced
- 1/4 cup granulated sugar
- 1 tablespoon lemon juice
- 1 teaspoon ground cinnamon
- 1/4 teaspoon ground nutmeg
For the Buttery Oat Topping Recipe
- 1/2 cup all-purpose flour
- 1/2 cup rolled oats
- 1/2 cup packed brown sugar
- 1/4 teaspoon salt
- 6 tablespoons cold unsalted butter, cut into small pieces
Step-by-Step Instructions for the Best Pear Crisp
Alright, let’s get baking! This is where the magic happens, and I promise it’s so straightforward. No need to feel intimidated by baking—this Warm Fruit Crisp is inherently forgiving. If you’re ever making granola from scratch, the mixing technique for the topping feels similar, which is why I love it so much! Check out my homemade granola post if you want another easy oat project.
Preparing the Fruit Base and Oven Setup
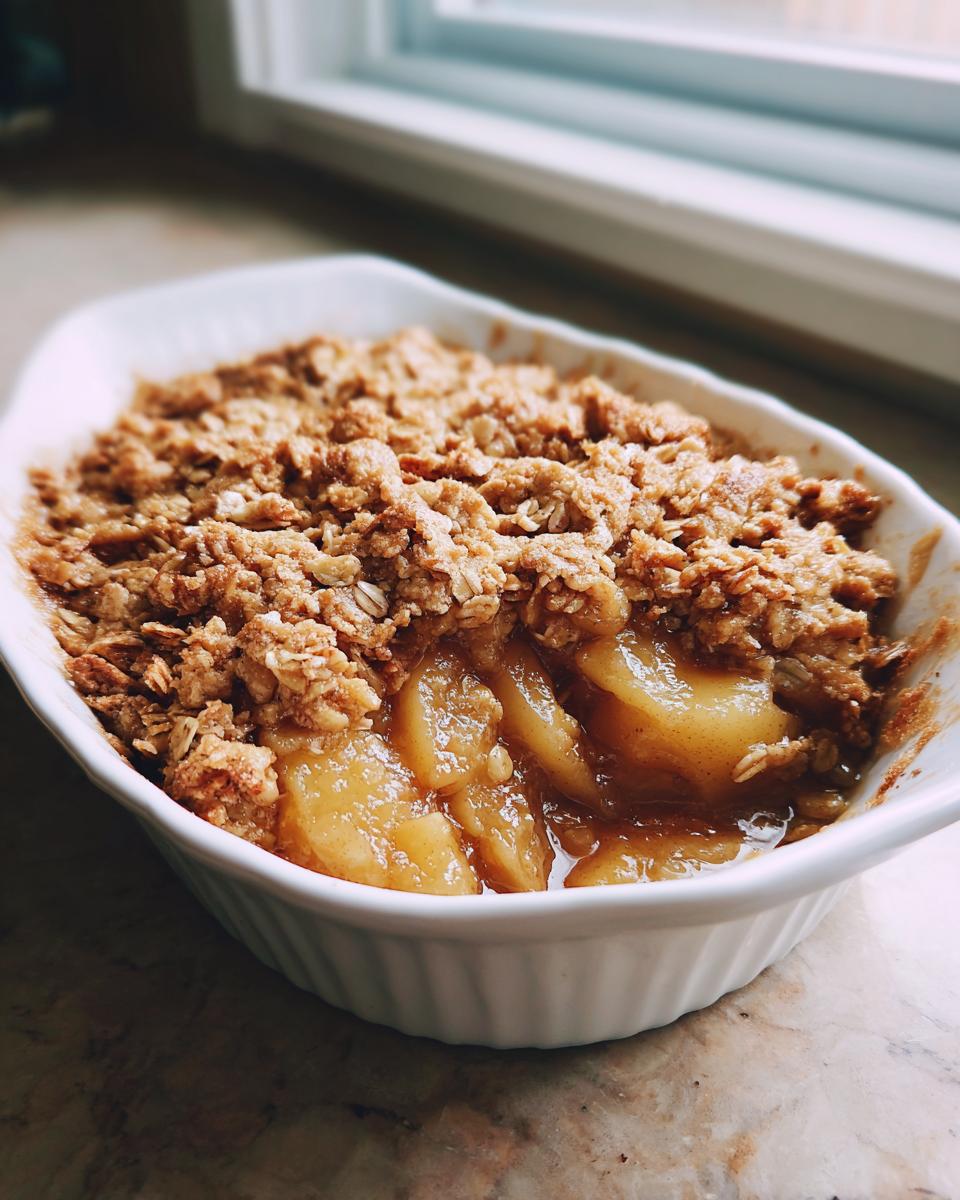
First things first: get that oven warming up to 375 degrees Fahrenheit. Grab an 8×8 inch baking dish and just give it a light grease—nothing fancy required here. Now, grab your peeled and sliced pears. Toss them right in a big bowl with that granulated sugar, the lemon juice to keep them bright, and all those warm spices—cinnamon and nutmeg. Mix it gently until every slice looks cozy and coated, then pour that mixture into your prepared dish. Spread it around so it’s nice and even.
Creating the Buttery Oat Topping Recipe
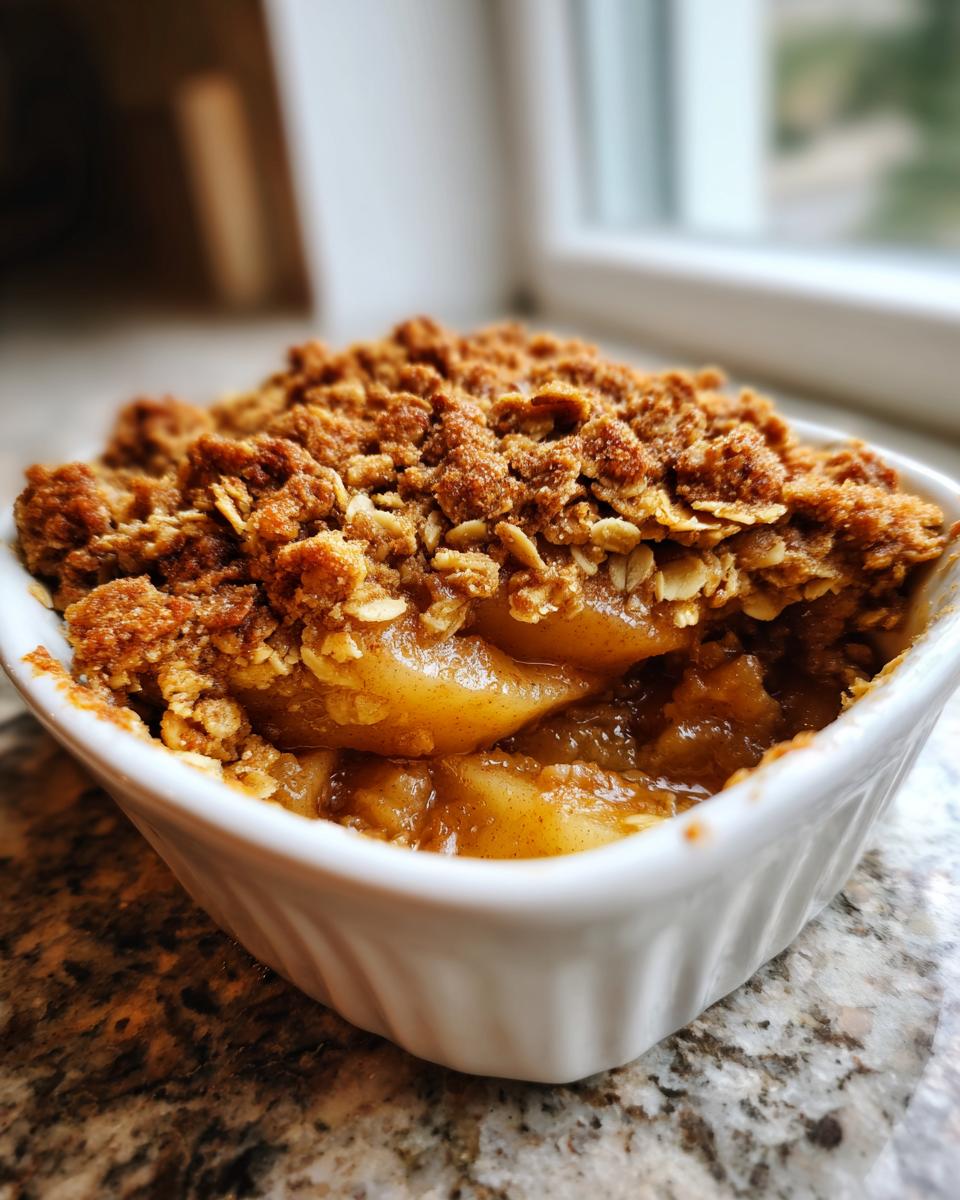
This is the texture builder! In a separate bowl, whisk together the flour, the oats, that lovely brown sugar, and the salt. Remember how we talked about cold butter? Take those cold cubes and drop them right in. Use your fingertips, or better yet, a pastry blender if you have one, and work that butter into the dry mix. Keep squishing and cutting until it looks like coarse crumbs, and you can still see some pea-sized chunks of butter. Those chunks are your future crispy spots!
Baking and Resting the Warm Fruit Crisp
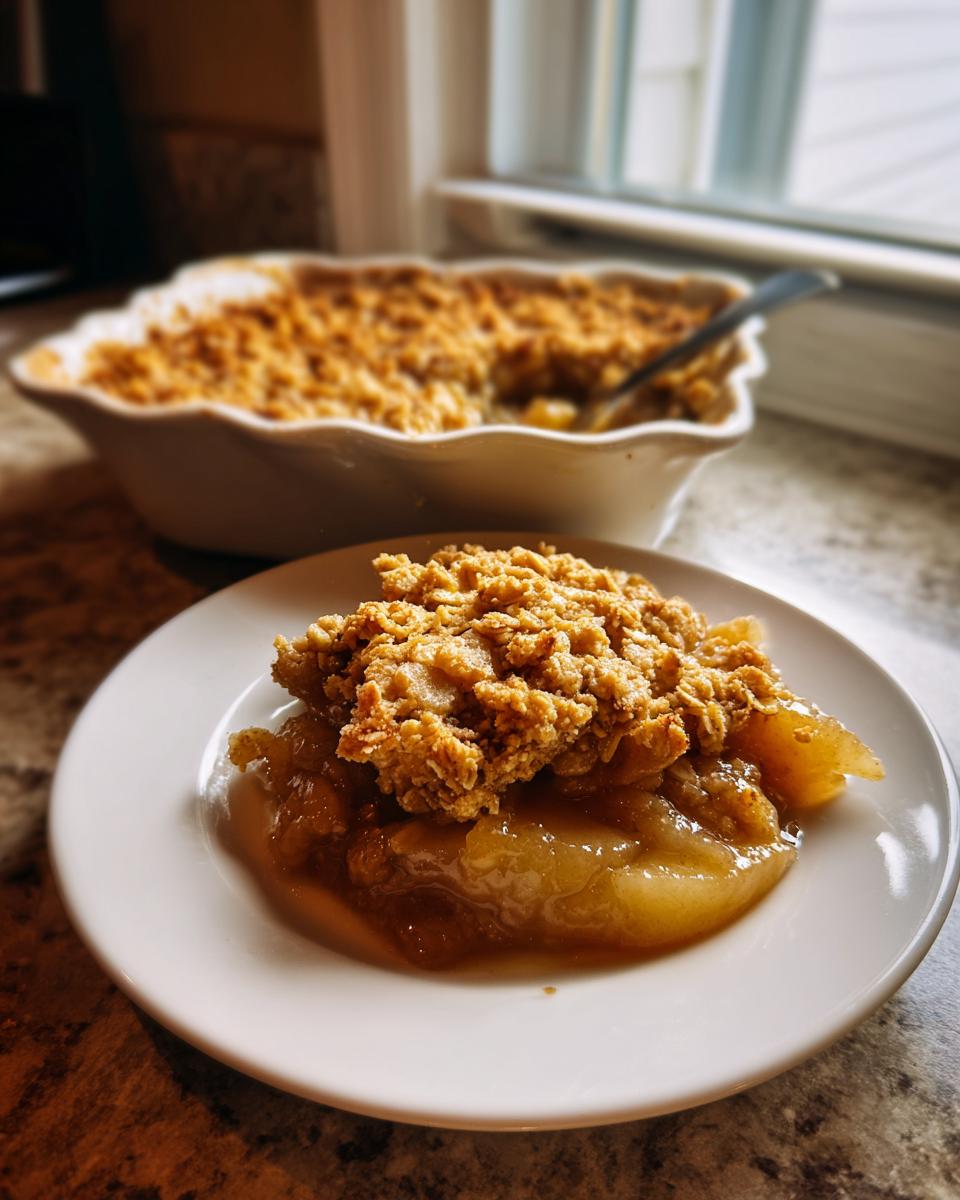
Sprinkle that glorious topping evenly over the pears—try not to pack it down! Slide it into the oven for about 35 to 45 minutes. You’re looking for two things: the topping has to be deeply golden brown, and you must see the fruit filling bubbling up thick around the edges. This is important: once it’s out, you absolutely have to let the Best Pear Crisp rest on a wire rack for at least 15 minutes. If you cut it too soon, the filling will run everywhere. Just wait—the warm spiced pears beneath that crunchy layer are worth the extra few minutes!
Tips for Success Making Your Homemade Pear Dessert
Even with an Easy Pear Crisp Recipe, the small details really elevate it from good to *amazing*. My biggest piece of advice for this Homemade Pear Dessert revolves around the fruit itself. You need pears that are ripe but still firm—think Bosc or hearty Anjou. I learned this the hard way once when I grabbed pears that were looking a little too soft off the counter; they completely dissolved into sweet mush under the heat, and I lost the beautiful texture I was aiming for!
Also, when you’re making that topping, think about what you want when you take that first bite. If you prefer more chewiness, use rolled oats. If you want it crunchier, pulse half of your topping ingredients in the food processor very briefly before you cut in the butter. This gives you a mix of texture that keeps every scoop interesting. These small tweaks are what turn a simple recipe into your own signature dish. If you want to see more of my favorite ways to bring simple flavors together, check out my delicious dessert recipes!
Variations on the Classic Pear Crisp
You know, while this Cinnamon Pear Crisp is just about perfect as is, I truly believe in making recipes work for *your* family and *your* pantry. It’s so easy to pivot and create something new while still keeping that comforting base we love. If you’re looking for different ways to use seasonal fruit, I actually have a wonderful sour cherry crisp recipe that uses a similar topping technique. But let’s stick with pears for now! You can swap out ingredients easily, making this recipe endlessly repeatable.
Adding Nuts to Your Pear Crisp
If you want to step up that crunch factor, adding nuts is the way to go. My notes suggest substituting half of your rolled oats with chopped walnuts or pecans. Toasting the nuts lightly before mixing them in really wakes up their flavor, giving the topping an extra nutty background note that pairs beautifully with the brown sugar. You get that wonderful rich texture instantly!
Creating a Cranberry Pear Crisp
This is one of my favorite holiday tweaks! If you happen to have some beautiful tart cranberries—fresh or frozen, it doesn’t matter—they cut through the sweetness of the pears and brown sugar like a dream. The original recipe note says to just toss about a half cup of those berries right in with your spiced pears before topping. The slight pop of tartness makes this feel wonderfully seasonal, leaning into those Cozy Fall Desserts vibes. You can see a beautiful example of a rustic cranberry pear crisp for inspiration.
Serving Suggestions for Your Cozy Fall Desserts
Once this Warm Fruit Crisp comes out of the oven, you have the most magnificent, rustic creation ready to go! This is where we transition it from a simple baked dish into a true showstopper for your table. Whether you’re serving it up after a big holiday meal or just setting out a bowl for a quiet Sunday movie night, the presentation matters!
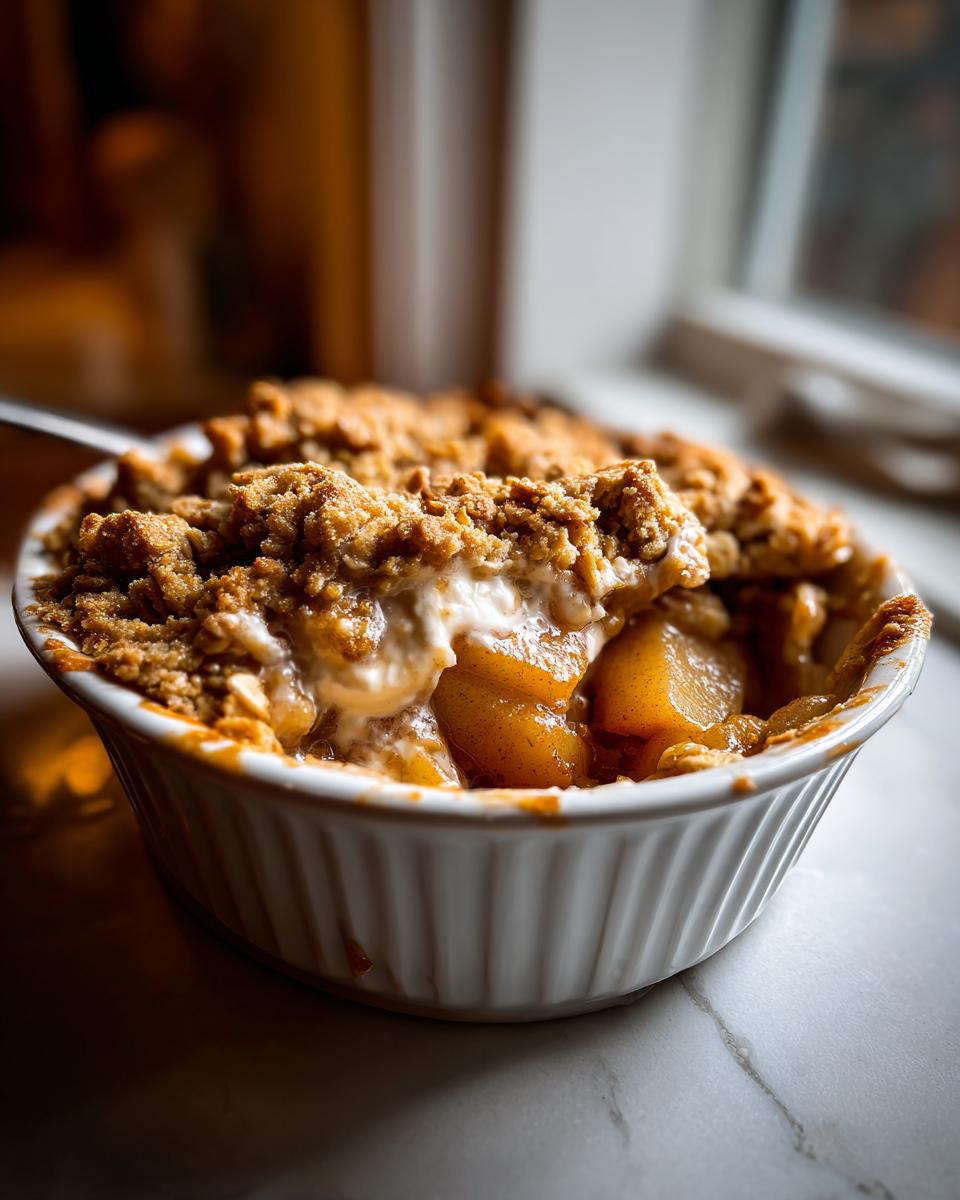
When you’re leaning into those Cozy Fall Desserts, the key is contrast. Serve the crisp straight from the oven while it’s still piping hot and bubbling. Then, hit it with something cold and creamy. You cannot go wrong with a big scoop of high-quality vanilla bean ice cream—the way the cold cream melts into the warm, spiced fruit is just heavenly. If you’re looking for a slightly lighter option that still feels elegant, a generous dollop of freshly whipped cream—maybe stabilized with a touch of maple syrup—is fantastic.
I once served this up after a particularly lovely dinner where we had roast chicken—you can see my recipe for maple mustard pork tenderloin if you need main course inspiration!—and the warmth and spice of the pear crisp was the perfect finale. It really shines as the ultimate Comfort Food Dessert because it feels both incredibly homemade and deeply satisfying. Don’t forget serving spoons; everyone tends to sneak an extra spoonful!
Storage and Reheating Instructions for Leftover Pear Crisp
Now, here’s the truth: this Easy Pear Crisp Recipe is almost always gone right away, but if you manage to have some leftovers, we need to treat that topping right! If you seal it up tightly, it’s fine on the counter overnight, but for anything longer than 24 hours, pop it into the fridge. Trust me, refrigeration helps maintain that gooey fruit filling.
Reheating is crucial for that crunch factor we worked so hard for. Please, skip the microwave if you can! A quick 10 minutes in a 350-degree oven gets that topping golden and crisp again. It just reheats so much better, bringing back all those cozy fall dessert aromas without turning the oatmeal topping soggy. It’s worth the wait to keep that texture perfect!
Frequently Asked Questions About This Cinnamon Pear Crisp
I get so many questions about this recipe! It’s one of those classics where everyone wants to tweak it or make sure they’ve got the fundamentals down. I’ve pulled together the main things people ask me about creating the Best Pear Crisp, especially regarding texture and prep work. If you’re feeling inspired to try another similar recipe, you should check out my apple crumble recipe for a fun comparison!
What is the difference between a crisp vs crumble topping?
This is a classic baking question! In my book, the difference really comes down to the oats. If the topping has oats—lots of them, usually mixed with butter, flour, and sugar—we call it a crisp. It gives that beautiful, substantial crunch when baked. A crumble, on the other hand, tends to be more flour, butter, and sugar, resulting in a finer, more evenly textured topping, kind of like streusel. For this recipe, we’re definitely aiming for that chunky, satisfying crunch you only get with a good Crisp vs Crumble Topping.
Can I make this pear crisp ahead of time?
Yes, you totally can! This is great for busy hosts. You can prepare the fruit filling and the Buttery Oat Topping Recipe separately, store them airtight in the fridge for up to a day, and then assemble right before you want to bake. If you assemble it all and refrigerate the whole thing, just add about 10 to 15 minutes to your baking time since it’s starting cold. Baking it first and then trying to store it is fine, but honestly, the topping gets softer overnight, even when sealed properly.
What kind of pears are best for this pear crisp recipe?
This is where we talk about texture again! Don’t reach for pears that are squishy soft—those will break down too much under the heat. For the perfect slice in your Cinnamon Pear Crisp that holds its shape but still softens beautifully, stick to varieties that are firm when you buy them. My favorites are Bosc or Anjou. They have that nice subtle firmness and don’t turn to soup on you mid-bake. Always aim for slightly underripe when you prep them!
Sharing Your Rustic Pear Crisp Experience
Well, friend, that’s it! You’ve just made my Easy Brown Sugar Cinnamon Pear Crisp, and I hope your kitchen smells like absolute heaven right now. Cooking to me has always been about sharing that joy, and the best part of creating these recipes here at Chefsily is hearing from you, the home cooks bringing them to life!
I truly want to know how this turned out for you. Did you add walnuts? Did you go for that scoop of melting vanilla ice cream? Don’t be shy! Head over to the comments section below and leave me a rating—five stars helps other folks find this recipe too, which just makes my heart happy. And if you snap a picture of your golden, bubbling creation, tag us on social media! Seeing your beautiful, rustic bakes makes all the testing and tasting worth it.
We’re building a community of cooks here who believe in simple, soulful food, and your feedback keeps that momentum going. If you ever have any recipe questions or just want to say hello, you can always reach out through the contact page. Happy baking, and thanks for sharing this little taste of fall with me!
PrintEasy Brown Sugar Cinnamon Pear Crisp with Buttery Oat Topping
Make this easy pear crisp featuring tender pears spiced with cinnamon and topped with a buttery, crunchy oat layer. It is a simple, comforting dessert perfect for cozy evenings.
- Prep Time: 15 min
- Cook Time: 40 min
- Total Time: 55 min
- Yield: 6 servings 1x
- Category: Dessert
- Method: Baking
- Cuisine: American
- Diet: Vegetarian
Ingredients
- 6 medium ripe pears, peeled, cored, and sliced
- 1/4 cup granulated sugar
- 1 tablespoon lemon juice
- 1 teaspoon ground cinnamon
- 1/4 teaspoon ground nutmeg
- 1/2 cup all-purpose flour
- 1/2 cup rolled oats
- 1/2 cup packed brown sugar
- 1/4 teaspoon salt
- 6 tablespoons cold unsalted butter, cut into small pieces
Instructions
- Preheat your oven to 375 degrees Fahrenheit. Lightly grease an 8×8 inch baking dish.
- In a large bowl, combine the sliced pears, granulated sugar, lemon juice, cinnamon, and nutmeg. Toss gently to coat the fruit evenly.
- Pour the pear mixture into the prepared baking dish and spread it into an even layer.
- In a separate medium bowl, whisk together the flour, rolled oats, brown sugar, and salt for the topping.
- Cut in the cold butter using a pastry blender or your fingertips until the mixture resembles coarse crumbs with some pea-sized pieces of butter remaining. This creates the buttery oat topping.
- Sprinkle the oat topping evenly over the pear filling.
- Bake for 35 to 45 minutes, or until the topping is golden brown and the fruit filling is bubbling around the edges.
- Let the crisp cool on a wire rack for at least 15 minutes before serving warm.
Notes
- For a richer flavor, substitute half of the rolled oats with chopped walnuts or pecans.
- If you want a cranberry pear crisp, add 1/2 cup of fresh or frozen cranberries to the pear filling mixture.
- This crisp is excellent served warm with vanilla ice cream or a dollop of whipped cream.
Nutrition
- Serving Size: 1 serving
- Calories: 310
- Sugar: 30g
- Sodium: 110mg
- Fat: 14g
- Saturated Fat: 8g
- Unsaturated Fat: 6g
- Trans Fat: 0g
- Carbohydrates: 48g
- Fiber: 5g
- Protein: 3g
- Cholesterol: 30mg