
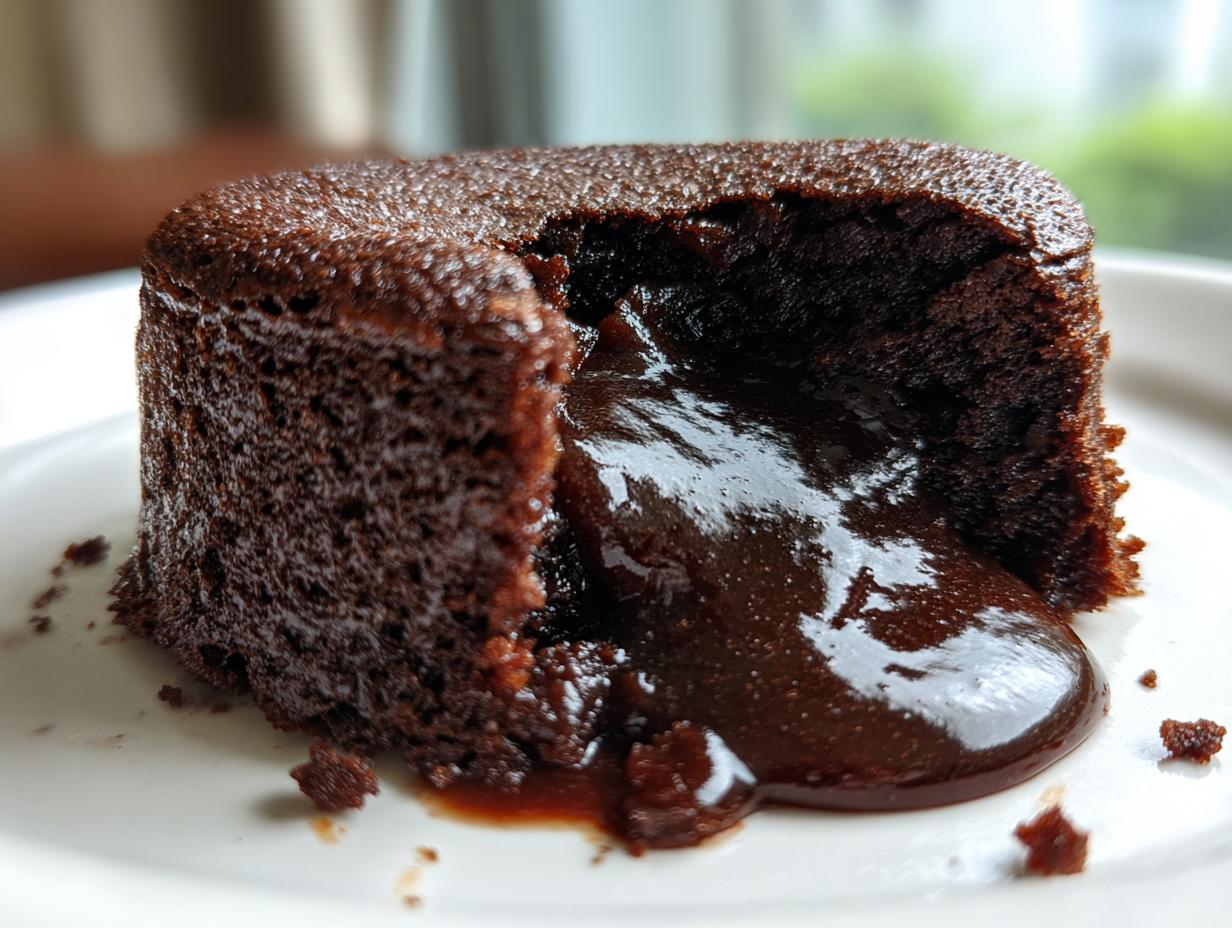
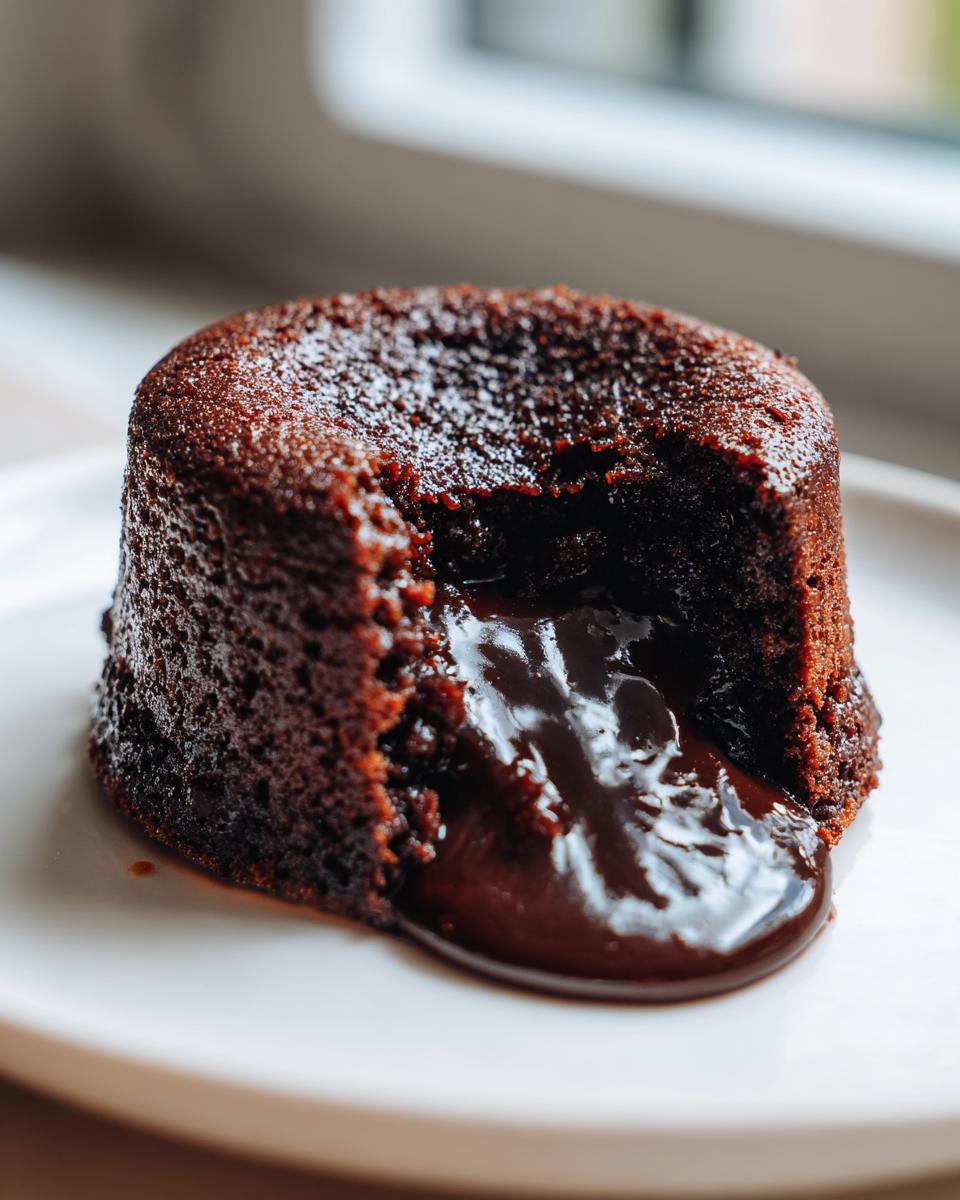
Isn’t there just something magical about chocolate? When it flows off your spoon, warm and velvety, you know you’ve achieved dessert perfection. We all want that showstopper moment, but we don’t always have the time for fussy baking, right? That’s why I’m thrilled to share this recipe for a classic chocolate lava cake. This isn’t fancy bakery guesswork; this is my tested, completely foolproof guide to getting that absolutely perfect molten center in under 20 minutes. Forget stress! Cooking should bring you joy, and this easy recipe proves you can deliver big decadence with minimal fuss. Trust me, once you nail this, it’s going into your regular rotation!
- Why This Easy Chocolate Lava Cake Recipe Works Every Time
- Gathering Ingredients for Your Classic Chocolate Lava Cake
- Essential Equipment for the Perfect Lava Cake
- Step-by-Step Instructions: How to Make Molten Chocolate Cake
- Tips for Success: Achieving the Perfect Lava Cake Flow
- Creative Variations on the Classic Lava Cake
- Serving Suggestions for Your Decadent Chocolate Dessert
- Storage and Reheating Instructions for Leftover Lava Cake
- Frequently Asked Questions About Making Lava Cake
Why This Easy Chocolate Lava Cake Recipe Works Every Time
I know you’ve seen recipes that promise heaven but deliver a dense chocolate muffin instead. That won’t happen here, I promise! This particular lava cake recipe has been tested over and over to ensure that beautiful, flowing center doesn’t disappear on you. It’s designed entirely around speedy indulgence.
What makes this version my absolute go-to for those last-minute dessert cravings? Well, it really comes down to these key things:
- It’s genuinely quick! We’re talking about a total time commitment of less than 30 minutes, which means it’s perfect for those weeknights when you need a little something sweet after dinner.
- The center is foolproof guaranteed gooey. We rely on a precise ratio of eggs to batter volume so that molten magic happens reliably.
- It feels incredibly decadent. This is what you serve when you want to impress your partner on a special date night without spending hours in the kitchen.
Now, here’s a tip directly from my kitchen philosophy, Isabella here: since there are so few ingredients, the quality really sings. Don’t skimp on the chocolate! Using a good quality bittersweet chocolate—at least 60% cacao—is non-negotiable for that deep, rich flavor we’re aiming for. It makes all the difference between a good dessert and a truly memorable one.
Gathering Ingredients for Your Classic Chocolate Lava Cake
Okay, let’s talk about what you need before we start mixing! Remember, because this is such a simple recipe—a true star of my collection of delicious dessert recipes—the ingredients really need to be spot on. Precision here prevents sadness later, especially when aiming for that flowing center!
You’ll need these exact quantities for four individual servings. Make sure your chocolate is ready to go!
- Four ounces of good quality bittersweet chocolate. You must chop this finely—the smaller the pieces, the faster and smoother they melt later on.
- Four tablespoons of unsalted butter. If it’s cold, cut it into small cubes; this helps it incorporate quickly.
- Two large, fresh eggs, plus two extra large egg yolks. These add richness!
- One-quarter cup of granulated sugar. We aren’t adding too much since the chocolate brings the main sweetness.
- Just one tiny teaspoon of vanilla extract—it deepens the chocolate flavor beautifully.
- Two tablespoons of all-purpose flour. Yes, just two! This is what keeps it cakey on the outside.
- A small pinch of salt to balance everything out.
That’s it! See? Super straightforward, pantry-friendly stuff. No excuses now!
Essential Equipment for the Perfect Lava Cake
Before we get messy, let’s make sure your kitchen is set up! Having the right tools makes achieving that perfect texture so much less stressful. You don’t need a ton of gadgets, but these things are important for this specific quick chocolate recipe.
You absolutely need four 6-ounce ramekins. If you only have regular mugs, make sure they are oven-safe! You’ll also want sturdy mixing bowls for your chocolate melting and egg whisking, a reliable whisk, and a rimmed baking sheet to catch any drips under those little cakes.
Step-by-Step Instructions: How to Make Molten Chocolate Cake
Okay, time to get baking! This is the fun part where we combine everything according to our careful plan. We need to move swiftly but with intention to lock in that amazing texture for our delicious dessert recipes collection. Remember, speed and precision are what guarantee that ooey-gooey result we are all craving!
Preparing Ramekins for Your Lava Cake
If the cake sticks, all our hard work is for nothing, so pay close attention here! First, crank that oven up to 425 degrees Fahrenheit. Next, take your butter—the soft stuff you set aside—and generously grease the inside of your four ramekins. I mean really coat those sides!
Once buttered, we dust them completely with cocoa powder instead of flour. Why cocoa? Because flour leaves white streaks, and we want pure, dark chocolate drama. Tap out any extra cocoa. Then, place those prepped little guys onto a safe baking sheet so they are ready to go when the batter is mixed.
Melting Chocolate and Butter for the Lava Cake Batter
We need a smooth shower for our chocolate and butter! Set up a double boiler by placing the chopped chocolate and the 4 tablespoons of butter into a heatproof bowl that sits snugly over a saucepan holding just a little bit of simmering water. Don’t let the water touch the bottom of the bowl, or you’ll scorch everything. Keep stirring gently until it’s one glossy, beautiful liquid.
Once it’s totally smooth, take that bowl right off the heat. It needs to cool down for just a few minutes—we can’t shock the eggs! Wait until it’s just warm to the touch, not hot.
Creating the Base for a Gooey Center Dessert
While that chocolate is chilling out, move to your second bowl! We need air in this mixture to give the cake structure, even though it’s molten inside. Take your two whole eggs and two extra yolks and the 1/4 cup of sugar. Whisk them like you mean it! You are looking for the mix to become pale yellow and slightly thick, almost ribbon-like when you lift the whisk. This takes about two minutes of good hustle.
Finally, whisk in that teaspoon of vanilla. Now gently pour that slightly cooled, melted chocolate mixture right into the eggs. Just a slow drizzle as you keep whisking until it’s blended. This combination is the secret to that rich ‘Gooey Center Dessert’ consistency!
Folding in Flour and Baking the Lava Cake
Now for the finishing touch before the oven! Sift your two tablespoons of flour and the pinch of salt directly over the batter. Okay, this is important: switch to a rubber spatula and fold everything together gently. We do not want to beat this batter! Just fold until you don’t see any white streaks of flour left. Stop mixing right then.
Divide that rich batter evenly into your four prepared ramekins. Slide the baking sheet into that screaming hot 425°F oven. Set your timer for 12 minutes. You’re looking for the edges to look set and firm, but the very center should still look soft, maybe even jiggle a tiny bit when you nudge the pan. That jiggle is exactly what you want for the ultimate lava cake!
Tips for Success: Achieving the Perfect Lava Cake Flow
Listen up, because this next part separates a molten delight from a slightly dense chocolate cup! The biggest mistake people make when baking a lava cake is being scared of the oven time.
If you bake it for 18 minutes, guess what? You get a wonderful, but maybe slightly overcooked, warm chocolate pudding cake. For that dramatic ooze, you must pull them out when they look slightly underdone! Stick strictly to that 12-to-14-minute window at 425°F—that slight jiggle in the center is your liquid gold guarantee.
Now, for you gadget lovers out there, I’ve played with other methods too! If you’re using an Air Fryer, drop the temperature to 380°F and aim for just 8 to 10 minutes. And if you’re feeling lazy and using the slow cooker, you’ll need to set it on high for about an hour and a half, checking often. Remember, the goal is always that flowing center, whether you’re going old school or using your favorite kitchen appliance. It’s all about how you treat the batter right before it sets!
If you ever struggle to get baked goods just right, maybe look at my tips for our brownie recipes—it’s all about temperature control!
Creative Variations on the Classic Lava Cake
Now that you’ve mastered the classic lava cake, half the fun is messing around with flavors! I love taking a perfect base recipe and just tweaking one element to see what happens. Since the base is so quick—remember, 20 minutes!
—you can easily whip up two different ones if you’re having people over. It’s all about simple additions that push the chocolate over the top, making them even more decadent!
Making a Nutella Lava Cake Recipe
If you’re craving something with that famous hazelnut kick, this variation is ridiculously easy. You do not have to change the process at all! When you are melting down your bittersweet chocolate and butter, just pull out about two tablespoons of that bitter chocolate they call for.
In its place, substitute exactly two tablespoons of your favorite Nutella. Stir that hazelnut goodness right into the melted chocolate mixture before you let it cool down slightly. That’s the whole trick! It adds a totally different kind of depth, so delicious. You’ll find that the Nutella version might set up just a tiny bit differently, so watch that clock closely toward the end of the bake time!
A Coffee Lover’s Dream: Espresso Lava Cakes
Because I practically run on coffee—shh, don’t tell my doctor—I often add a little wake-up call to my chocolate desserts. This works spectacularly well in the molten cake!
Here’s how I sneak it in: take about half a teaspoon of instant espresso powder and dissolve it into the vanilla extract before you add it to the egg mixture. If you don’t have espresso powder, just use a nice, strong splash of cold brewed coffee instead of the vanilla, though you should still use half a teaspoon of vanilla extract separately if you can.
The coffee doesn’t make it taste like a latte, mind you. It just deepens that dark chocolate flavor, making it taste richer, almost earthier! It’s an amazing trick for an even more intense experience.
Serving Suggestions for Your Decadent Chocolate Dessert
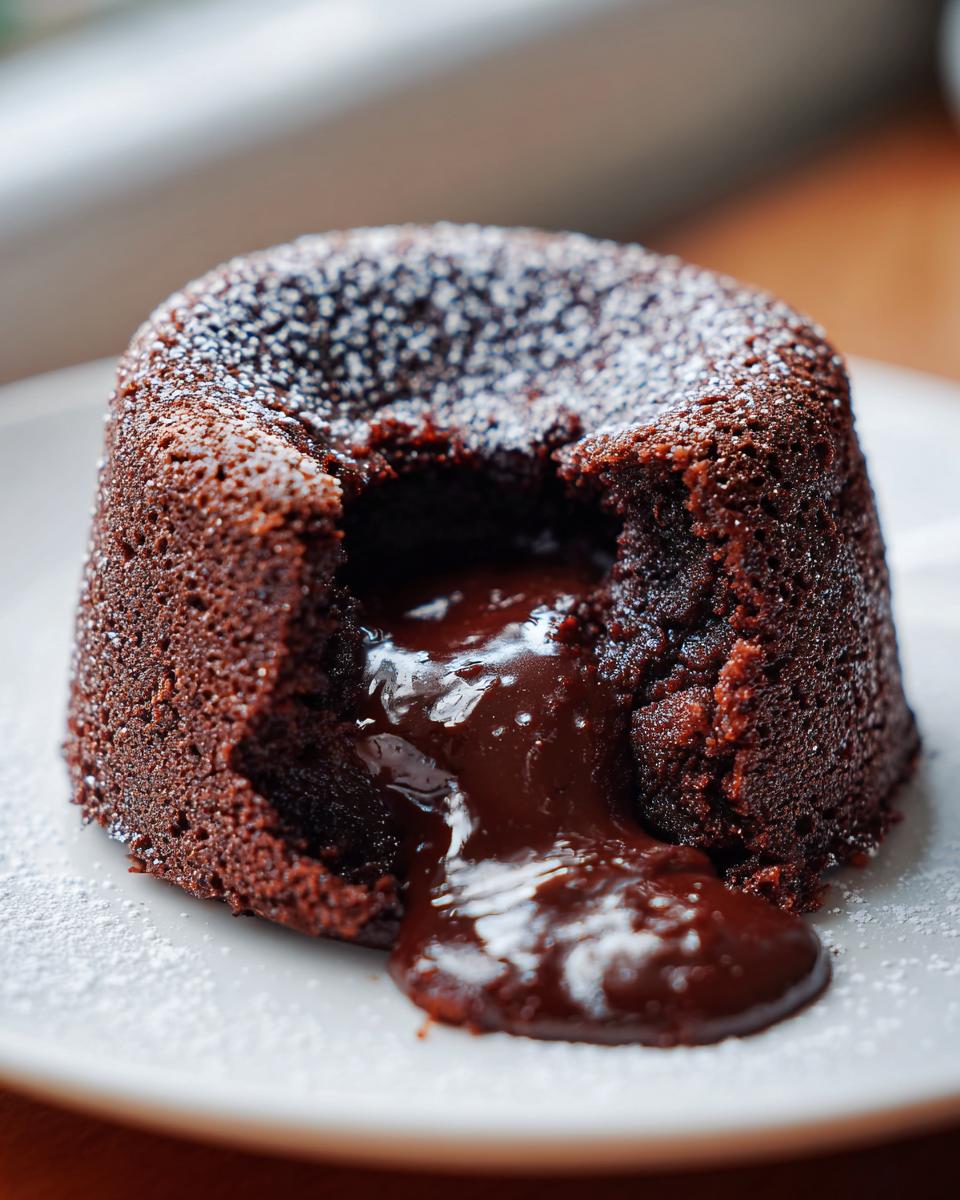
You’ve pulled the perfect gooey treats out of the oven! Now, how do you present this incredible individual chocolate cake? Presentation matters, especially when you’ve put in the effort to get that beautiful flow.
Naturally, you have to serve these individual chocolate cakes warm. The contrast between the warm cake and something cold is pure magic. My first suggestion, always, is a big scoop of good quality vanilla ice cream. The cold slows the flow just enough so you can savor it!
If you want something lighter, a handful of fresh raspberries or sliced strawberries honestly can’t be beaten. The tartness cuts right through the richness. This dessert screams romance and is officially my favorite Easy Date Night Dessert—impressive every single time, with zero stress!
Storage and Reheating Instructions for Leftover Lava Cake
Oh, leftovers! Sometimes we bake too much, or maybe we just want a second dessert tomorrow. If you have any of these individual chocolate cakes left, don’t fret; they are still good!
You can definitely keep them, but you must use caution. Pop the cooled cakes into an airtight container and store them in the fridge for up to two days. The key is the reheat. You need to get that center molten again without turning the edges into hockey pucks!
Pop the chilled cake into a 350°F oven for only about 5 to 7 minutes. Check it frequently. You want the center soft and warm, not reheated all the way through. Serve it with a quick spoonful of ice cream to cool it down again, and you’re set for a second amazing moment!
Frequently Asked Questions About Making Lava Cake
I know baking can sometimes feel like a science experiment, especially when you’re chasing that perfect *ooey-gooey* result! That’s why I’ve gathered up the questions I get asked most often about getting these individual chocolate cakes just right. Don’t worry if you mess up the first time; even I have to adjust my oven every winter!
Can I make this Chocolate Lava Cake ahead of time?
Yes, you absolutely can! This is fantastic news for when you’re hosting. You can mix the batter right up to the point of baking, pour it into your prepared ramekins, cover them tightly with plastic wrap, and pop them in the fridge for up to 24 hours. When you’re ready to serve your decadent chocolate dessert, you just need to add a few extra minutes to the baking time—maybe 2 or 3 minutes more than the recipe calls for, just because the batter is colder. It’s such a huge time saver when planning a dinner party!
What happens if my lava cake doesn’t have a gooey center?
Oh, that’s the eternal struggle! If you cut into your cake and it looks more like a fudgy brownie or a lovely little warm chocolate pudding cake instead of a *Chocolate Dessert with Flowing Center*, it means it simply baked too long. It’s okay! The first time you make it, consider it a test run. For your next batch, pull them out a minute or two earlier. Remember, the edges should look solid, but the center should still look slightly wet and jiggly when you tap the pan. Don’t aim for ‘just set’; aim for ‘still scared to be totally set!’
Can I use milk chocolate instead of bittersweet chocolate in this lava cake?
You technically can, but I really wouldn’t recommend it unless you love things super sweet! Bittersweet chocolate (60% or higher) has less sugar, which is crucial because you’re already adding a quarter cup of sugar to the eggs. If you absolutely must use milk chocolate, I’d strongly suggest cutting the granulated sugar in the recipe down to just two tablespoons. Milk chocolate has way more sugar and fat, and if you don’t cut down, you risk the whole thing being too sweet and maybe not setting correctly because of the extra fat content. Sticking to bittersweet is the easiest route to getting that bakery style result at home!
How do I make sure it’s a truly ‘Quick Chocolate Recipe’?
The trick to keeping this a true quick chocolate recipe is having everything measured and ready *before* you start melting the chocolate. That 10 minutes of prep time I listed? It disappears fast once you start! Get your ramekins buttered, get the oven preheated, and have your eggs and flour waiting on the counter. If you prep while the chocolate melts, you’ll be licking the spoon clean in 20 minutes flat!
PrintEasy, 20-Minute Classic Chocolate Lava Cake Recipe
Make this foolproof chocolate lava cake for a fast, indulgent dessert. You get crisp edges and a silky molten center every time. It is perfect for date nights or when you need a bakery-style dessert without stress.
- Prep Time: 10 min
- Cook Time: 14 min
- Total Time: 24 min
- Yield: 4 servings 1x
- Category: Dessert
- Method: Baking
- Cuisine: American
- Diet: Vegetarian
Ingredients
- 4 ounces bittersweet chocolate, chopped
- 4 tablespoons unsalted butter, plus extra for ramekins
- 2 large eggs
- 2 large egg yolks
- 1/4 cup granulated sugar
- 1 teaspoon vanilla extract
- 2 tablespoons all-purpose flour
- Pinch of salt
- Cocoa powder, for dusting ramekins
Instructions
- Preheat your oven to 425 degrees Fahrenheit. Grease four 6-ounce ramekins with butter and dust the insides thoroughly with cocoa powder. Place the prepared ramekins on a baking sheet.
- Combine the chopped chocolate and butter in a heatproof bowl set over a saucepan of simmering water (or use a microwave in 30-second intervals). Stir until the mixture is completely smooth. Remove from heat and let it cool slightly.
- In a separate medium bowl, whisk together the eggs, egg yolks, and sugar until the mixture is pale and slightly thickened, about 2 minutes. Whisk in the vanilla extract.
- Gently whisk the slightly cooled chocolate mixture into the egg mixture until just combined.
- Sift the flour and salt over the batter. Fold the dry ingredients into the wet ingredients using a spatula until no streaks of flour remain. Do not overmix.
- Divide the batter evenly among the prepared ramekins.
- Bake for 12 to 14 minutes. The edges should look set, but the center should still look soft and jiggly. This timing creates the perfect flowing center.
- Let the cakes cool in the ramekins for 1 minute. Carefully run a thin knife around the edge of each cake. Invert each cake onto a serving plate.
- Serve immediately while warm with ice cream or fresh berries.
Notes
- For a Nutella lava cake variation, substitute 2 tablespoons of the bittersweet chocolate with 2 tablespoons of Nutella in the melted mixture.
- To make this a Crock Pot chocolate dessert, pour the batter into a buttered, parchment-lined slow cooker insert and cook on high for about 1.5 hours, checking frequently for doneness.
- If you want an Air Fryer lava cake tutorial, bake in greased ramekins at 380 degrees Fahrenheit for 8 to 10 minutes.
Nutrition
- Serving Size: 1 cake
- Calories: 380
- Sugar: 25g
- Sodium: 110mg
- Fat: 24g
- Saturated Fat: 14g
- Unsaturated Fat: 10g
- Trans Fat: 0.5g
- Carbohydrates: 35g
- Fiber: 2g
- Protein: 7g
- Cholesterol: 145mg