
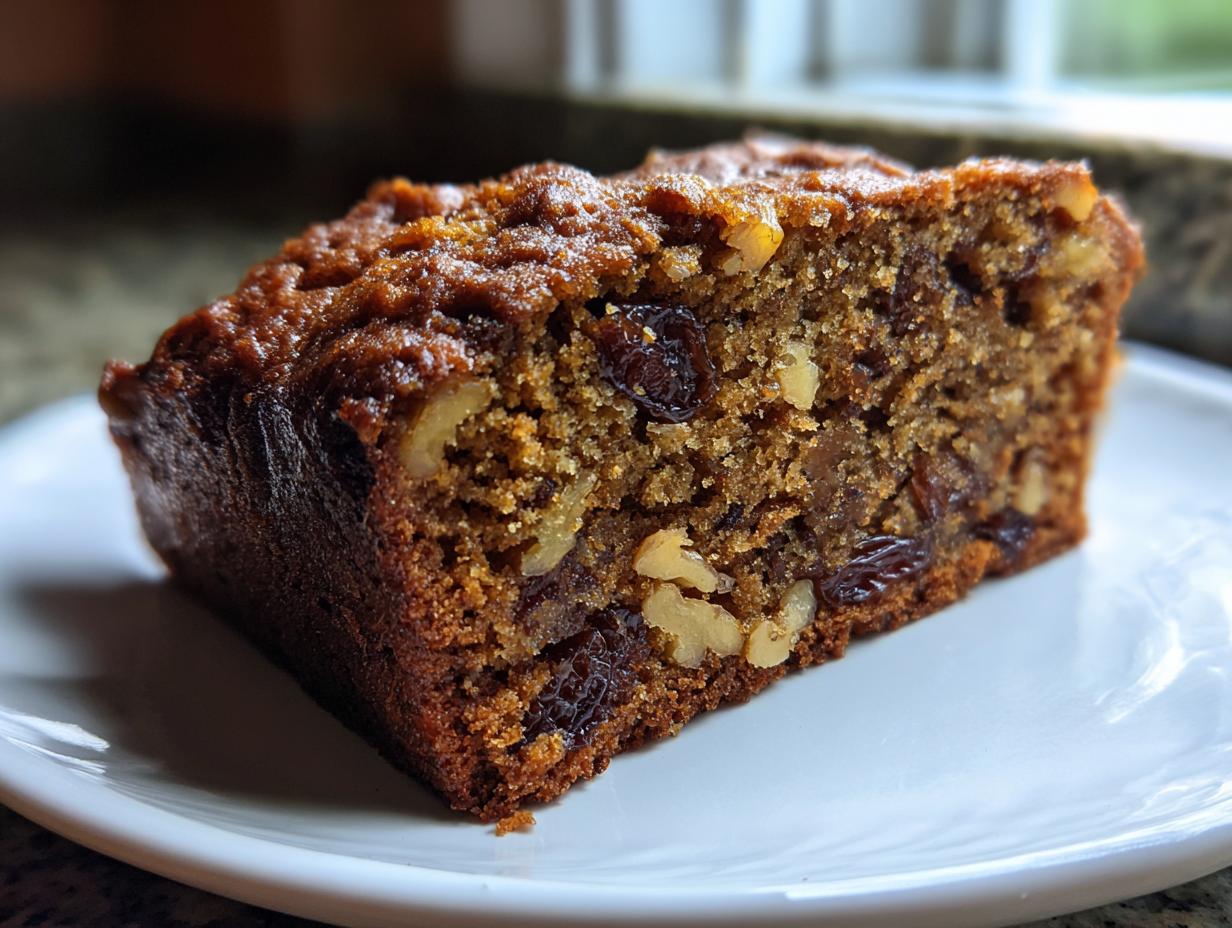
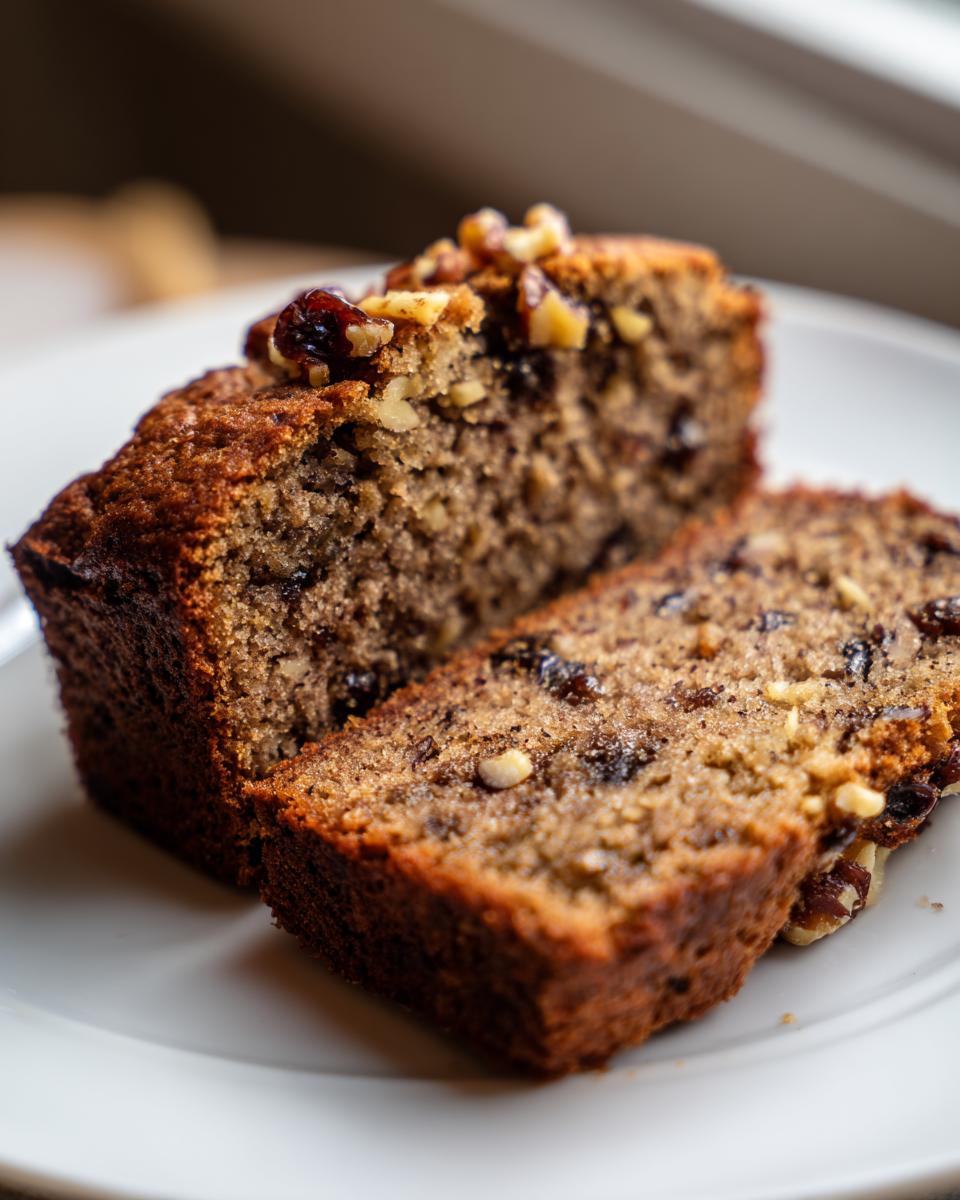
There is truly nothing that says ‘welcome home’ quite like the warm, earthy scent of freshly baked quick bread filling the kitchen. For me, it always takes me back to my Grandma Izzy, whose kitchen was the heart of our family, just like the Chefsily kitchen is meant to be for yours. We’re diving into a recipe that I use time and time again because it’s undeniably the best date nut bread you’ll ever make. I’ve taken that old-fashioned love for comfort food and stripped away the fuss. Trust me, this recipe delivers an incredibly moist, deep flavor without needing hours of fussy work. It’s tradition, made simple and accessible for your busy life. You can read more about my baking philosophy right here.
- Why This is the Best Date Nut Bread Recipe You Will Make
- Gathering Ingredients for Your Old Fashioned Date Nut Bread
- Step-by-Step Instructions for Moist Date Nut Bread
- Tips for Success When Baking Date and Walnut Bread
- Variations for Your Date Nut Bread
- Serving Suggestions for This Classic Quick Bread
- Storage and Reheating Instructions for Homemade Quick Breads
- Frequently Asked Questions About Date Nut Bread
- Estimated Nutritional Data for Date Nut Bread
- Share Your Date Nut Bread Creations
Why This is the Best Date Nut Bread Recipe You Will Make
When you need that perfect loaf, you need reliability, and that’s what this recipe gives you. Forget dry crumbs! This is the quintessential Moist Date Nut Bread, designed for weeknight baking but tasting like a weekend treat. I promise, once you try this, it’ll be your go-to.
Key Features of Our Easy Date Loaf Recipe
- It’s genuinely quick! We keep the prep time short so you can get this delicious bread baking fast.
- The secret moisture comes from the date-soaking method, which keeps the loaf tender for days.
- You get that classic, old-fashioned sweet and spiced flavor everyone craves. This Easy Date Loaf Recipe just works, every single time.
Check out some of my other fast favorites over at my quick dinner page if you need more speedy inspiration!
Gathering Ingredients for Your Old Fashioned Date Nut Bread
This Old Fashioned Nut Bread doesn’t need fancy supplies, but success hangs on grabbing the right stuff! Since dates are the star here, try to find dates that feel plump, not dry. Good dates mean better moisture, and that’s what we are after! I find the best results when I use standard pitted dates and chop them myself—it makes a world of difference.
Ingredient Clarity for Perfect Date Nut Bread
Here is exactly what you need waiting on the counter before you start mixing anything up. Remember, this is a quick bread, so having everything ready, or *mise en place* as the fancy folks say, keeps things smooth!
- 1 cup boiling water (We use this to wake up those dates!)
- 1 cup packed pitted dates, chopped
- 1 teaspoon baking soda
- 1/2 cup (1 stick) unsalted butter, softened (Don’t use cold butter!)
- 1 cup granulated sugar
- 2 large eggs
- 1 teaspoon vanilla extract
- 1 3/4 cups all-purpose flour
- 1 teaspoon baking powder
- 1/2 teaspoon salt
- 1 cup chopped walnuts (Pecans are totally fine too, if you’re feeling adventurous!)
Get these goodies ready, and you are halfway to baking the most comforting loaf! If you want to see how I make my homemade granola for topping toast, check out that recipe here.
Step-by-Step Instructions for Moist Date Nut Bread
Okay, don’t panic when you see the water and baking soda hit those dates! That initial step is what separates a good loaf from a truly fantastic, tender date nut bread. We bake this in one pan, so stick to the order, and you’re golden. No complicated steps here, just good, honest baking!
Preparing the Dates: The Secret to Date Nut Bread Moisture
This part is non-negotiable if you want that signature moisture! First, preheat your oven to 350°F (175°C) and get that 9×5 inch loaf pan greased up nicely. Now, take your chopped dates, pop them in a bowl, and pour that cup of boiling water right over the top. Stir in the baking soda—yes, the soda, stick with me!—and just let that mixture sit there for 15 minutes. What’s happening? The dates get plump, and that baking soda helps break them down during baking, locking in all that wonderful, sweet moisture. You want to use every bit of that liquid when you mix, trust me on this one.
Mixing and Baking Your Easy Date Loaf Recipe
While the dates are soaking, get your wet ingredients going. Cream that softened butter and sugar until it looks fluffy and pale. Then, drop in your eggs one at a time, mixing well after each one, followed by the vanilla. In a separate bowl, whisk your flour, baking powder, and salt. Now, remember the rule of quick breads: add the dry stuff to the wet stuff a little bit at a time, stirring until *just* combined. Overmixing is what makes these dense and tough! Finally, gently fold in your date mixture (liquid and all!) and the walnuts. Pour it all into your pan and bake it for about 55 to 65 minutes. Stick a wooden skewer in the center; if it comes out clean, you’ve nailed this Easy Date Loaf Recipe!
You can find my guidance on general classic quick bread techniques if you ever want to experiment!
Tips for Success When Baking Date and Walnut Bread
Baking is simple, but mastery comes from understanding the little extras! When we talk about this Date and Walnut Bread, the biggest key is moisture management. Remember what I said about those dates? You absolutely must use all the liquid that comes out when they soak; that’s pure flavor and moisture saving the day! Don’t skimp on that step, seriously.
Also, please don’t give in to the urge to check the oven constantly before the 50-minute mark. Quick breads like this one need steady heat to rise properly. When you finally do check it, always go beyond just the toothpick test. I like to press gently on the center of the loaf with my finger. If the bread springs right back up at you, it’s done! If it feels squishy or leaves an indent, give it five or ten more minutes. For more tips on getting those perfect bakes, check out my apple crumble troubleshooting guide—the concepts are the same across baking!
Variations for Your Date Nut Bread
One of the things I love most about simple quick breads is how adaptable they are! While this base recipe is pure, old fashioned comfort, it’s also a fantastic canvas if you want to tweak it for a different kind of snack. It’s so easy to turn this classic loaf into something else special for your family.
If you’re looking for a way to make this taste even more comforting—maybe leaning into that holiday vibe—there are a couple of simple swaps you can make without messing up the texture too much. These little changes help us keep things interesting!
Making a Banana Date Nut Bread Variation
If you happen to have brown bananas sitting on the counter—and who doesn’t?—you can absolutely turn this into a beautiful Banana Date Nut Bread. It just levels up the moist factor, which I know we all adore! For this swap, I usually reduce the granulated sugar by about a quarter cup, maybe a touch more depending on how sweet the bananas are.
Just take two medium, very ripe bananas and mash them up really well. You can typically throw that right into the wet ingredients when you add your eggs. It integrates beautifully and adds this subtle, earthy sweetness that pairs wonderfully with the dates and walnuts. It leans right into that wholesome snack bread category, which I love for afternoon tea time!
If you want to see how I handle a full banana quick bread, my recipe for banana nut muffins is a great starting point; the ratios are easy to adapt, so definitely check that out when you get a chance.
Another fun thing to try if you are looking for something a bit heartier is substituting half of the all-purpose flour with whole wheat flour. It gives the crumb a slightly deeper color and texture, keeping that wholesome feeling without sacrificing too much tenderness!
Serving Suggestions for This Classic Quick Bread
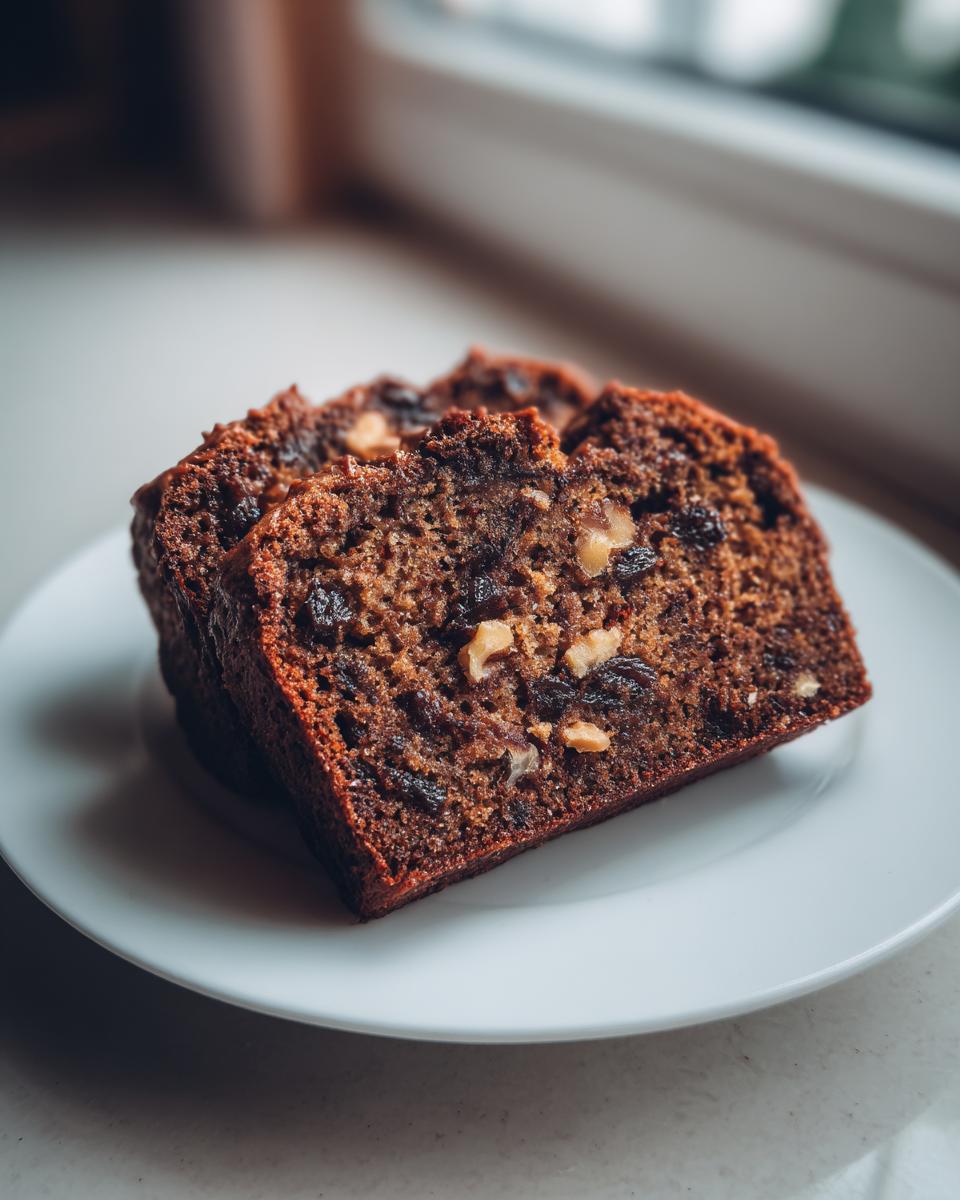
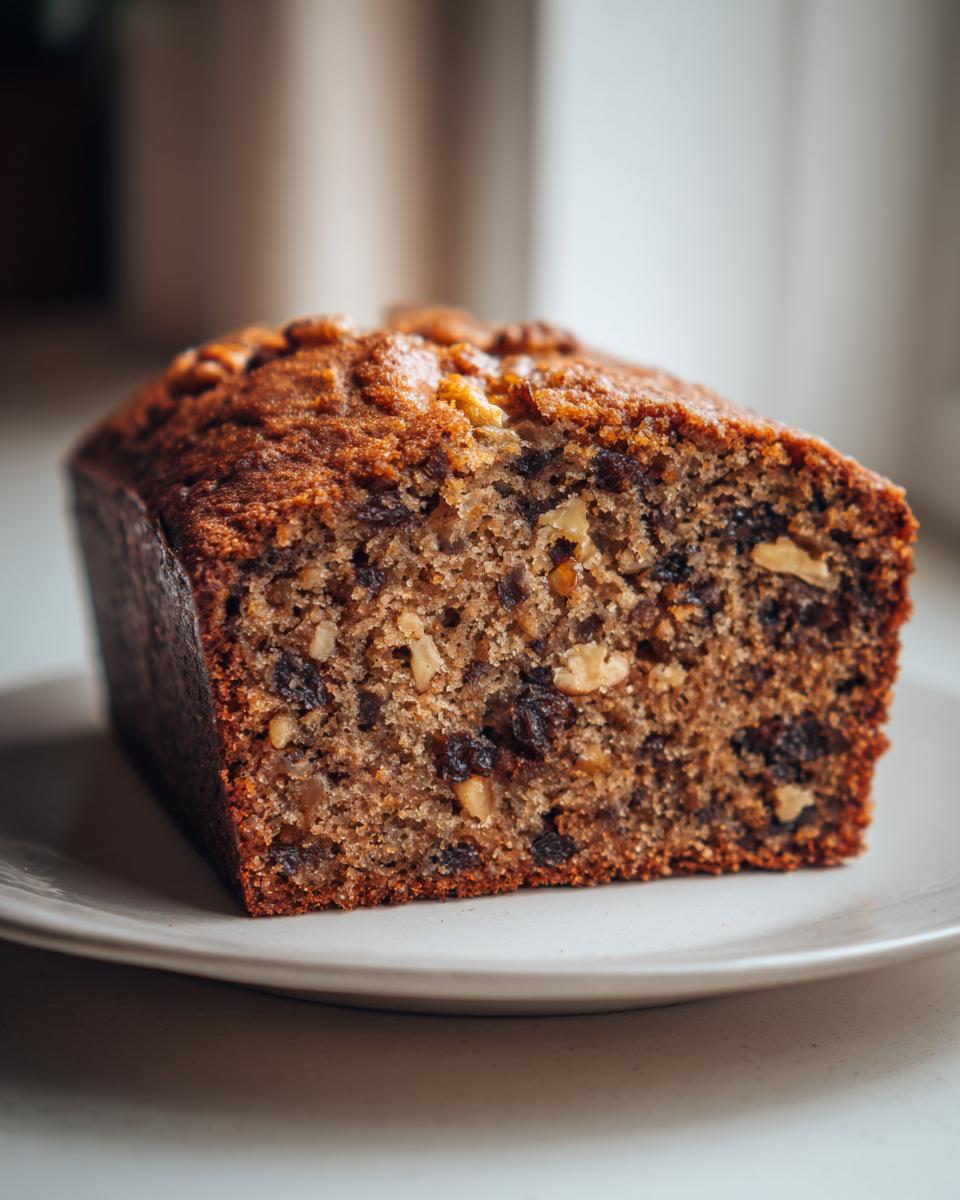
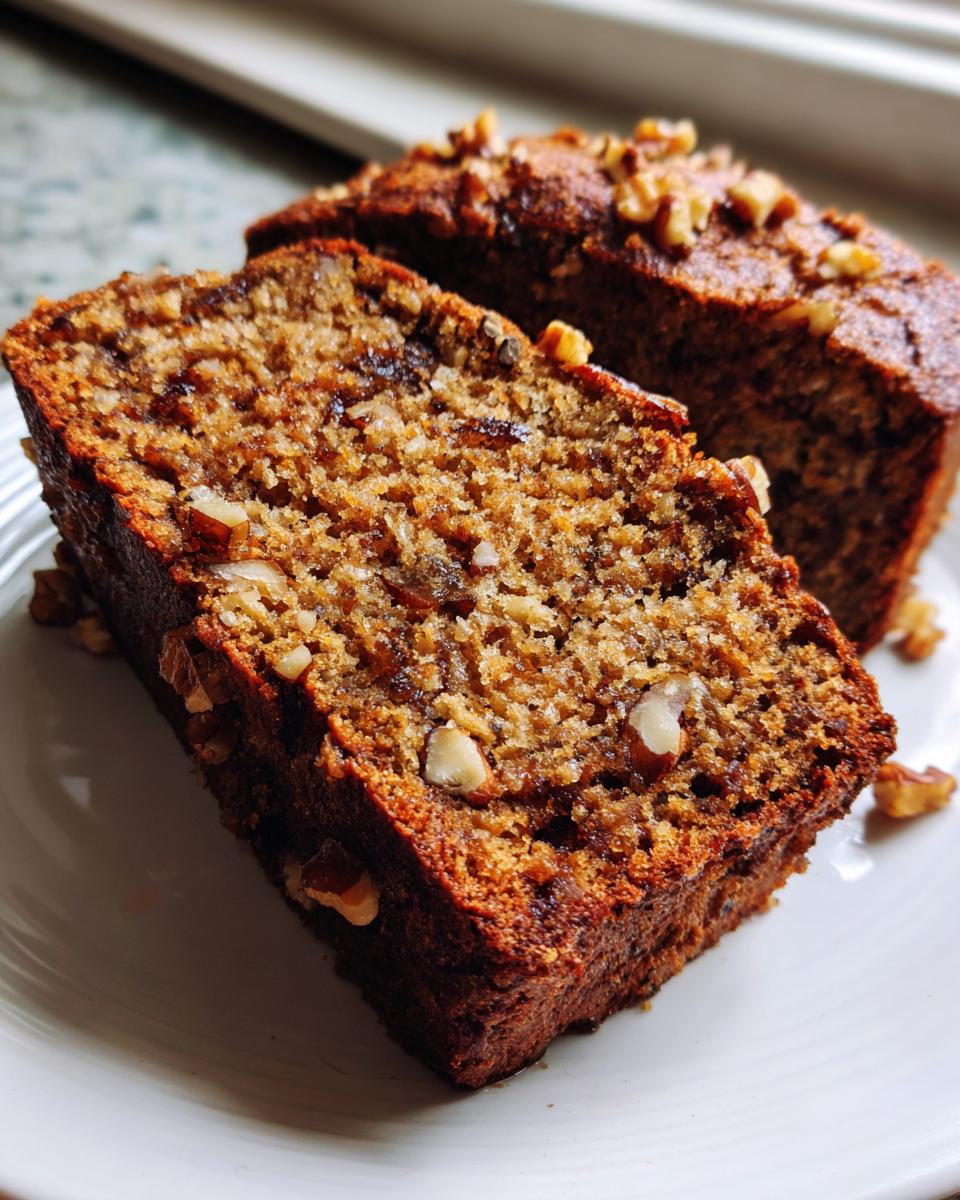
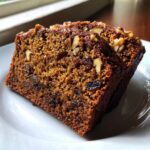
Now that you have this gorgeous, fragrant loaf cooling on the rack, the real question hits: how do we eat it first? That’s the fun part! This classic quick bread tastes exactly like comfort food baking should, which means it’s perfect hot out of the oven or cooled down the next morning.
My absolute favorite way to eat it, especially when it’s still slightly warm, is sliced thick with a generous smear of good quality salted butter. The butter melts right into all those little nooks and crannies where the dates are hiding. That’s simple perfection right there!
If you’re leaning into this as a proper breakfast loaf recipe, you can certainly dress it up a little. A thin layer of cream cheese is heavenly—it adds just the right amount of tang against the sweet fruitiness of the baked dates. Don’t be afraid to toast those slices either! Toasting gives the outside a little chew that contrasts beautifully with the soft interior.
For something a bit more decadent, maybe for a holiday brunch spread, try warming up a slice and topping it with a drizzle of honey or even a touch of warmed maple syrup. It’s lovely! If you ever need inspiration for an absolutely over-the-top weekend breakfast bake, you have to check out my Overnight Cinnamon Roll Casserole recipe —it’s a showstopper!
Storage and Reheating Instructions for Homemade Quick Breads
So you’ve baked the perfect loaf—congratulations! Now, we need to make sure these incredible Homemade Quick Breads last. The recipe notes actually mention freezing, which is a lifesaver when you bake too much (which I always do!).
You must let the bread cool completely on a wire rack before you even think about wrapping it. Once it’s totally cool, wrap it up tight—I mean *tightly*—first in plastic wrap, then follow that with a layer of aluminum foil. This double barrier stops any freezer taste from sneaking in.
When you’re ready to enjoy a slice later, just unwrap it and let it thaw on the counter. If you want to warm it up, a few seconds in the microwave or a quick toast makes it taste like it just came out of the oven. You can even make a little homemade blueberry jam to go with it!
Frequently Asked Questions About Date Nut Bread
I always get asked about this recipe, which is great because it means you all are excited to bake it! Here are the questions I hear the most when people are trying out this date and walnut bread for the first time. Don’t worry about getting it wrong—baking should be fun!
Can I make this date nut bread without nuts?
Absolutely, you can skip them! In fact, if you need a nut-free option for school lunches or allergies, I wouldn’t even recommend a substitute like seeds for this particular recipe. When you leave out the nuts, you lose some of that nice structural support in the loaf. If you skip them, I’d recommend reducing the flour by just one tablespoon next time. Otherwise, the bread might feel a little too soft or overly crumbly, but it will still taste delicious!
What is the best way to store the date loaf recipe leftovers?
For the date loaf recipe leftovers, you want to keep that moisture locked in. Make sure the loaf is completely cooled—warm quick breads steam when wrapped, which makes them gluey! Once it’s cool, wrap it tightly, just like I mentioned before, in plastic wrap and then foil. It stays wonderfully moist on the counter for about three days, or you can stash it in the freezer for up to three months. It makes a fantastic wholesome snack bread straight from the freezer, too!
How do I know when my date nut bread is fully baked?
This is the million-dollar question for any quick bread baking endeavor! You can generally count on the bake time being close to an hour, but ovens are tricky. Always rely on the skewer test first: insert a long wooden skewer or a thin metal knife right into the very center of the loaf. If it comes out clean, or if you see just a few moist crumbs clinging to it—*not wet batter*—then it’s done! If you see wet dough sticking, wrap the top loosely with foil to keep it from burning and give it another 5 to 10 minutes.
If you ever have other burning questions about anything you see here, my inbox is always open over at the contact page!
Estimated Nutritional Data for Date Nut Bread
Okay, let’s talk fuel! I know some of you are tracking macros, and others are just curious how much goodness you’re packing into that slice of comfort food baking. Since this is a classic, old-fashioned recipe, we aren’t aiming for “diet food,” but honestly, the natural sweetness from the dates keeps things reasonably balanced.
Keep in mind that these numbers are just estimates based on the standard ingredients listed above. The actual count can shift a bit depending on the exact size of your eggs, or if you splash in a bit more vanilla than I do! I always say, baking is chemistry, but eating is joy, so enjoy that slice!
For reference, here is the typical breakdown for one slice of this loaf:
- Serving Size: 1 slice
- Calories: 285
- Sugar: 28g (Mostly from the dates and sugar added)
- Total Fat: 13g (Great flavor comes from that butter!)
- Carbohydrates: 41g
- Protein: 5g
- Sodium: 180mg
If you are looking for ways to make this into an even healthier offering for your family, perhaps using it as a true healthy breakfast idea, you can definitely look at some of the whole wheat variations we discussed earlier, which can boost your fiber content!
You can check out my other thoughts on making smarter ingredient choices for your family over on my healthy breakfast ideas page!
Share Your Date Nut Bread Creations
Now that you’ve baked up this beautiful, fragrant loaf, I honestly can’t wait to hear what you think! Making a recipe is only half the fun; the best part is seeing how it turns out in your kitchen. Did you stick to the nuts? Did you try adding a sprinkle of cinnamon to the sugar before creaming it? Tell me everything!
Please take a moment to leave a star rating and share your experience in the comments below. Hearing from you really helps me solidify that this is truly the Best Date Nut Bread Recipe out there. Knowing that my family traditions are making their way onto your tables is why I do all of this.
If you snap a picture of your finished loaf—maybe sliced warm with butter, or wrapped up ready for gifting—tag me on social media! Following along with your baking journeys is such a joy. We’re all in this together, building a community of home cooks who believe that simple food made with love is the best food.
If you ever need to ask me a follow-up question about the recipe, or just want to chat baking, don’t hesitate to reach out directly through the contact page. Happy baking, friends!
PrintEasy, Moist, Old-Fashioned Date Nut Bread
Bake a comforting, moist date nut bread loaf. This old-fashioned quick bread recipe is simple to make and perfect for breakfast, snacking, or holiday sharing.
- Prep Time: 15 min
- Cook Time: 60 min
- Total Time: 75 min
- Yield: 1 loaf (about 10 slices) 1x
- Category: Quick Bread
- Method: Baking
- Cuisine: American
- Diet: Vegetarian
Ingredients
- 1 cup boiling water
- 1 cup packed pitted dates, chopped
- 1 teaspoon baking soda
- 1/2 cup (1 stick) unsalted butter, softened
- 1 cup granulated sugar
- 2 large eggs
- 1 teaspoon vanilla extract
- 1 3/4 cups all-purpose flour
- 1 teaspoon baking powder
- 1/2 teaspoon salt
- 1 cup chopped walnuts
Instructions
- Preheat your oven to 350°F (175°C). Grease and flour a standard 9×5 inch loaf pan.
- Place the chopped dates in a heatproof bowl. Pour 1 cup of boiling water over the dates and stir in the baking soda. Let this mixture sit for 15 minutes to soften the dates.
- In a large bowl, cream together the softened butter and granulated sugar until light and fluffy. Beat in the eggs one at a time, then stir in the vanilla extract.
- In a separate medium bowl, whisk together the flour, baking powder, and salt.
- Add the dry ingredients to the wet ingredients, mixing until just combined. Do not overmix.
- Gently fold in the softened date mixture (including any remaining liquid) and the chopped walnuts until evenly distributed throughout the batter.
- Pour the batter into the prepared loaf pan.
- Bake for 55 to 65 minutes, or until a wooden skewer inserted into the center comes out clean.
- Let the loaf cool in the pan for 10 minutes before turning it out onto a wire rack to cool completely.
Notes
- For an extra moist loaf, ensure you incorporate all the liquid from the date soaking step into the batter.
- You can substitute pecans for walnuts if you prefer.
- This bread freezes well once completely cooled. Wrap tightly in plastic wrap and then foil.
Nutrition
- Serving Size: 1 slice
- Calories: 285
- Sugar: 28
- Sodium: 180
- Fat: 13
- Saturated Fat: 5
- Unsaturated Fat: 8
- Trans Fat: 0
- Carbohydrates: 41
- Fiber: 2
- Protein: 5
- Cholesterol: 55